We’re here to help! Wild Yards is a completely free website that is 100% dedicated to helping you create a wildlife-friendly, sustainable yard. Read more
WildYards is reader-supported. When you buy a product through a link on our site, we may earn a comission. Every product is independently selected by our (obsessive) editors and our reviews are unbiased and objective. Read more about our mission or our privacy policy.
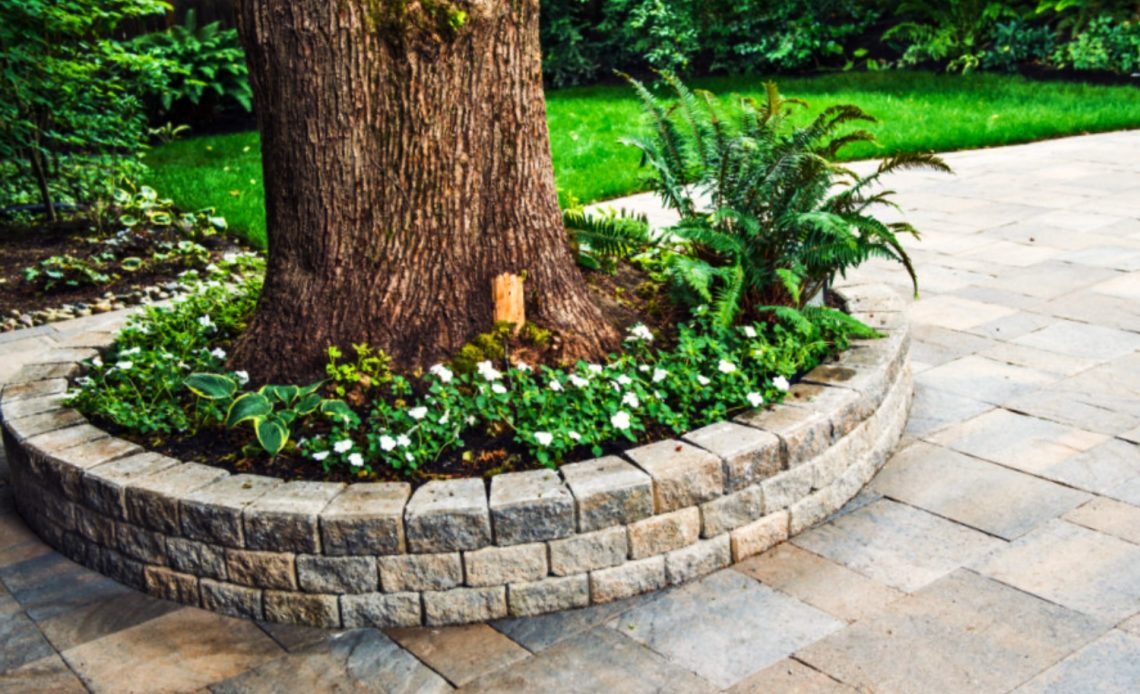
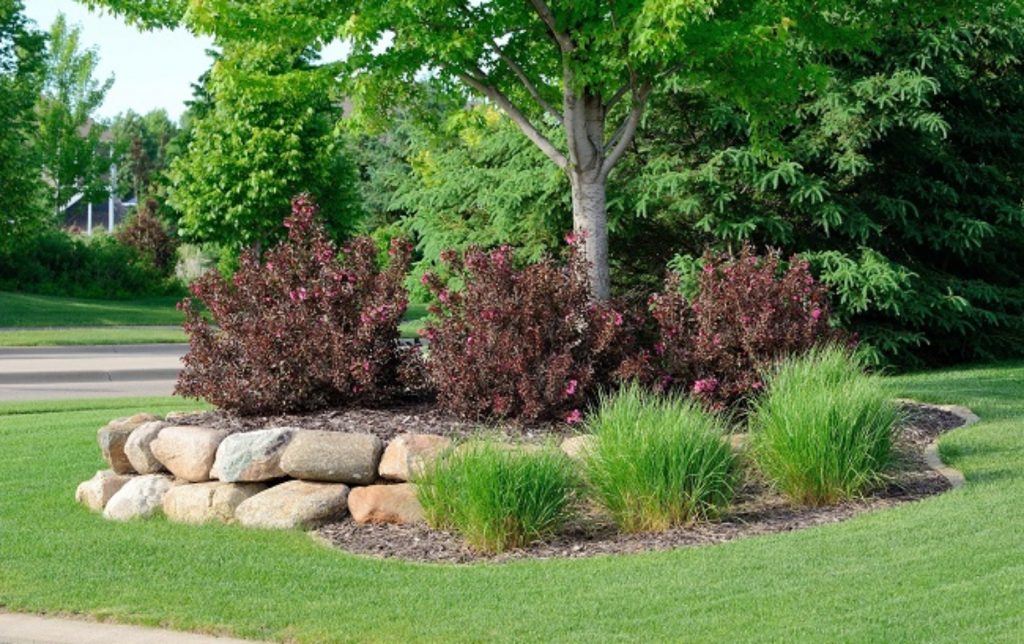
If you want to give your property a landscaping perk-me-up, creating a flower bed by arranging rocks around a tree is a great way to start. But, no matter how large and mighty the trees in your backyard may look, they’re quite delicate. You don’t want to go setting rocks down all willy-nilly. When done incorrectly, a flower bed can kill a tree. So before you head outside to try landscaping around trees with rocks, check out these tips first so you can keep them healthy.
Ideally, rocks should be arranged at the tree’s drip line, or at least spaced out far enough away from the trunk to avoid covering any exposed roots. Choose shade-tolerant plants for your landscaping, and use landscape fabric, rather than plastic, to prevent weeds.
What is the best way to landscape around trees with rocks?
Using rocks to create flower beds around a few of the trees in your backyard is a good way to break up the space. But there’s a right way to do this and a wrong way. If you just lay the rocks out in an aesthetically pleasing manner without considering the tree, you could wind up losing the tree in a few years’ time. So before you start arranging stones, keep these tips for landscaping around trees with rocks in mind.
Locate the tree’s drip line
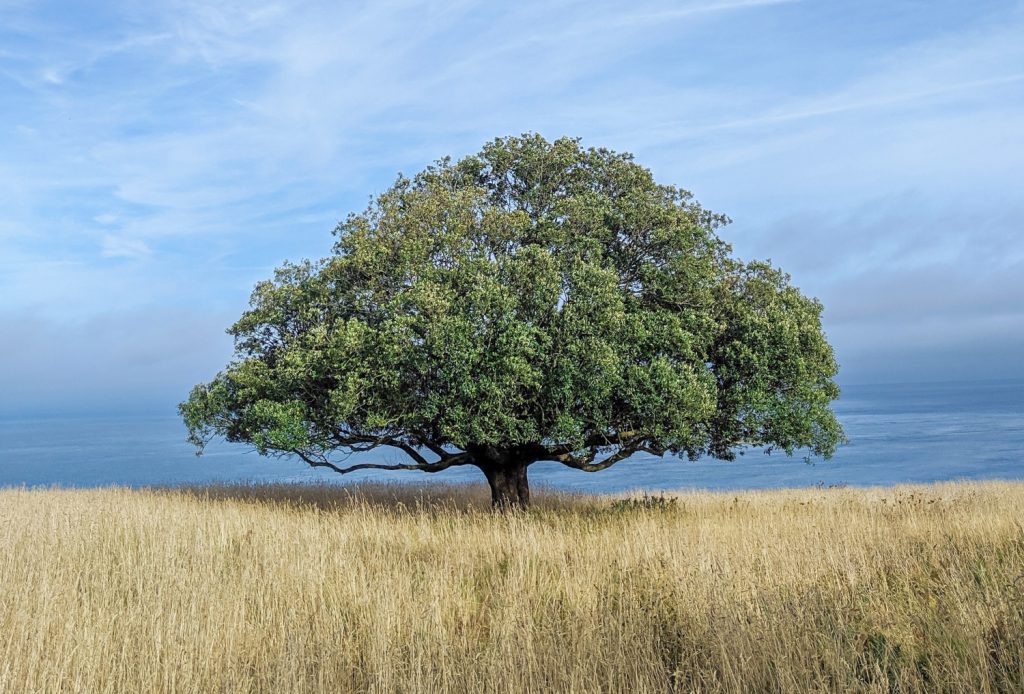
The first thing you need to do when planning a flower bed around a tree is to determine the tree’s drip line. Imagine the tree is a huge umbrella, and picture water rolling off the top of it and down the sides back onto the ground. Where would the water droplets land? The drip line is the circumference of the tree, just beneath the outer branches.
A tree’s roots spread out about as far as its drip line. So understanding where its drip line ends will also give you a good idea of how far its roots extend. The roots of the tree absorb oxygen and water. Covering them up with heavy layers of rock can severely restrict oxygen intake, suffocating the tree over time. Rock flower beds can also trap water, drowning the tree’s roots, and making it prone to root rot.
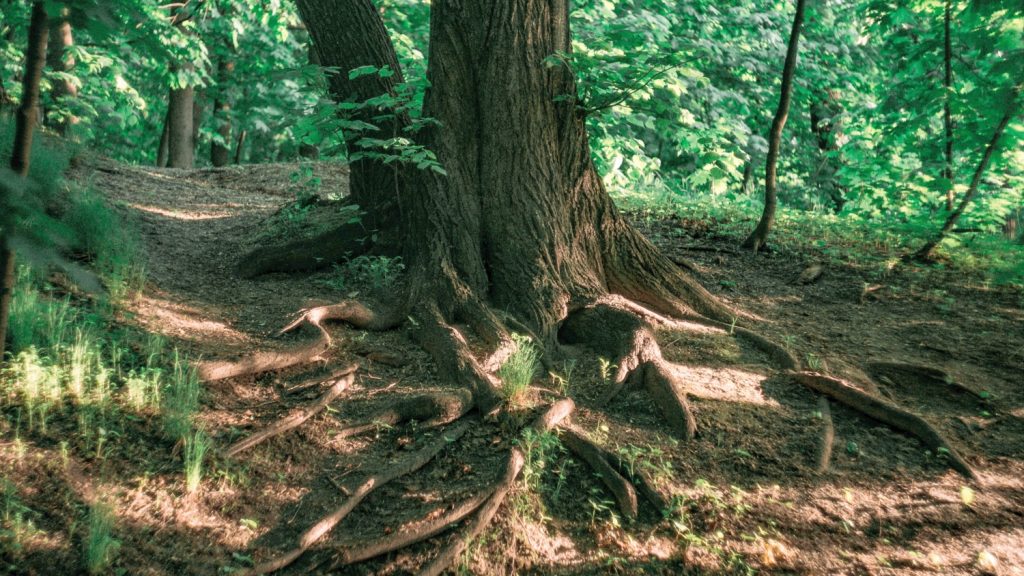
Look for exposed roots
It’s best to arrange rocks along the tree’s drip line. But while this strategy will work for small trees, like Japanese maples, it may not be feasible for giant oaks. If your tree’s drip line is so large that using rocks to landscape around it would be impractical, what should you do?
Walk around the base of the tree and look for exposed roots. How many roots you see will depend on the tree in question, as well as the type of soil it’s growing in. You’re more likely to see a bunch of roots if you have hard soils, like clay. If trees can’t penetrate the compacted ground, their roots will lie along the surface, where they can get plenty of air.
Typically, the bulk of a tree’s exposed roots lies close to the trunk. So you’ll see fewer and fewer exposed roots as you veer away from the center and toward the tree’s drip line. It’s always best to avoid placing anything over the tree’s exposed roots. Place rocks 3 feet or more away from these roots to give them plenty of room to breathe.
Avoid cutting roots
It can be tempting to cut back a tree’s roots to accommodate your landscaping designs but don’t. A tree’s extensive root systems help it survive. Cutting a tree’s roots can have devastating effects on its health, and symptoms may not show up for a few years.
The tree’s root plate, where the roots are densest, extends outward from the trunk to the very edge of the drip line. In this area, the roots will be only 6 to 12 inches away from the soil. So avoid digging here if you can, and, if you must, use a hand trowel to avoid cutting through major roots.
If you absolutely have to trim a tree’s roots, don’t do it yourself. Have a professional arborist assess the tree’s health and determine which roots should be pruned. A good trim can benefit a tree and stimulate growth, the same way pruning a smaller plant, like salvia, might. But it must be done properly, and at the right time of year, to prevent the tree from becoming diseased.
Use stones to level uneven terrain
Instead of relying on mulch and soil to build up the ground around your tree, create the illusion that the space is even by leveling the stones surrounding it. Go around the entire circumference of the tree with a border of rocks, and add more layers on the lower side until the wall is level with the top of the first layer of rocks on the high side.
There’s no need to fill the stone flower bed up to the top with soil. Allow 6 to 18 inches between the top of the stonework and the soil. As your plants fill in on the low side, they’ll peek over the top, and you can trim back the plants on the high side to make the area look more level.
Be sure to use a level to make sure your rock border ends up, well, level. And stagger the spaces between stones with each layer. This provides stability to the border. If you stack stones directly on top of each other, they’ll just topple over.
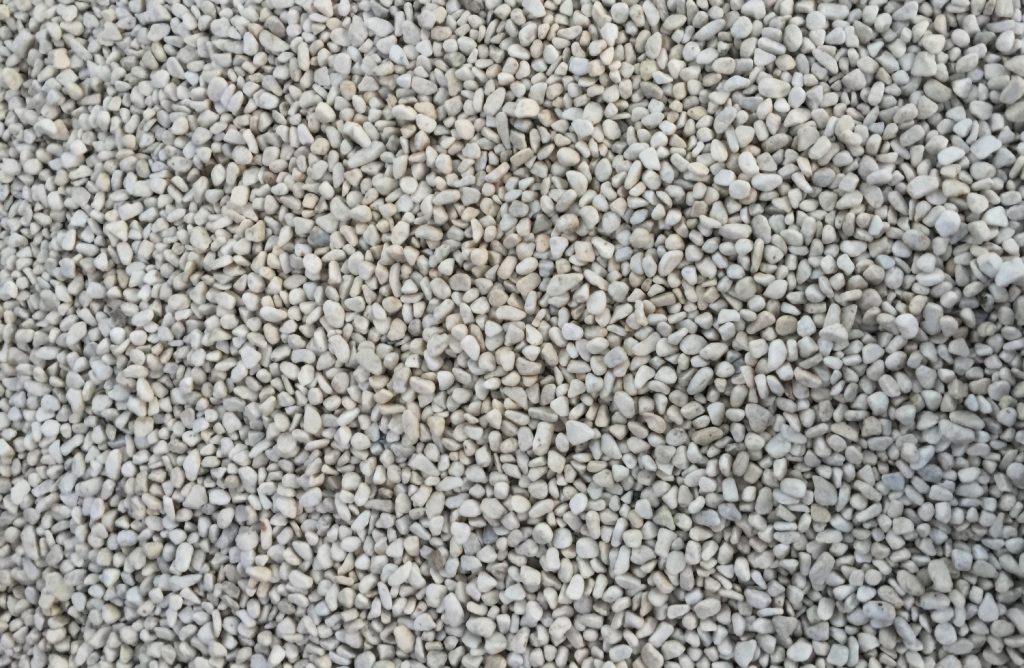
Spread a layer of gravel
Once the border of the bed has been created, use gravel to even out the ground as much as possible. This will prevent the ensuing soil and mulch layers from smothering the tree’s root system. Gravel is resistant to compaction so it will help air and water reach the tree easily.
Refrain from adding too much soil
It’s best to do most of the leveling with your gravel layer. Don’t go crazy with the topsoil because, even though the soil is porous, it can still suffocate the tree’s roots.
Now, if the ground is really unlevel, you can add a bit more soil, but only to the areas that truly need it. Even though trees are delicate, they’re also adaptable. Trees growing in the wild are exposed to natural erosion, with the soil around their roots becoming deeper and shallower over time. If you have to level the soil, just be sure to leave exposed roots exposed.
Adding soil around a tree should be a long, drawn-out process done over the course of months, to give the tree time to adjust to each layer of dirt. Use enough soil to level out your flower bed, then wait a year or so to see how the tree does. If you still need more soil, add a bit more during the next growing season. Go slowly so the tree doesn’t become too stressed.
Spread mulch evenly
Never pile a hill of mulch around the base of the tree. This is called “volcano mulching”, and it’s one of the fastest ways to kill a tree. Avoid covering up the tree collar, the very base of the tree where the trunk turns into roots. The tree needs only a very light layer of soil here, and hardly, if any, mulch.
Likewise, you should avoid raking the mulch into the shape of a deep basin. Remember, the tree’s exposed roots need to stay exposed. Creating a bowl with the mulch to retain water will drown those exposed roots and compromise the health of your tree.
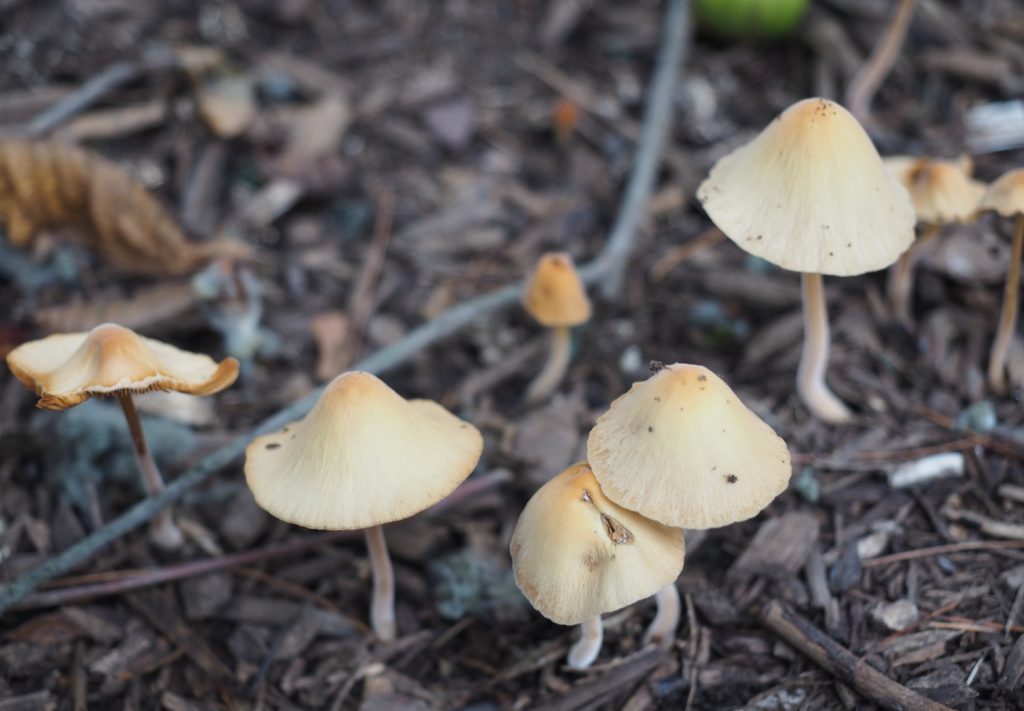
Apply mulch evenly at a depth of 4 to 6 inches. Use more mulch for water-loving trees like willows, and less for drought-tolerant trees, like post oaks. Mulch retains moisture, so don’t use too much if the tree species in question is prone to root rot. If you’re noticing mushrooms popping up in your mulch, you may need to remove some to help it dry out.
Ensure adequate drainage
When placing stones, keep a small space, about the thickness of two coins, in between them. This will allow excess water to escape from the bed. Using thin layers of soil and mulch will also encourage adequate drainage.
If you used rocks to even out the terrain around the tree, you can use chicken wire to further support good drainage. Cut sections of chicken wire to line the inside of the stonework before adding gravel, soil, and mulch to help prevent the layers from becoming too compacted. This will allow excess water to make a quick escape so your tree and plants aren’t sitting in a big muddy puddle.
Aerate surrounding soil
Compacted soils are a major threat to a tree’s health. Keep foot traffic to a minimum and avoid parking or using heavy machinery near the tree’s root system. Even small cars and riding lawnmowers can lead to compact the soil excessively over time.
You can help prevent soil compaction by aerating the ground around your tree regularly. Strap on a pair of aerator shoes and walk around under the tree’s canopy every month or two. Keeping the soil surrounding your rock flower beds nice and loose will help the tree breathe.

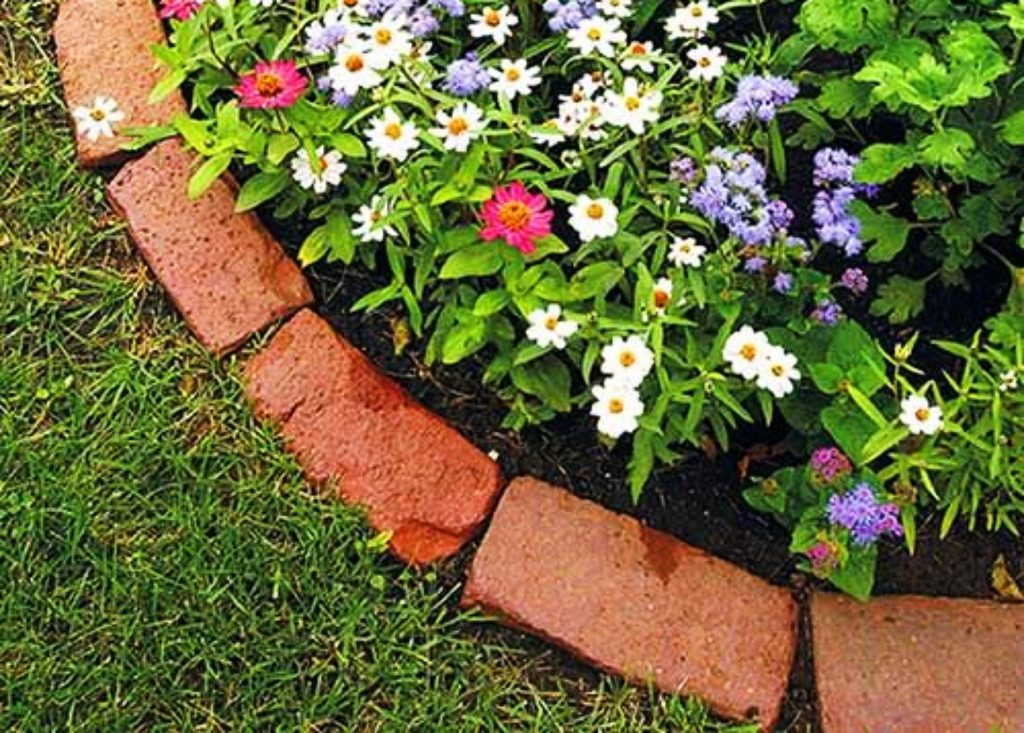
Use landscape fabric (not plastic!) to prevent weeds
Sooner or later, the flower beds around your trees will develop weeds. It’s best to simply uproot them and toss them into your compost bucket. But if you want to save yourself some time and labor, you can add a layer of landscape fabric to help discourage weeds from growing.
Lay landscape fabric over the top of the soil, cutting out holes for your plants to grow through. When the whole bed is covered, you can backfill it with a thin layer of mulch. Never use plastic to prevent weeds in a tree’s flower bed, as it will prevent water and air from getting to the roots.
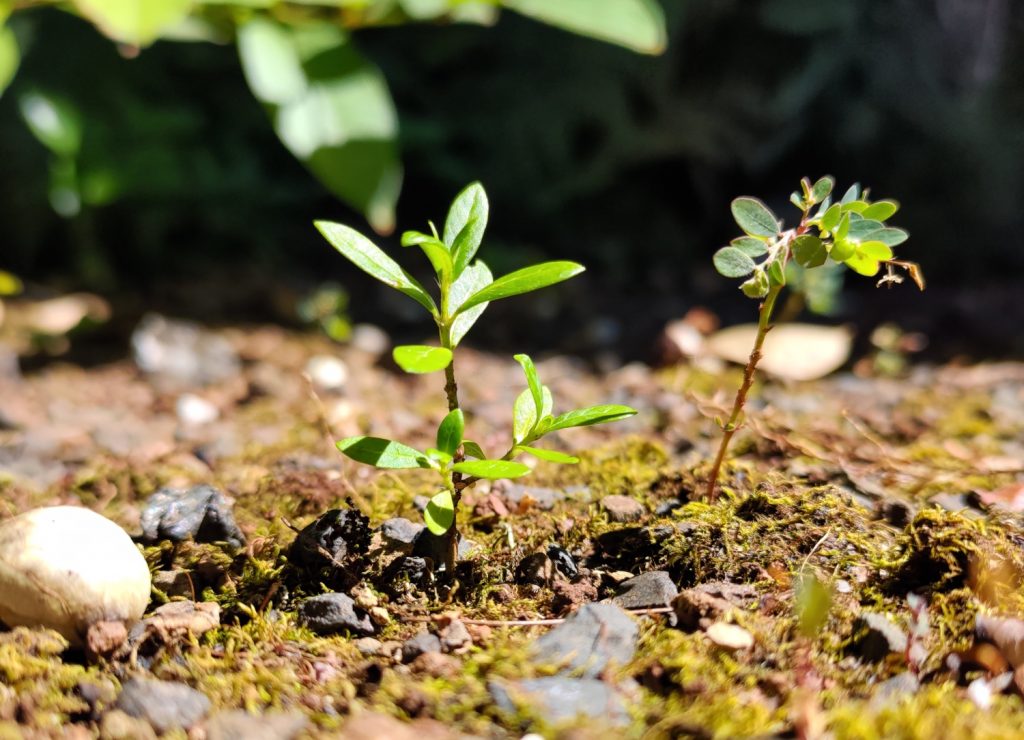
Choose plants that can tolerate full to partial shade
Once the rocks have been laid out and the bed has been made, it’s time to fill it. Choosing the correct plants will help keep the soil loose and airy for the tree roots below. It will also promote good drainage.
Use litmus test papers to check your soil’s pH. You should also determine whether or not your soil is sandy, loamy, or clay-rich. Understanding your soil — whether it’s fertile or nutrient-deficient, acidic or alkaline, well-draining or moisture-retaining — will enable you to choose the appropriate plants.
Because your rock flower bed is built around a tree, be sure to choose plants like mint and ferns, which have low light requirements. These plants grow well in moist areas, so they will help soak up excess water to keep your tree healthy.
We also recommend familiarizing yourself with plants that are native to your ecozone. Using plants that naturally sprout up in your region supports your ecosystem as a whole by providing food for local pollinators and, consequently, other animals higher up on the food chain.
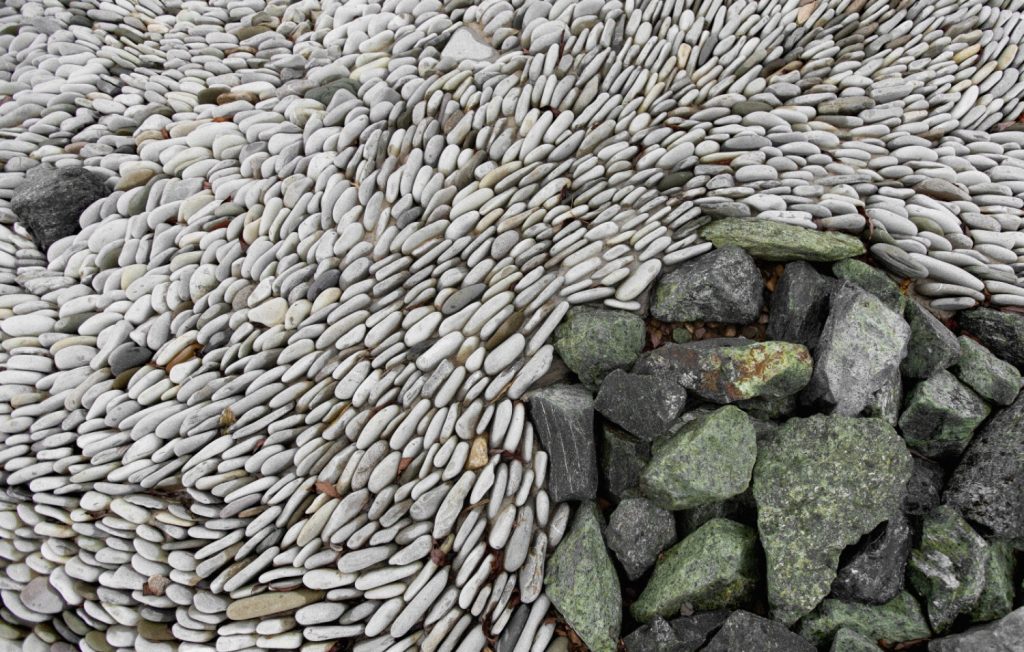
Build a rock garden
If you’d rather not bother with a flower bed, you can use rocks to create a design around the base of the tree. Layer decorative pebbles to create an intricate scale pattern, or build a stone border and fill the inside with petrified wood and other fancy rock finds.
Rock gardens are much easier to care for than plants, obviously, since you don’t have to water, prune, or fertilize them. They also promote good drainage and air circulation. Overall, rock gardens are a pretty and incredibly low-maintenance way to landscape your backyard.
What are the benefits of landscaping around trees with rocks?
Believe it or not, landscaping around trees with rocks can actually be a good thing. For starters, it helps prevent erosion by adding structural support to the soil. It also helps retain just enough moisture to keep the tree healthy, which is especially beneficial during droughts. Additionally, using rocks to border your trees prevents the need to weed-eat around them. Weedeater line can damage a tree’s bark, making it more susceptible to insect infestations and diseases.
With a little time and planning, you can use stones to create a beautiful flower bed or rock garden around your favorite trees while also taking measures to keep them healthy.