We’re here to help! Wild Yards is a completely free website that is 100% dedicated to helping you create a wildlife-friendly, sustainable yard. Read more
WildYards is reader-supported. When you buy a product through a link on our site, we may earn a comission. Every product is independently selected by our (obsessive) editors and our reviews are unbiased and objective. Read more about our mission or our privacy policy.
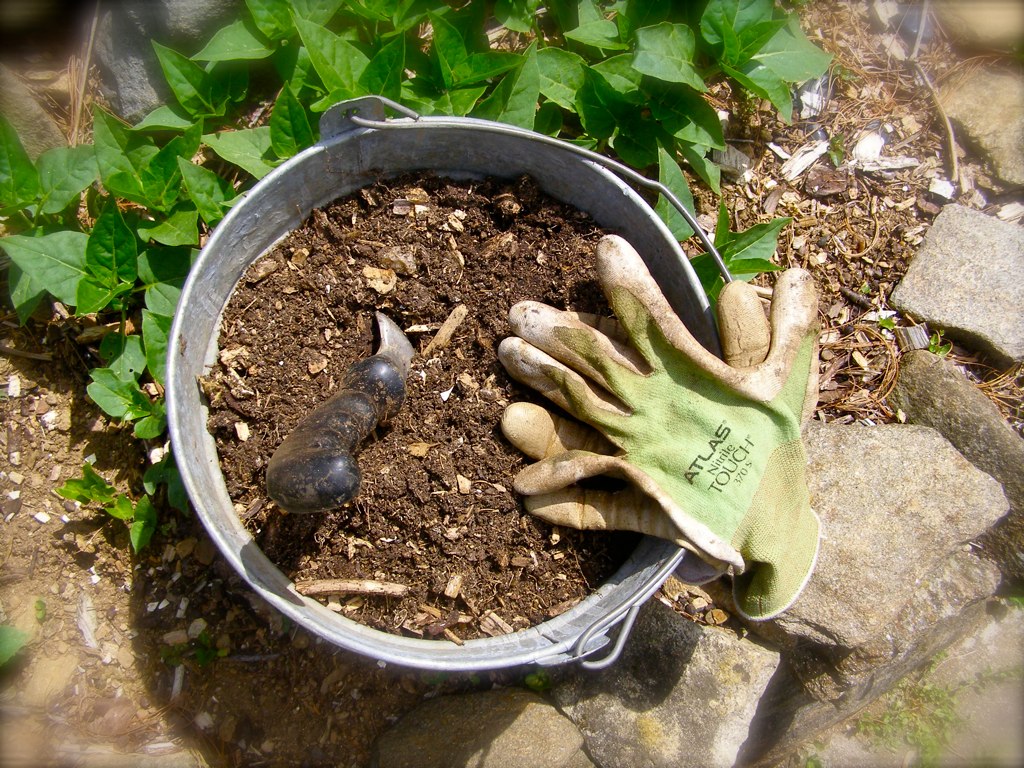
Composting is a great way to give back to the environment. Instead of disposing of green or brown waste in the trash, we can use it to help nurture our gardens. However, composting can take up space – have you considered composting in a bucket if you’re short on room?
You can start composting in various containers – including simple five-gallon buckets. The key is choosing the right bucket for you and sticking to a few strict composting rules.
Why should I start my own composting bucket?
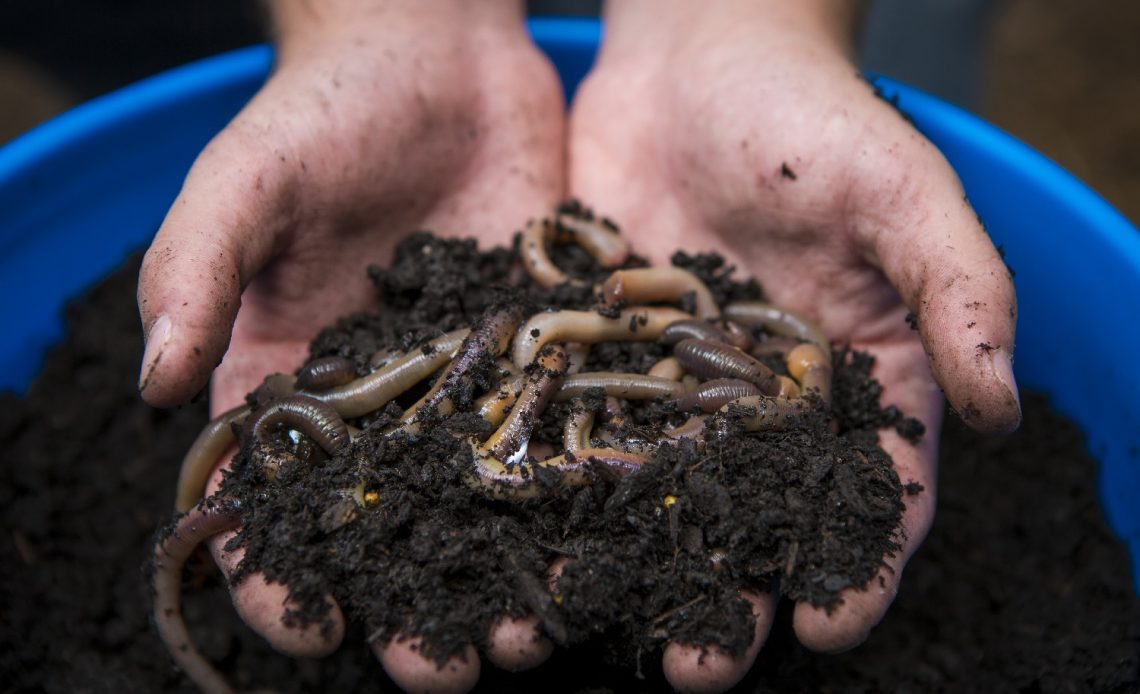
Composting is a fantastic way to get rid of lots of household waste while helping your plants, trees, and flowers to thrive. During composting, bacteria and microbes will help to break down organic waste into a nutrient-rich blend, perfect for growing healthier greenery in your garden. Instead of planting seeds directly into bare soil, you can bed them down in a compost medium for more efficient and stronger growth.
Beautiful plants such as lavender, philodendron, and peonies are just a few specimens that will thrive with a healthy, occasional addition of nutrient-rich compost.
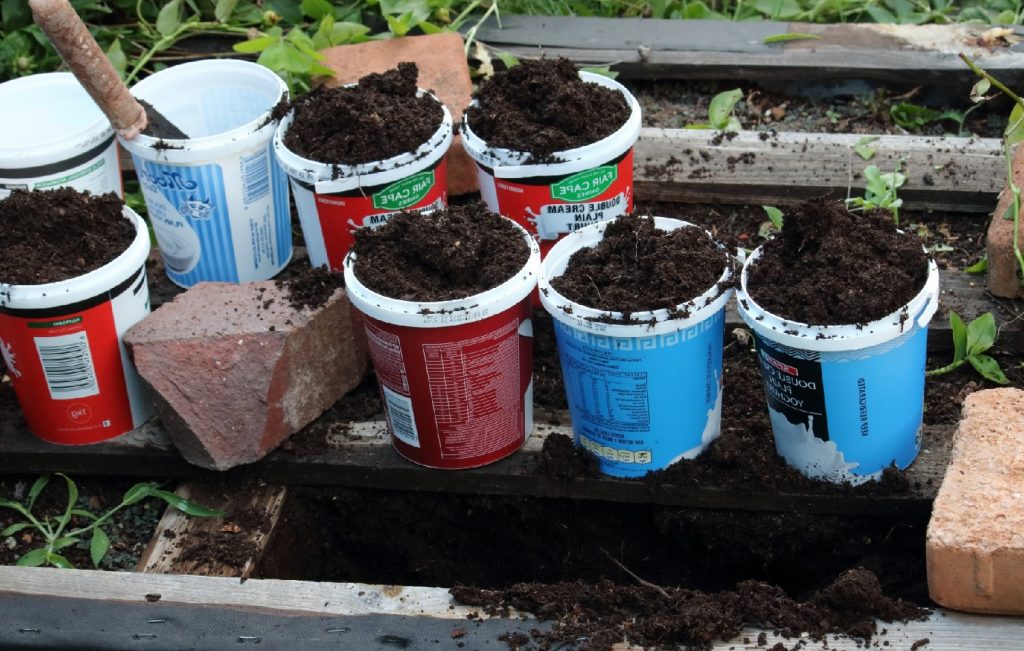
You don’t necessarily need to invest in a specialist composting unit or container, providing you have a simple bucket on hand. Specialist composters are recommended for very large gardens, allotments, or plots. If you’re simply helping your flower beds to thrive in the summer to come, all you’ll really need is an inexpensive five-gallon bucket to get started.
Setting up your composting bucket
You can use nearly any five-gallon container or bucket as a composting unit by making a few adjustments with some everyday tools. It’s good to have the following items to hand to help you get started:
- A drill and bit (medium or large)
- A hammer and nails
- Drainage material (a small collection of sticks or twigs work well)
- Green waste (such as coffee grounds, garden clippings, and vegetable scraps)
- Brown waste (such as cardboard, paper, leaves, or even mulch and straw)
It’s important to make sure your bucket is strong and sturdy enough to hold compost securely and that it’s unlikely to break or spill open. You should choose a bucket or container with a tight-fitting lid.
How do I know if I have the right bucket for composting?
Before you start making holes in your bucket and layering the bottom with waste, it’s prudent to check the durability of your chosen container. As mentioned, weak material will split open and deform if put under too much pressure.
If buying a new container outright, check for materials while shopping around. For example, PETE or PET is a tough, but lightweight plastic and may be ideal for compost bins that require moving from time to time. You may need to move your bin in extreme heat – otherwise, the contents will dry out. The same applies in extreme cold, too!
PVC, or polyvinyl chloride, is tough and rigid, though it’s a little infamous for leaking toxins. It is resistant to temperature changes and is therefore popular for use outdoors – but may not be the most environmentally-friendly choice.
Metal buckets, meanwhile, are often coated with a protective sealant or paint. These usually have thinner walls which can heat up or freeze quickly.
Do also consider ease of use. Does your bucket have a lid that can be opened with one hand? If you are busy or in a rush, it’s easier to hold items for composting in one hand as you lift the lid with the other. This may seem petty, but wait until you hurry to the compost bin on a rainy evening with a bag of peelings! Ease of handling can save time and prevent you from getting drenched.
You will likely wish to move your compost bin from time to time. If your bucket’s handle is thin and wiry, it may cut into your hand as you lift, especially if it is fully loaded – so, try and choose a container with a thick, comfortable handle. Otherwise, you may wish to remove the handle altogether with a pair of pliers. Removing your handle will also mean you can roll your bucket around if you need to, for example, if it gets particularly heavy or densely packed.
Drilling holes in your compost bucket
Without air holes, your compost bucket simply isn’t going to work efficiently – and it’ll also need gaps in the bottom to drain liquid efficiently.
With your drill and bit (or hammer and nails), make a series of holes smaller than an inch in diameter across the top (lid), sides, and the bottom of your bucket. You’ll need to make more holes on top and bottom than along the sides, so be sure to balance carefully.
Loading your compost bucket
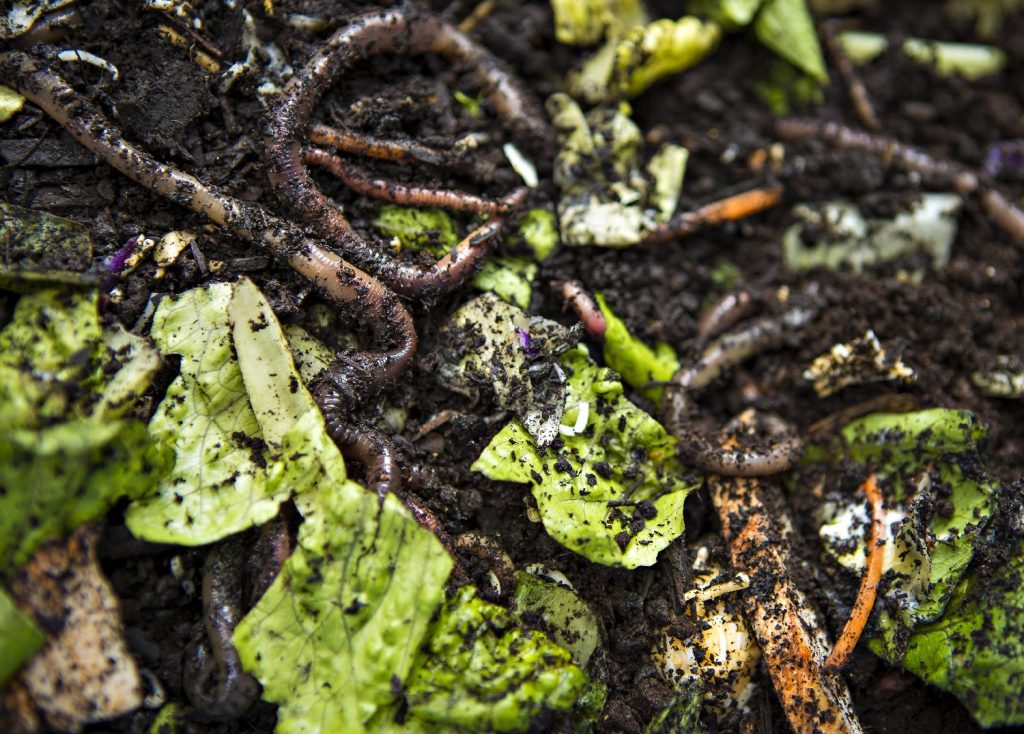
Place some twigs, dried leaves, and/or shredded cardboard at the bottom of the bucket, then build up compost in layers. Twigs/sticks and brown waste can help prevent drainage holes from clogging up and growing moldy. Layer in your brown waste (as you should have already collected), then switch to green matter.
Green matter includes grass, peelings, vegetable waste, weeds, garden waste (including deadheaded flowers), over-ripe fruits, and general kitchen scraps such as coffee grounds and tea bags. After adding a similar sized layer of green waste, move back to brown.
To create a healthy compost pile for your plants, it is essential to have a perfect balance between green and brown. You will need to regularly insert a variety of green and brown matter to ensure that your compost is nutrient-rich but balanced.
Ensuring you alternate your layers, adding a little water as you do, fill your bucket right to the top.
What materials should not be composted?
Diseased, decaying materials from inside the home and outside in the garden should not be composted, as they can affect and transmit their diseases into the compost pile. There, they will rest until they reach the bases of your plants, thus transferring them again.
Oily foods, meats, fish, eggs, bones, plastics, petroleum products, synthetic materials, and metal items have no place in a compost bucket. They can ruin a batch of compost if inadvertently placed inside. If you accidentally add any of the above, the entire contents of the compost bucket should be removed and the bucket cleaned before you start a fresh batch again.
Try and avoid adding materials that can take a long time to degrade – such as bone and wood. Bone, much like meat, can also attract unwanted attention from vermin if not properly cleaned.
Monitoring the contents of your compost bucket
Use a garden fork to regularly turn over your compost, especially when adding new material. This ensures you mix the decaying material and that microbes have easy access to do their job! When you add fresh material to the compost bucket, try to dig it into the center of the composting material.
To compost efficiently, material needs heat, and the warmest part of the bucket is in the center of the heaped matter.
If your bucket lacks a handle, as mentioned, you can roll it backwards and forwards to help boost airflow and mix up the contents.
Where should I place my compost bin?
A five-gallon bucket can usually be hidden discreetly behind a bushy shrub or hedge. Placing it by an outside faucet can be handy, too, as it may need refreshing with water. Collecting rainwater near the compost bucket is a good idea if you don’t have an outside faucet. This will save you time and effort carrying a watering can or dragging a hosepipe to and from your bucket.
Depending on the zone you live in, weather conditions may influence where you position the bin. Compost buckets placed in the open sun will degrade faster, but some materials – such as metal – can heat up to scorching temperatures.
Keep your compost bucket away from your home wherever possible – otherwise, bad smells will likely waft in through your windows. At the same time, if you don’t want to attract vermin or deer into your yard, keep your bucket away from the far edge of your garden where they are likely to enter.
Keeping your compost moist – why it matters
It’s essential to keep the contents of your compost bucket moist. As you add it, layering matter can help ensure a good mix of nutrients.
Turning over the contents from time to time refreshes the activity inside the bucket. A good mix of green and brown matter usually results in nitrogen-rich matter. Rolling and turning a compost bucket will also ensure that your contents are well-aerated and that your mix stops smelling too pungent.
The majority of gardeners’ problems with composting revolve around moisture and air quality. By regularly turning and adding to your bucket, you’re likely to avoid these problems in the long run.
How can I tell if my compost bucket is working?
If your compost bucket’s temperature rises (not just because of its position in the sun), the microbes are working! Their activity generates heat – but, you’ll normally start to see your compost level contract by half within five to six weeks.
This should allow you to collect liquid from your compost pile to provide to plants as rich ‘tea’ – whether from a spigot or faucet or by dipping into the bucket. Of course, you can also start to remove compost from your bucket around a month (plus) if you’re ready to start planting seeds. Make a plan for when your chosen seeds need to bed down, and start composting a few weeks ahead of time.
You can keep adding compost to your beds throughout the year, too, to ensure your crops get plenty of nutrients beyond bare soil.
Is composting really worth it?
Composting in a bucket is a wonderful idea if you’re growing plants to attract pollinators or as part of your lawn rewilding. If you regularly throw away green or brown waste with the usual trash, it’s much more eco-friendly to give some of those nutrients back to your local environment.
You’ll benefit from healthier, faster-growing plants and a wider variety of beneficial animals visiting your yard. The best part – of course – is that composting with a bucket is never expensive or time-consuming!