We’re here to help! Wild Yards is a completely free website that is 100% dedicated to helping you create a wildlife-friendly, sustainable yard. Read more
WildYards is reader-supported. When you buy a product through a link on our site, we may earn a comission. Every product is independently selected by our (obsessive) editors and our reviews are unbiased and objective. Read more about our mission or our privacy policy.
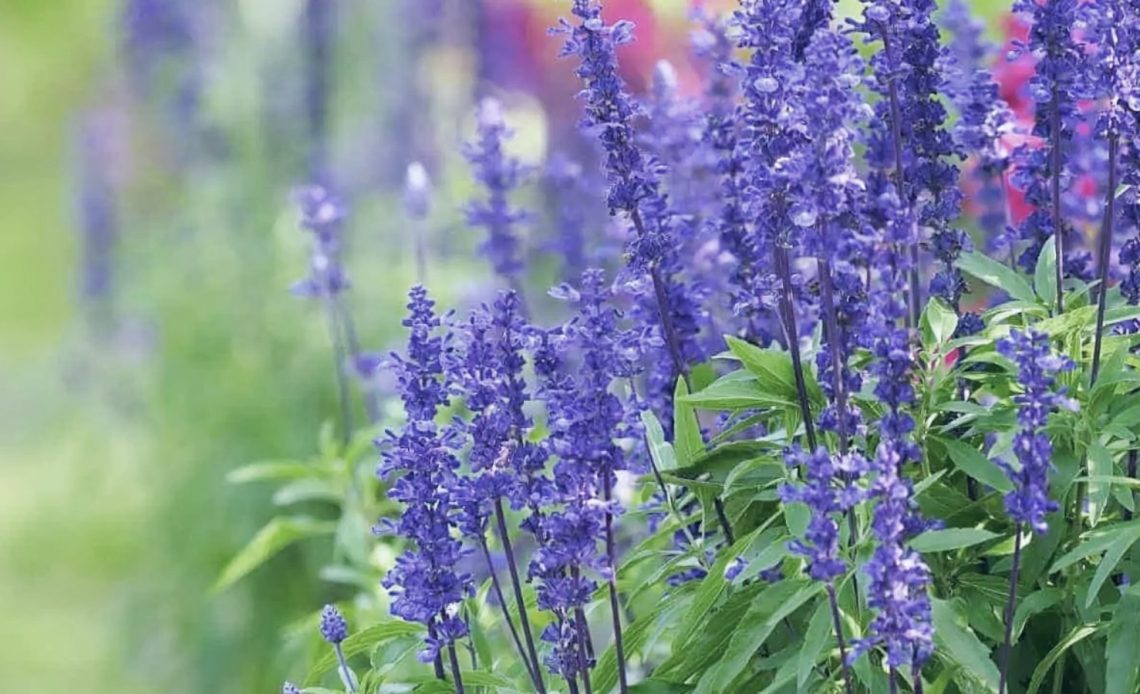
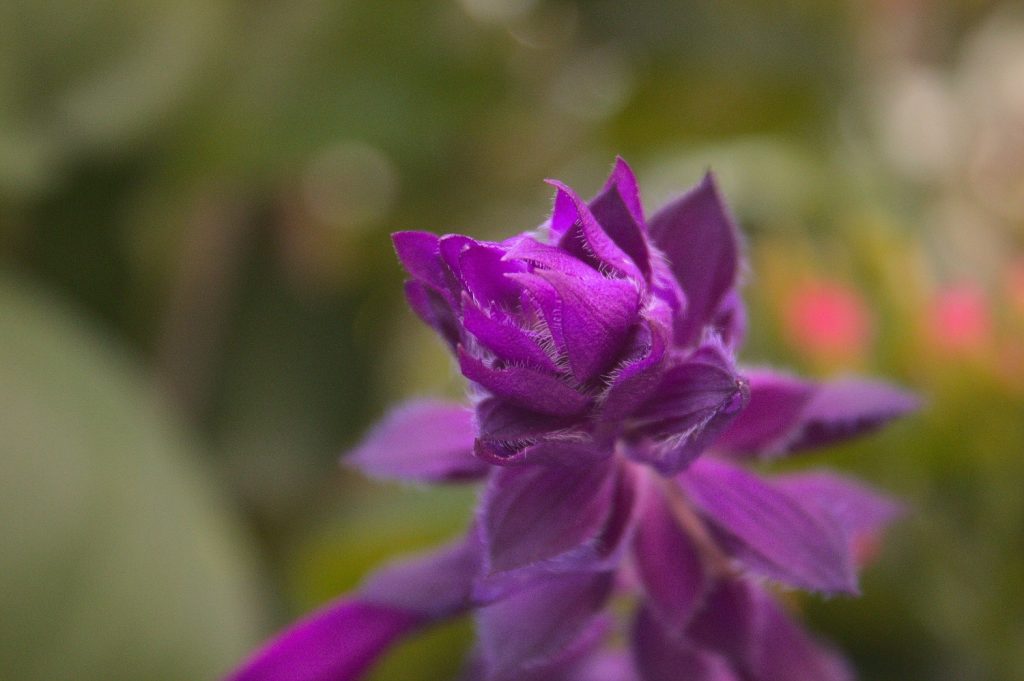
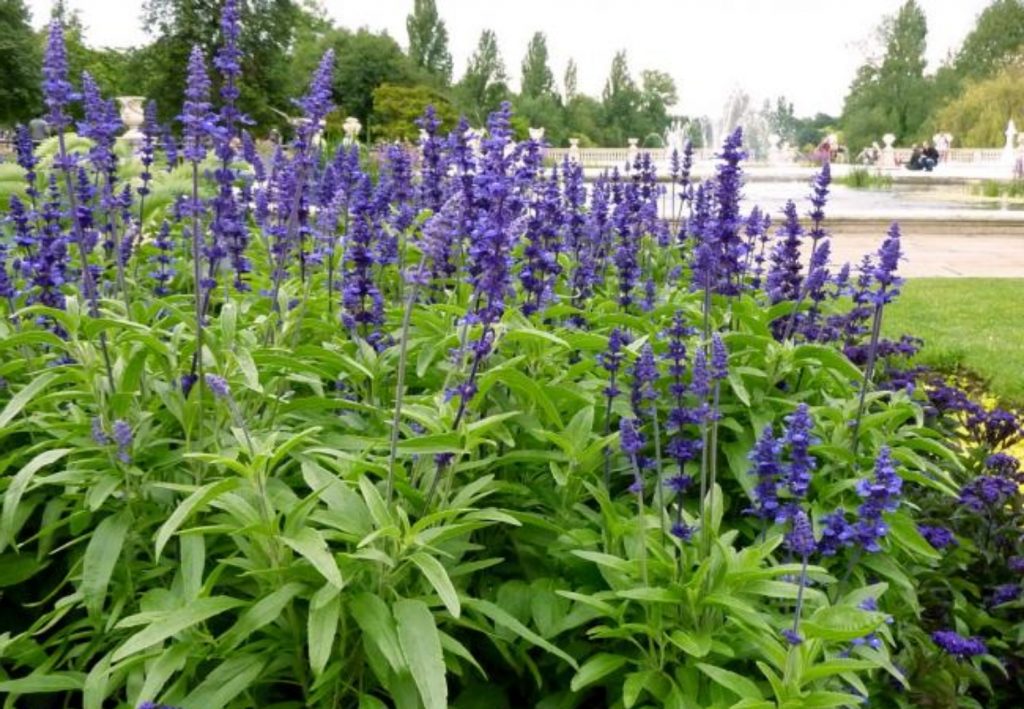
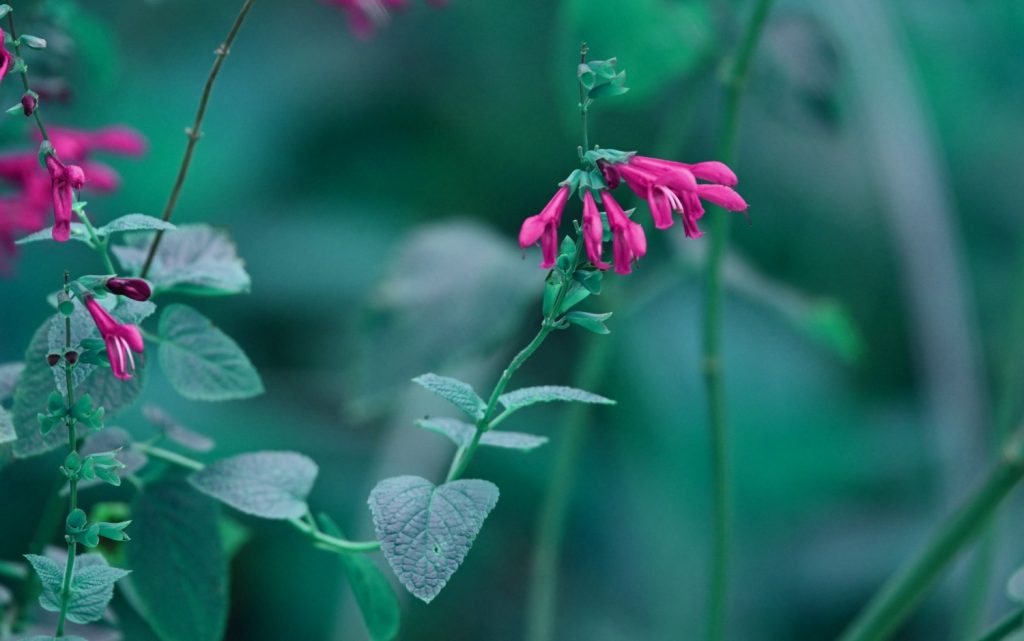
Salvias are immensely beautiful to watch blooming across the growing season. They tend to flower for longer than many specimens in dry weather – but, sadly, there are common problems with salvias that catch gardeners off-guard.
Salvia leaves can wilt and develop powdery mildew, and the plants themselves sometimes struggle to re-emerge after winter. Thankfully, there are a few ways to help bring your salvias back to health.
Powdery mildew
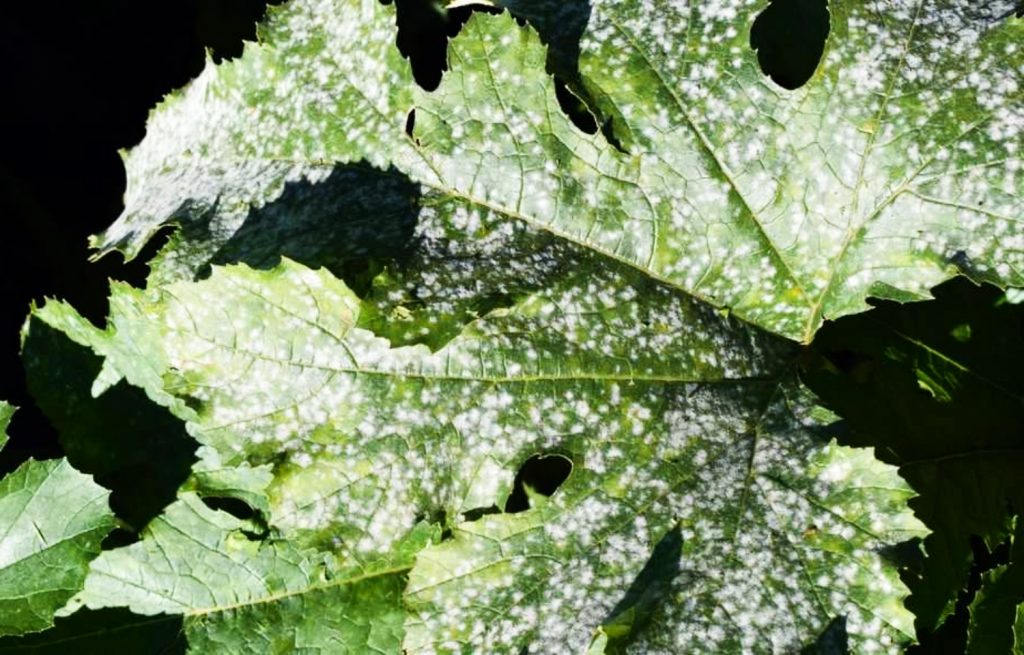
For all salvias are reasonably hardy, powdery mildew – a disease borne out of humidity – may cause your plant’s leaves to crisp up and die. This type of mildew is easy to recognize thanks to its scattered, white spots, and it’s important to act fast to prevent it from spreading to other specimens.
Powdery mildew typically won’t kill salvia but will stunt its growth and potentially prevent flowering. The best way to counteract the growth and spread of this disease is to look closely at how air circulates around your salvia. Before growing, space out your plants by around 12 inches per specimen.
Many types of mildew grow and thrive when moisture is rife, meaning it’s vital to ensure your salvias’ soil drains well. To eradicate powdery mildew, you may need to invest in an organic fungicide. Or, you could grow chamomile as a companion plant to prevent further fungal growth.
At worst, you may need to remove infected leaves outright. This may harm your salvias’ growth potential, but not as much stunting as you expect by leaving mildew to fester.
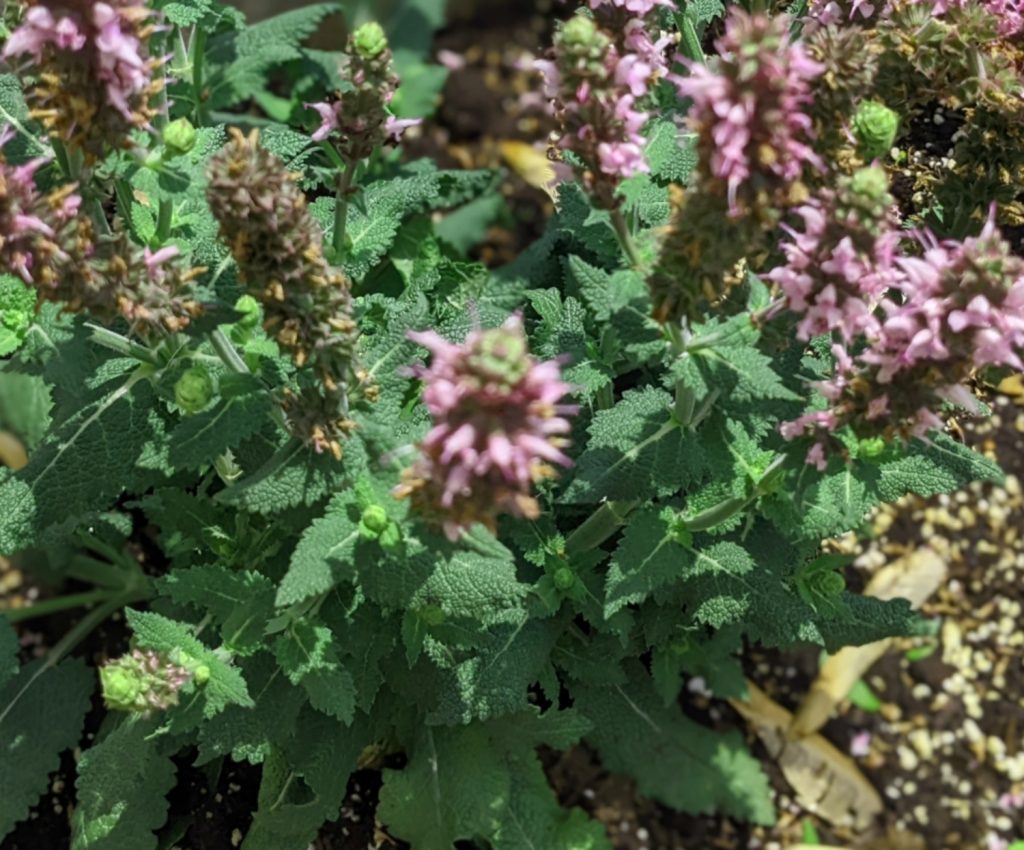
Slow blooming
Salvias typically flower across the growing season well into October and November in most USDA zones, but they can slow down (or even fail to flower at all) if they have poor sunlight. As a plant that thrives in arid conditions and climates, the salvia needs access to intense sunlight for up to eight hours each day.
If your salvias fail to bloom after several months of sprouting into the spring, consider uprooting them and moving to a sunnier patch. A word of warning, be careful to emulate their soil conditions as closely as possible to minimize the risk of shock. Shocked salvias may also struggle to bloom or grow further.
It’s not uncommon for young salvias to take their time to bloom in their first year, but they will typically show flowers by the end of their maiden growing season. Show a little patience and only take action if you’re flowerless by the start of summer.
Flopping and wilting
Salvias look stunning when upright and receptive to sunlight, but flopping can occur if they are improperly watered or fertilized during the growing season. A lack of sunlight, again, may even cause upright salvias to start drooping and hanging low.
Carefully water your salvias during warmer months. They normally won’t need more than an inch of water each week. You may not need to water them so frequently if you have a particularly drought-resistant variety. Take into account any local rainfall in your watering schedule – as over-watering will lead to flopping plants!
It’s more important to let your salvias’ soil drain as clearly as possible. Moisture and sitting water will cause flower flopping and encourage fungal growth. Fungal disease, too, can affect how upright your salvias stand in your garden.
Salvias may also flop and wilt if they receive too much fertilizer. Nitrogen-rich feed is always welcome, but these plants typically fare well with only occasional drops. Be sure to check your salvia species’ individual needs. They may droop from over-fertilization if they get too large for their roots.
An alternative solution to preventing salvia drooping and flopping is to prune and deadhead your plants wherever possible. Pruning back after flowering won’t harm your plants’ chance of growing further. Regular clipping can promote faster, more regular flowering in the months to come.
Do also remember that water weight can cause flopping and drooping. As salvia gets heavier, it can get harder for your plants to hold themselves upright. This may not be a result of any of the above issues (or even root rot) – in which case, consider caging or staking up your plants to offer a little more support. Alongside managing your watering schedule, this extra ‘backbone’ will help to keep your salvias standing up and reaching for the sun.
Even if you’re not overwatering salvia, drooping can occur thanks to heavy rainfall. It’s another key reason why your plots should always drain clear. When growing salvia from scratch, it may even be worth considering a raised bed to ensure optimal aeration and drainage.
Leggy stems
Leggy stems can lead to salvias looking less colorful and more overgrown – and legginess generally occurs thanks to inconsistency with watering. Keep watering your salvias throughout dry periods even though they are dry-loving specimens – keeping in mind the ‘inch of water’ rule mentioned above.
Leggy stems may also arise through poor sunlight – again, salvias require up to eight hours of sun each day, with a minimum of six recommended in the right spot in your garden. Legginess in salvias may indicate the plants are simply trying to stretch out and find more sunlight!
As with caring for under-flowering salvias, a prudent move may be to simply reposition and replant your specimens elsewhere in your garden. Allow salvias time to get accustomed to their new spots, mimicking soil quality and easing them through transplanting shock.
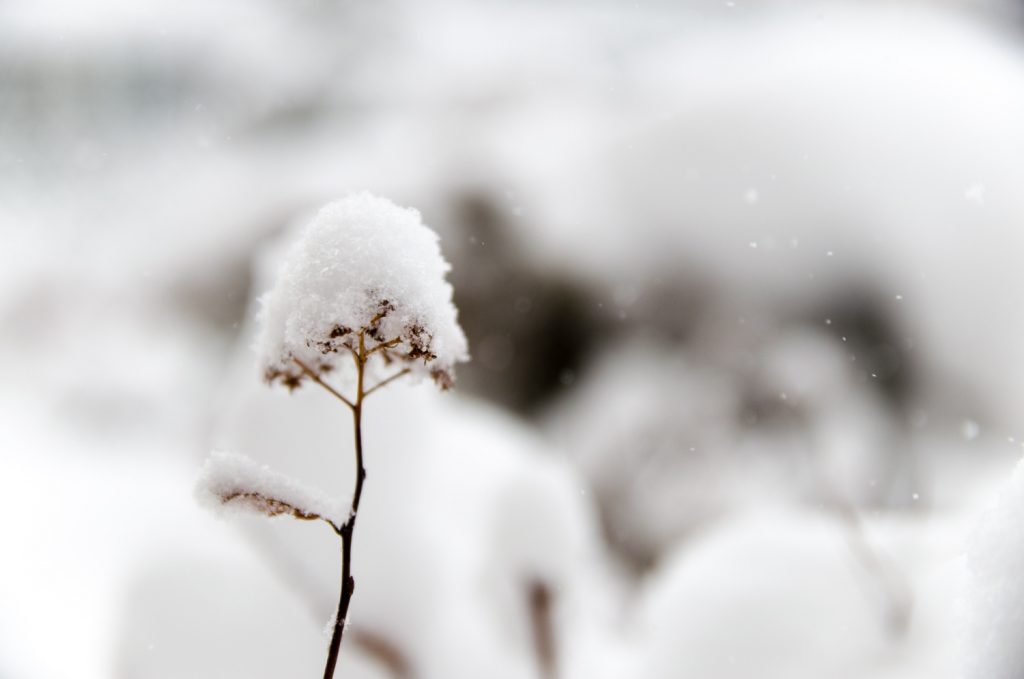
Failing to survive the winter
Salvias will typically return each year with optimal conditions, and you’ll normally rely on them as perennial specimens if you live in USDA zones 4 up to 10. This may vary depending on several factors, meaning if your salvias don’t come back from the winter freeze, it may be that they’re in shock, weren’t planted early enough in the year, or aren’t in an optimal spot.
It’s best to plant and start growing salvias from spring onwards if you’d like them to survive their first winter. Find a spot with abundant sunlight and well-draining soil. Planting in spring will give your salvias ample time to adjust to their location and nutrients and hopefully prepare them for the cold spell yet to come.
If you have particularly tender salvias, and/or live in a colder zone of the US, you may do well to move your plants indoors until spring. Try to emulate their growing conditions in a pot, perhaps assisted by a growth light. Be patient for salvias to adjust over several weeks to being indoors, as they will take time to bounce back from shock.
Defoliage
Salvias can, like many plants in arid conditions, suffer from pest attacks that can see their leaves start to get eaten away. Aphids, for example, are the bane of many gardeners’ lives – and while they may not always fly straight towards salvias, they will happily munch away on green leaves, stunting your salvias’ growth.
Caterpillars and beetles will also feast on salvia foliage, damaging the look and vitality of your plants in a short period. A quick way to get rid of pests is to spray them away with water, though this will only be a quick fix.
Avoid using pesticides and chemical sprays around your salvias to remove pests. While store-bought solutions can help kill unwanted bugs, you risk harming your plants and welcoming visitors to your garden. Pollinators such as bees and wasps, which will also help remove pests from your yard, may suffer if sprayed.
Instead, consider using a homemade insecticide or a little natural neem oil around your salvias to prevent insects from visiting your specimens. Neem oil, an extract of the Azadirachta indica tree, will also help to stave off fungal disease.
Alternatively, consider companion planting with lavender and alliums to produce strong smells that distract and confuse common pests. If growing salvias with alliums such as onions, be wary of soil space, as their roots will compete heavily for nutrients.
Typically, salvias are fairly pest-resistant, but preparing ahead by ensuring you companion plant and have neem oil or non-chemical insecticide to hand is vital.
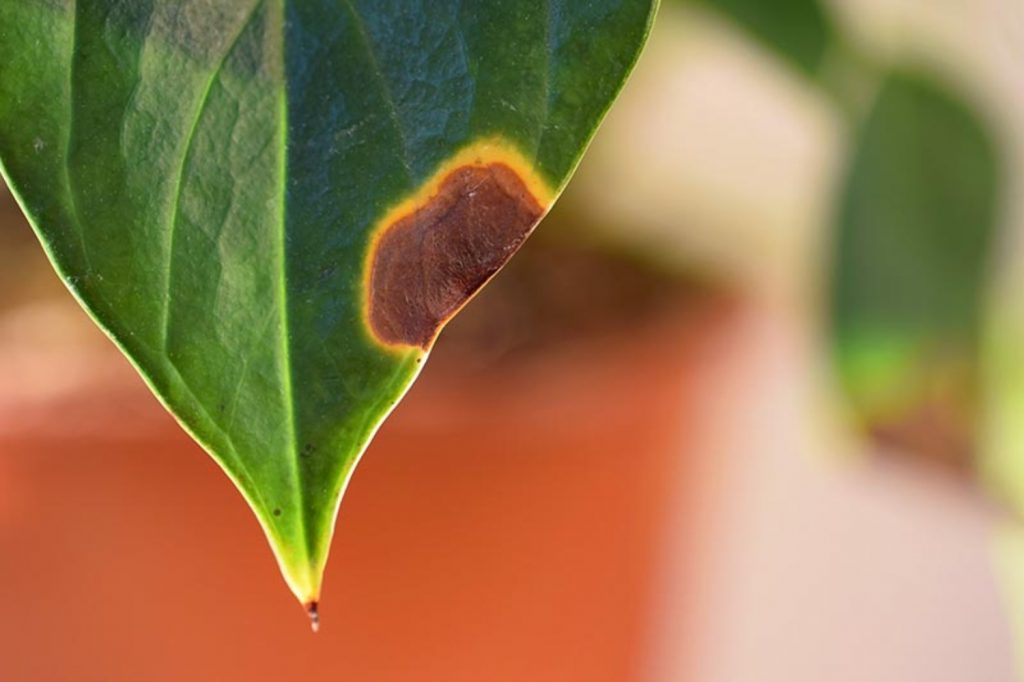
Brown tipped leaves and stems
Salvia leaves will generally tell you if there are problems before any other parts of the plant, and their tips turning brown may indicate your specimens are in shock. Salvias may get shocked easily when moved from one extreme to another, and it’s not unusual to find leaf tips browning up.
While fairly common, browning leaves need immediate attention. When moving salvias from one area to another (e.g., elsewhere in your garden or inside during the winter), be sure to stick to your regular watering schedule and ensure sunlight is available throughout much of the day.
If left to fend for themselves after transplanting, browning salvia leaves may eventually crisp up and fall off.
When your stems start to turn brown, it’s a clear sign to scale back your watering. Remember the ‘one-inch’ rule – otherwise, you risk letting your salvias fall prey to rot. Just because your stems turn brown doesn’t mean the rest of the plant will avoid the same fate.
Salvias will rarely start to turn brown and crisp up due to dehydration, though it’s not unheard of. Consider any sign of brown coloring to be a warning to get your watering in check.
It’s safe to carefully remove any foliage that’s already turned brown and crispy – these parts of the plant are, sadly, already dead.
Yellowing leaves
In many plants, yellowing leaves indicate insufficient or excessive watering, and salvias follow this rule. Specifically, you’ll find yellow leaves towards the base of your salvia if you’ve watered it too much.
Underwatering will display itself in brown leaves (see above) and slight yellowing. You usually won’t experience this with salvias, but if you do, give your specimens a healthy drink before carefully getting back on track with regular watering. If you’re unsure if your salvias are getting enough water, gently press your finger into its soil up to an inch. If it’s dry, you’ll need to give your plants a little soak before getting back on track.
Overwatering is easy enough to fix, simply by halting your schedule for a little while until your salvias’ soil drains of water. You may also wish to remix its growth medium with a little homemade compost to help aerate.
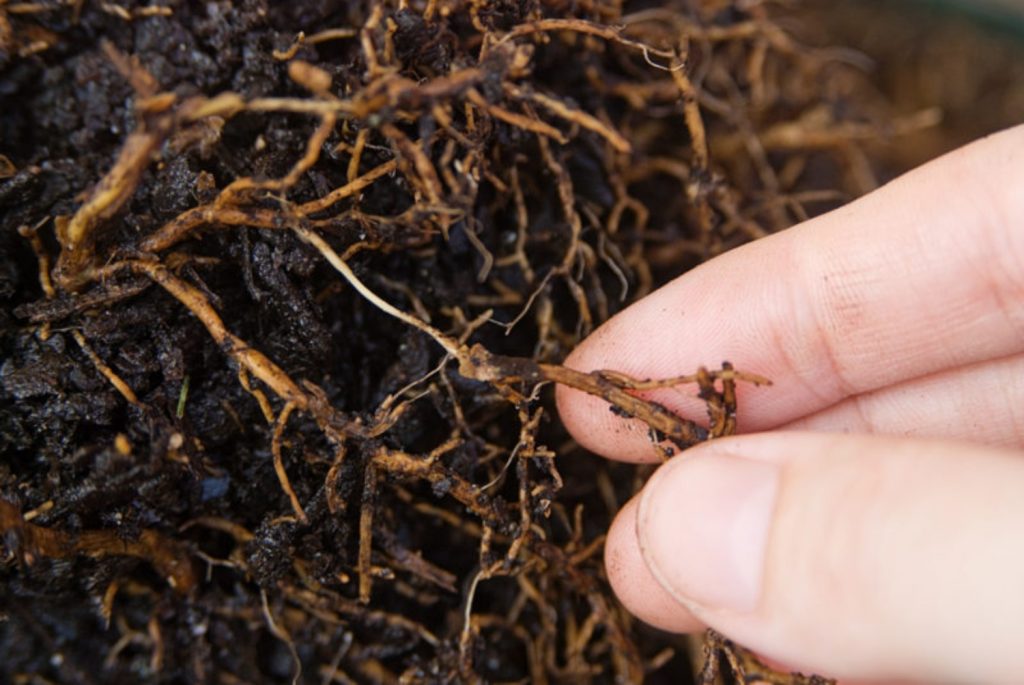
Root rot
Root rot is a common affliction among salvias despite their hardy reputation, and this can arise through excessive moisture and water pooling. Similar to how mildew arises in the plant, if your salvia is constantly sitting in water on extremely hot days, it’s likely that root rot, a knock-on effect of fungal disease, will start taking effect.
The tricky part of this puzzle is knowing when your salvia has root rot and when it simply needs a little watering/feeding adjustment. For example, you may find your salvia wilting even after deadheading and/or pruning. Wilting occurs, in this case, thanks to a lack of nitrogen in the soil – which may be easily fixed by fertilizing the growth medium or replanting your salvia altogether in a richer mix of compost and soil.
Your salvia plants may also struggle with root rot if they’re not growing properly or flowering as expected. Root rot prevents salvias (and other plants) from accessing the nutrients they need to live and grow. A stunted crop of salvias is likely affected by root rot if, for example, you’ve checked your watering schedule and sunlight levels only for growth to come to a complete stop.
Unfortunately, if you notice signs of root rot in your salvias, there are no cures that outperform prevention. Drainage is key – such as by raising your flower bed completely – but you should also look for fungal infections. Consider treating these with organic sprays and planting antifungal specimens like chamomile close by to stave off future sickness.
If, after treatment, your salvias continue to suffer, check over the points in this guide again. Beyond this advice, you may need to replant or repot your salvias altogether. Removing any plants you suspect have rotted from communal beds is prudent to avoid spreading disease to other specimens. Unfortunately, root rot causes can travel between plant species, making it all the more important to look carefully at the health of neighboring plants, too.
Are salvias difficult to grow?
Salvias are generally easy to grow either as perennials or annuals and can normally withstand extreme drought across USDA zones 7 up through 10. They are also known to bounce back in lower zones (from 4 through 6) and typically reseed themselves, providing ideal conditions.
Providing you care for your salvias appropriately and continue to divide and transplant at the end of the season, you can expect to get up to five years of growth from hardy perennials. This may vary depending on your location and the species of salvia you intend to grow.
For the easiest salvia growing experience (and to foster the hardiest of blooms), consider cultivating salvia crops from seed after winter. Ideally, your soil temperature should be around 65 degrees Fahrenheit at the hottest.
For hardier salvia, try growing from seed as early on in the spring as possible. The warmer the temperature, the better – though if you leave growing these specimens late into the summer, you risk your plants fading early and not surviving the winter. You may even wish to grow salvia indoors before moving them outside for bigger, brighter yields.
Do also use organic compost to ensure your salvias benefit from a rich nitrogen level and that their roots can eventually breathe easily as they develop. Loose compost is great for ensuring drainage, too – if salvias are left to pool in water, they can develop various conditions.
By the time fall arrives, you may find that your salvias are still flowering and growing strong. Before temperatures drop into winter conditions, be sure to either let your plants go to seed or deadhead / prune them back (which is best if you’re growing in zones 7 up to 10). Knowing when to cut your salvias back before winter is vital for ensuring they make it through the freeze to another year of growth and flowering.
Can I save my salvia?
While salvias may suffer from transplanting shock and require dedicated sunlight, they are unproblematic flowers that will give you lots of warning signs to adjust their watering and feeding schedules. Perennial salvias, too, are reasonably hardy – meaning providing you catch any of the above problems early enough, there should be no reasons why you can’t bring them back to full health.
To better protect your salvias against potential rot, fungal diseases, and nutrition problems, make sure to plant them in sunny spots in your garden, to allow the soil to breathe and drain clearly, and to grow them with aromatic companion plants. Preventing these problems will ensure your garden stays colorful and bright – and you’ll keep bees returning to your yard, too.