We’re here to help! Wild Yards is a completely free website that is 100% dedicated to helping you create a wildlife-friendly, sustainable yard. Read more
WildYards is reader-supported. When you buy a product through a link on our site, we may earn a comission. Every product is independently selected by our (obsessive) editors and our reviews are unbiased and objective. Read more about our mission or our privacy policy.
A centuries-old practice that’s seeing a surge in popularity today, Hugelkultur is a no-dig gardening method that can save you labor, time, and money in the long run. Translated roughly from German to mean “mound culture”, Hugelkultur relies on decaying organic materials piled on top of each other to keep vegetable plants fed as they grow. When set up properly, Hugelkultur beds require very little maintenance. But which materials should you use to create Hugelkultur layers in your garden?
The base layer of a Hugelkulture bed is comprised of rotting wood in the form of logs, dead branches, sticks, and wood chips. Other organic matter can be piled on top, including lawn clippings, vegetable peels, and manure. Finally, the mound is topped off with soil and mulch to provide a rich growing medium for your plants.
What is Hugelkulture and why is it good for gardening?
Hugelkulture originated in the Black Forest region of Germany during the middle ages. The bed is designed to promote decomposition, layering large logs with sticks, leaves, soil, and mulch. A well-constructed Hugelkultur mound can last for more than 10 years and requires very little care. These beds can be constructed on the ground or in raised beds, to make tending to them easier.
Hugelkultur mounds mimic the forest floor. They’re largely self-sustaining because they’re extremely fertile and hold onto lots of moisture, reducing the need for constant watering. The combination of organic materials and tree branches provides ample space for water and oxygen to penetrate, keeping the plants in your garden happy.
Hugelkultur is extremely cost-effective because most of the supplies needed to create a mound can be collected at home. Additionally, these mounds are so nutrient-rich that they sometimes eliminate the need to amend the soil with compost and/or commercial fertilizers. Of course, how well you construct your Hugelkultur layers plays a huge role in how well your garden performs.
Where should you place your Hugelkultur mound?
Before you begin construction, take a moment to consider your property. How much space have you got to work with? Where do you want to place your Hugelkultur mound? Remember, these beds can last for more than a decade, so try to place your mound in a location where it won’t get in the way long-term.
Hugelkultur mounds perform best when placed in a bright, sunny location. If you live in a particularly hot climate, your Hugelkultur beds may do better in a spot where they can receive some shade in the afternoons. Wherever you decide to place your Hugelkultur mound, make sure it’s close to a water spigot and that you have easy access to it so you can move gardening tools and supplies around if need be.
What are the 7 main Hugelkultur layers?
Hugelkultur is a form of permaculture, a method of gardening that relies on observing what happens in nature and recreating those circumstances to enhance crop production. To build a successful Hugelkultur bed, you first need to have a better understanding of the Hugelkultur layers and how they function within the mound. Just what are the main Hugelkultur layers? Let’s take a look.
Foundational layer
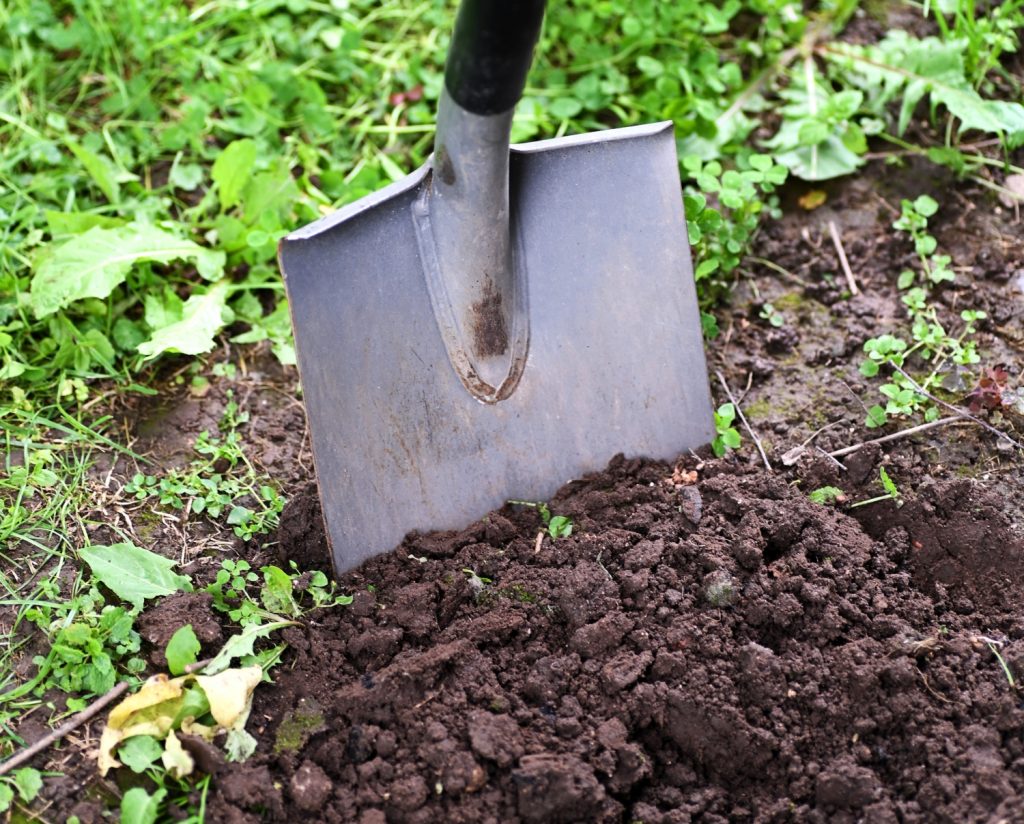
Before you start adding “ingredients” to your Hugelkultur layers, you need to prepare the site. The foundational layer of your Hugelkultur will provide support to every other layer in the mound. Start by evaluating your soil. Clay-rich soils tend to stay compacted and moist, so they require little prep work. But sandy soils will take a bit more effort.
Use a pickaxe or shovel to dig a central trench roughly 3 feet wide the whole length of your mound (how long you make your mound is up to you). The central trench should be 1 to 2 feet deep. This middle ditch will help anchor the rest of the Hugelkultur layers.
Once your central trench is done, use your shovel to mark the center. Then, use a measuring tape to measure out 6 to 9 feet. Mark the center of your measuring tape, line it up with the center measurement in your central trench, and create a mark using your shovel on both sides of the tape. You’ll use these marks to create a secondary trench.
The secondary trench only needs to be a 6-inches to a foot deep. This shallower trench will help prevent the layers from shifting around. When you’re finished digging your trenches, the bed should resemble steps. Be sure to collect the soil that you scoop out on a tarp. It’ll come in handy later on.
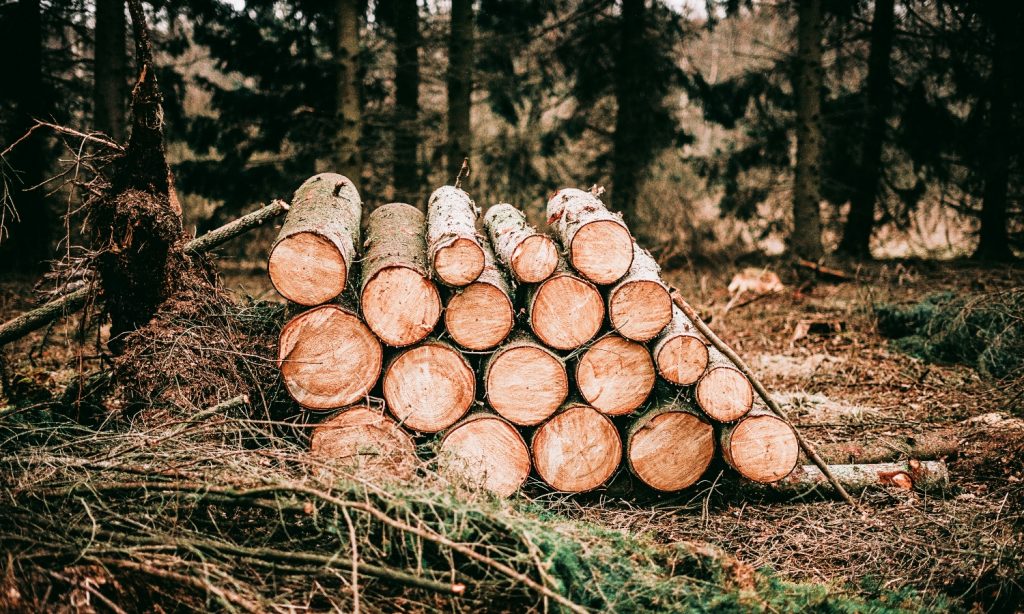
Log layer
Once your site is prepped, you’re ready to start building your Hugelkultur mound. Begin by lining the central trench with large logs. Ideally, the logs should come from hardwood trees, like oaks, ash, and birch, although softwoods, like pines and spruce, can be used as well. If you’re using a combination of hardwoods and softwoods, situate the hardwoods toward the very center of the trench, with the softwoods on opposite sides.
While the vast majority of trees are suitable for your log layer, there are a few you should avoid. Black locust, cedar, black walnut, juniper, and Osage orange trees can take a long time to rot. Other trees, like tree of heaven, can inhibit plant growth, so refrain from including them in your log layer.
You can also use large branches from sturdy shrubs and forest underbrush, like yaupon, to pad out this layer. Keeping large logs and woody branches at the bottom center of the trench will promote decomposition as you add more Hugelkultur layers. Your log layer should measure roughly 1 to 2 feet deep.
This layer of wood acts as a natural weed preventative, which will conserve nutrients for the plants in your garden. As the wood begins to decompose, it will also generate heat, keeping your seeds and seedlings warm as they mature.
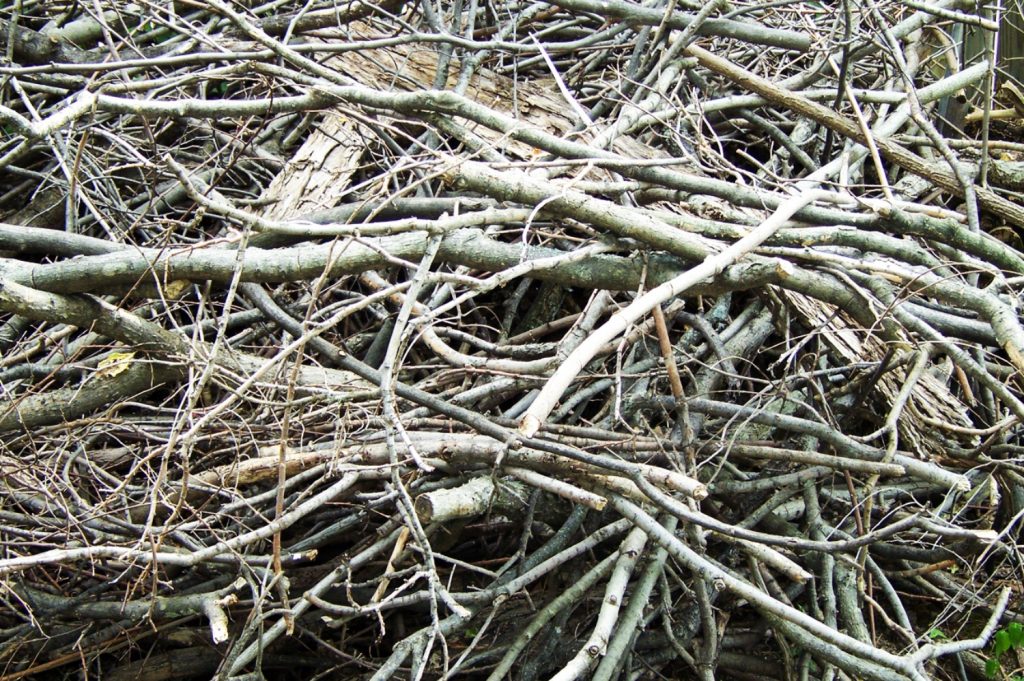
Limb layer
On top of your log layer, you should add a layer of tree limbs. It’s okay if the tree limbs still have leaves on them, and it doesn’t matter what kind of limbs you use. If your log layer was mostly comprised of limbs because you weren’t able to track down enough logs, then this layer will just be an extension of the previous layer.
Tree limbs will help support the following layers, and they will also add a bit of space between the following layers and the dense log layer. This air space will allow for better drainage, while also improving oxygen circulation, and promoting better decomposition.
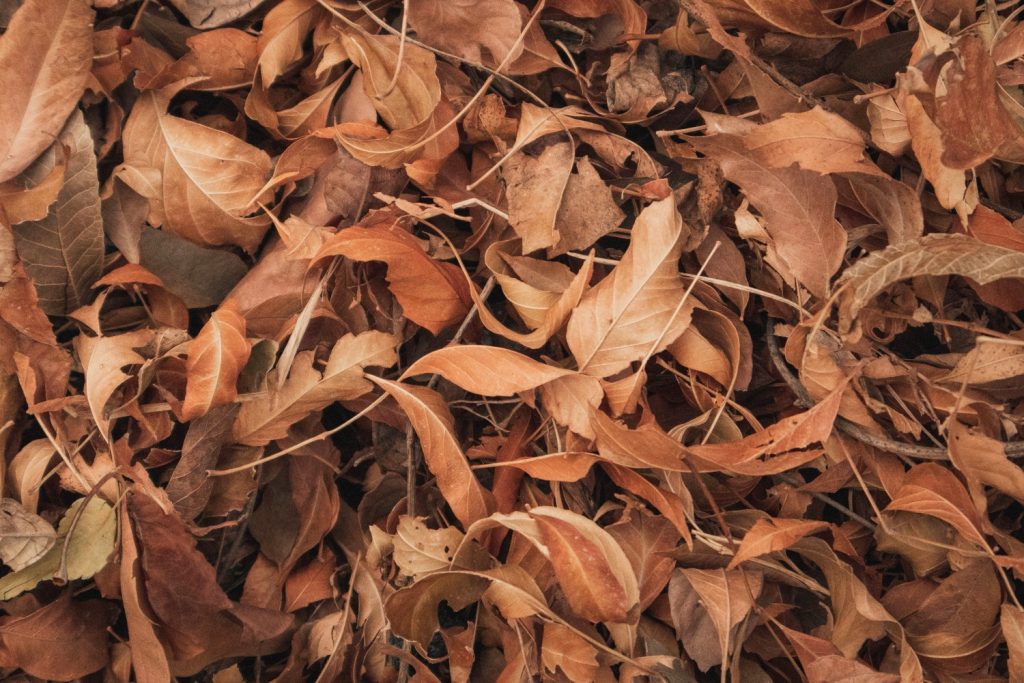
Dead leaf layer
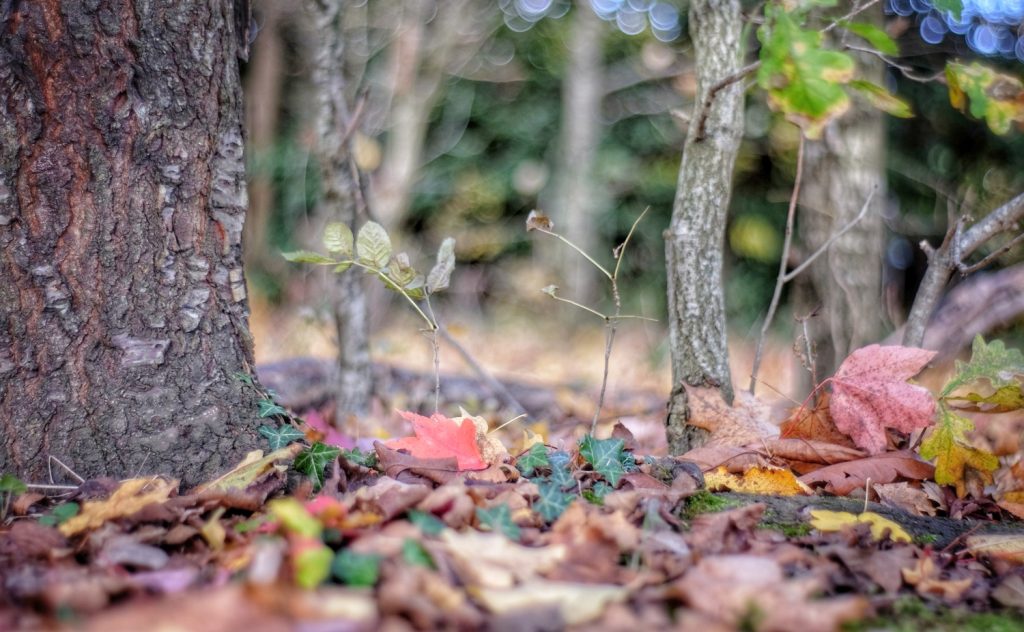
Once the first of your Hugelkultur layers is secured in the trench, it’s time to add some dead foliage. This is a great way to make use of the leaves you raked up in autumn. Placing dead leaves on top of the log layer mimics what happens on a forest floor. Sandwiching dead leaves between Hugelkultur layers promotes decomposition, giving your plants plenty of nutrients to snack on while they wait for the wood layer to start breaking down.
When adding leaves to your Hugelkultur, it’s best to use what’s available locally. The trees that are native to your area are uniquely suited to your geographic region. Using their foliage to fertilize your Hugelkultur will help restore nutrients that are lacking in your soil. Be sure to spread enough dead leaves to completely cover the log layer.
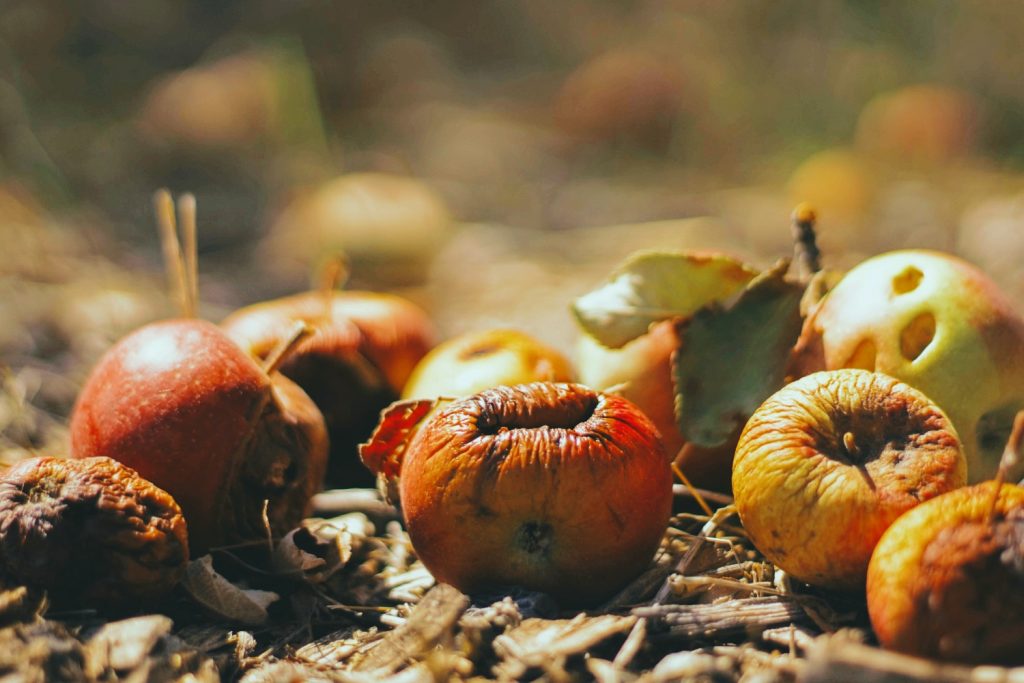
Nitrogen-rich layer
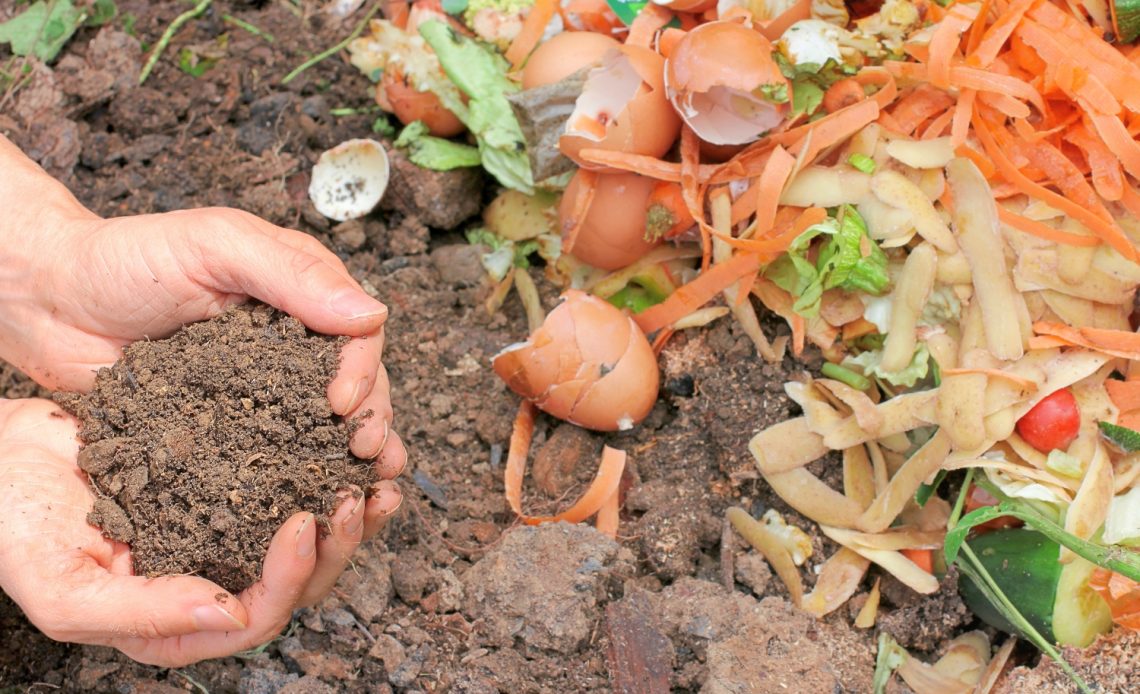
The next layer of your Hugelkultur should be full of nitrogen. You can use a variety of materials, including fresh lawn clippings, used coffee grounds, discarded vegetable peels, and manure. While we generally recommend not using fresh manure as a fertilizer because it tends to burn plants, it’s safe to add fresh manure to the nitrogen-rich Hugelkultur layer. The fresher the manure, the more nitrogen it has to offer, and that’s exactly what you want for this layer.
Nitrogen is essential for foliage, flower, and seed production. Low levels of nitrogen result in pale green to yellow adult leaves, as well as stunted growth and reduced crop yields. Adding plenty of nitrogen-rich ingredients will help keep the plants in your Hugelkultur healthy for multiple growing seasons. Your nitrogen-rich layer should cover your dead leaf layer completely
Soil layer
The nitrogen-rich layer that you just applied is basically the green matter that you would add to your compost heap (or bucket). Combined with the dead leaf layer you added before that, which acts as brown matter, these two layers will degrade over time to produce compost. But the best way to encourage them to degrade is by sealing them with a thick layer of soil.
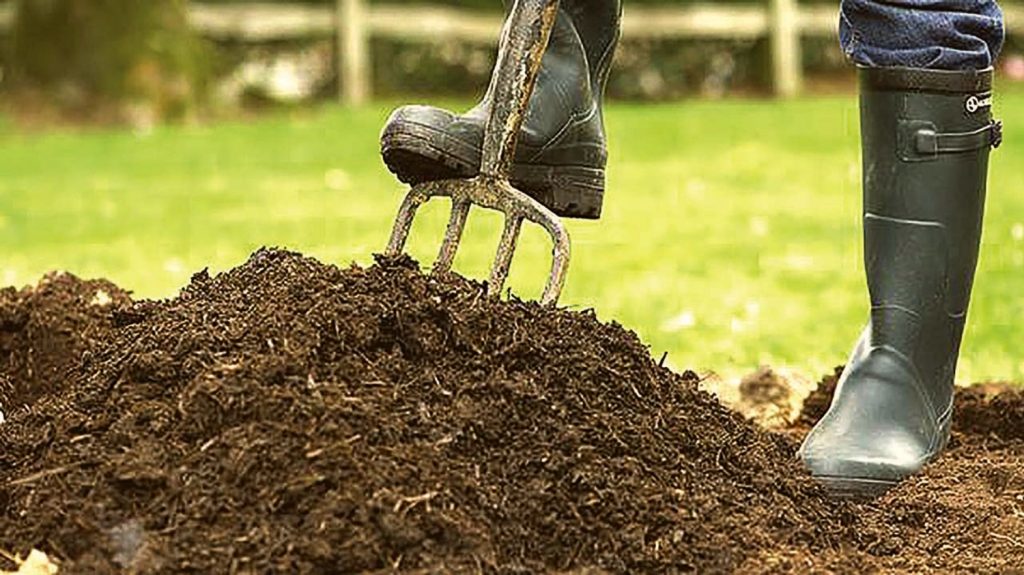
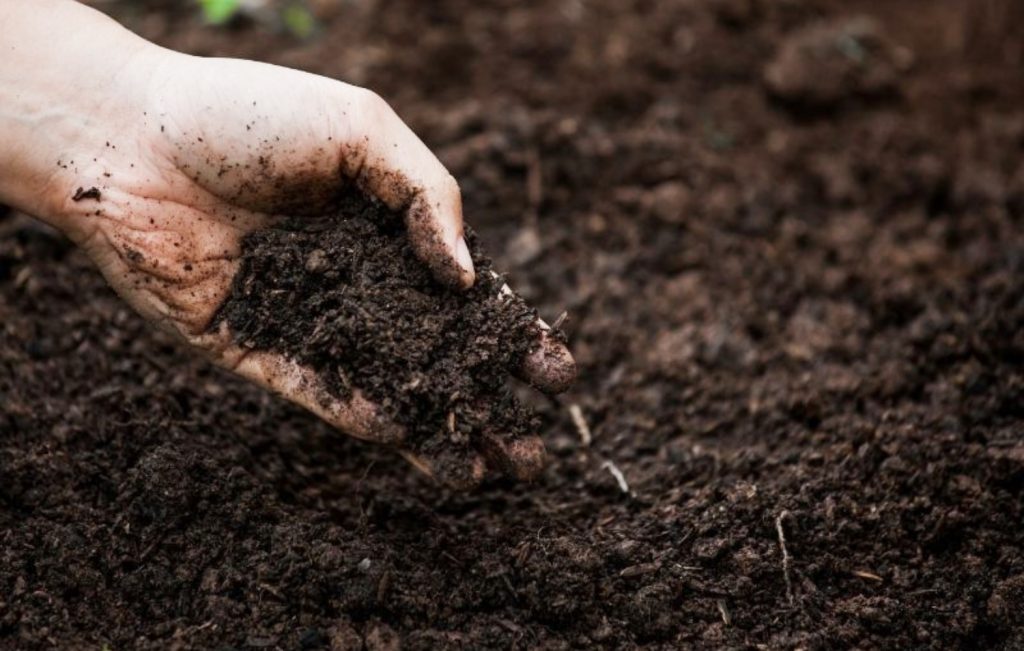
Now’s the time to take all of that soil you dug out originally and mound it on top of the previous Hugelkultur layers. If your native soil is nutrient-rich and full of organic matter, then it’s fine to use as it is. But if you have sandy or clay-type soil or soil that is nutrient-deficient, be sure to amend it with plenty of compost. This will give the plants in your Hugelkultur mound the nutrition they need to grow while your other layers begin to decompose.
Mulch layer
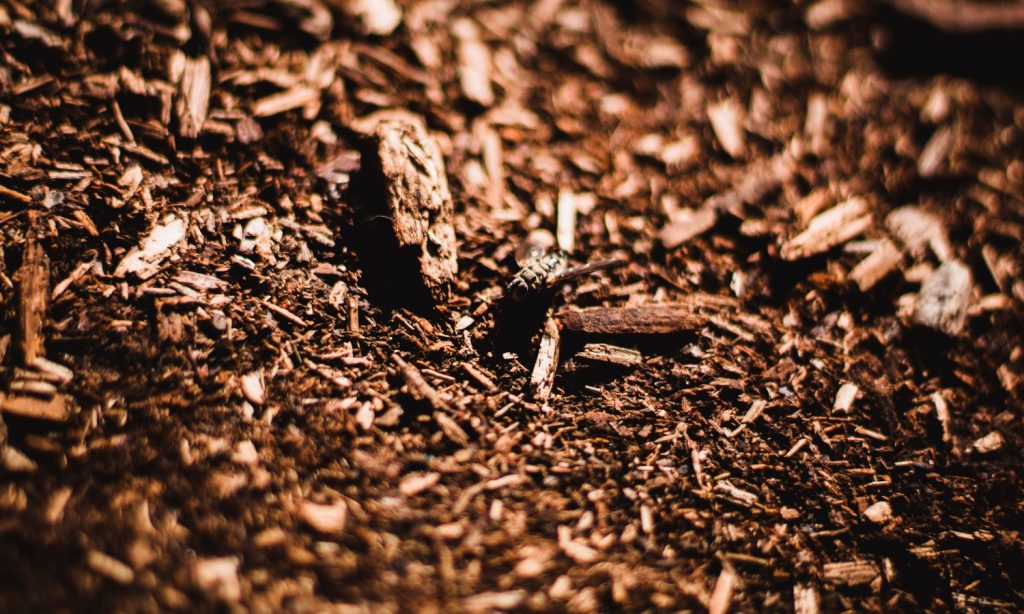
The last thing you need to do is lock in moisture with a thick layer of mulch. You can use store-bought mulch for this, but rotting hay and old woodchips from horse stables work better. These materials fertilize the soil as they break down, and help protect the mound from moisture loss.
Your mulch layer should be anywhere from 1 to 3 inches thick. The more mulch you spread, the less often you’ll have to water your Hugelkultur mound. This mulch will also help prevent weeds from popping up, saving you from additional labor. When you’re done adding layers to your Hugelkultur, the resulting mound should look like, well, a mound: larger at the bottom and tapering off toward the top.
Hugelkultur layers for raised beds
Maybe your soil is so compacted that it’s almost impossible for you to dig a foundational layer for your Hugelkultur. Or maybe you don’t have enough space for a full-sized Hugelkultur mound in your backyard. Can you build a Hugelkultur mound in a raised garden bed? Yes, you certainly can!
You can use anything from old tires to wooden pallets to sheet metal to construct raised beds for your Hugelkultur. Just make sure that the beds are tall enough to hold in all of the Hugelkultur layers in and you’ll be good to go. You can make your Hugelkultur as tall or as short as you like, as long as you’ve included all of the layers. But taller Hugelkulturs are easier to take care of because you don’t have to bend over so much.
Hugelhultur raised beds are a hybridized version of this historic agricultural strategy that is quickly gaining ground. Raised garden beds that feature Hugelkultur layers retain more nutrients than traditional raised beds, and they require even less care than other no-dig gardening options.
More tips for cultivating a successful Hugelkultur mound
Like all gardens, once you’ve harvested produce from your Hugelkultur, you’ll need to replenish those nutrients by adding some compost. Use a metal rake to amend the soil with mature compost once your garden is finished for the season. Be sure to add more mulch as needed, too, to help keep the soil hydrated. Often, regional rainfall is enough to keep a Hugelkultur mound sufficiently hydrated. However, if you find you do need to water the mound, be sure to water it deeply.
For best results, grow large, sprawling plants, like watermelons and cucumbers, near the center of the mound, along with taller plants, like tomatoes and okra. Smaller plants, including herbs like chamomile and cilantro, grow best along the outer edges where, with their pungent odors, they can help keep bugs at bay.
Building a successful Hugelkultur can be a daunting task. But, ultimately, it sounds much harder than it is. By constructing your Hugelkultur layers with care, you’ll create an all-natural, self-sustaining garden that will provide you with a bountiful harvest for many years to come!

New to hugelkutur. Wish me luck 🤠
good luck! new as well. Have a new property with piles of dead limbs and trees. Alternative to burning, going to try hugelkulutre 🙂