We’re here to help! Wild Yards is a completely free website that is 100% dedicated to helping you create a wildlife-friendly, sustainable yard. Read more
WildYards is reader-supported. When you buy a product through a link on our site, we may earn a comission. Every product is independently selected by our (obsessive) editors and our reviews are unbiased and objective. Read more about our mission or our privacy policy.
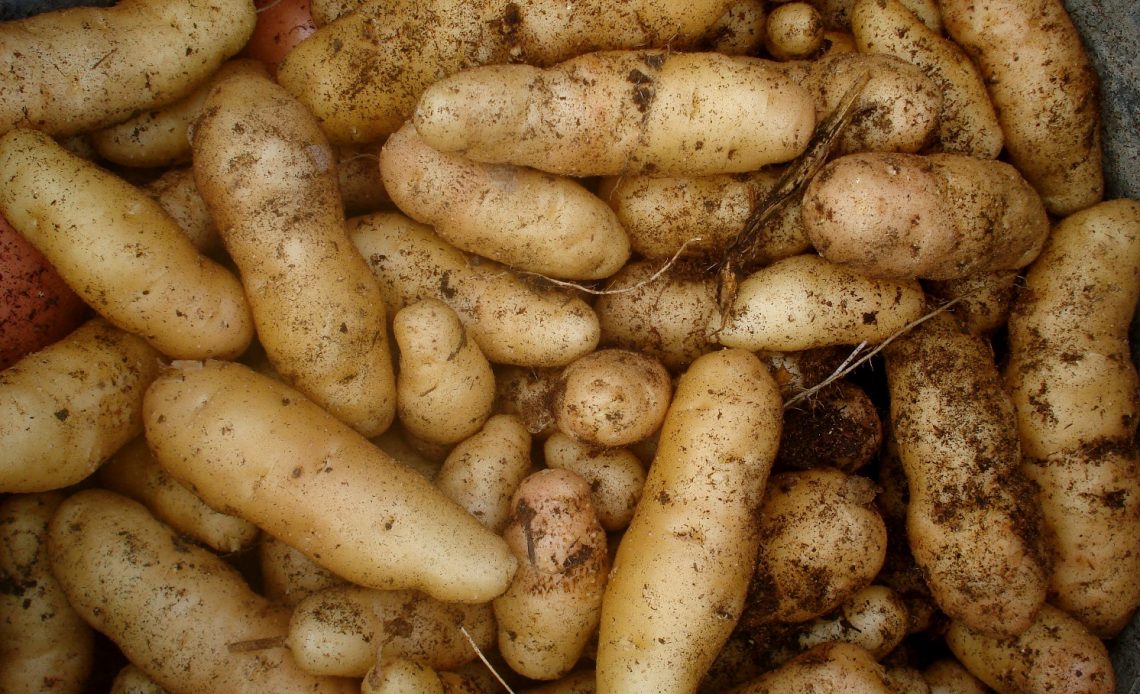
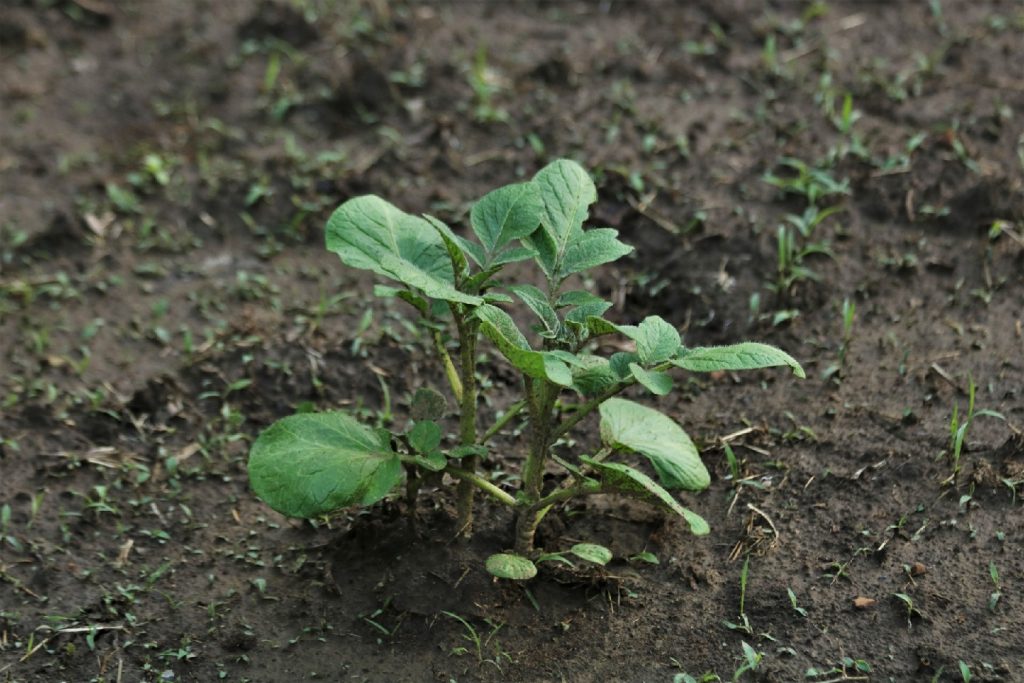
Starting your seed potatoes is the easy part. Waiting for them to mature? That can be tough. Potatoes are easy to care for, but it takes patience, dedication, and proper care to grow a potato crop that’s worth harvesting. These plants take so long to mature that they can have you second-guessing yourself when harvest time comes. So, how can you tell when your potato crop has matured? When are potatoes ready to harvest?
Your potato crop is ready to be harvested 70 to 170 days after planting. New potatoes can be dug up in just 10 weeks. Once the potato plants’ foliage turns yellow at the end of the growing season, your potato crop is ready to be harvested, cured, and enjoyed.
3 Ways to start your potato plants
How you start your potatoes has a significant impact on how well they grow as they mature. Starting your potato plants indoors allows you to harvest them earlier in the growing season. As long as you can keep your young potato plants at a minimum of 70 degrees Fahrenheit, you can start them 3 to 4 weeks before the last frost of the season to give you a headstart.
Starting seed potatoes in pots indoors
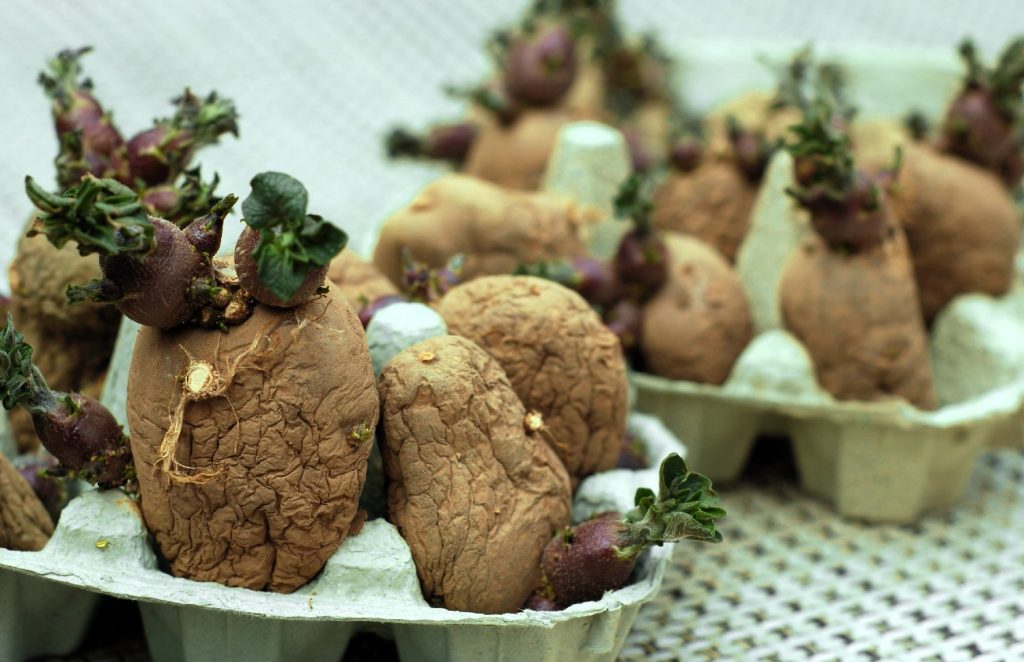
Potatoes don’t actually grow from seeds. “Seed potatoes” are just sections of potatoes used to grow new plants. And because they’re not truly seeds, they need to be sown carefully to ensure they grow. If your seed potatoes don’t have many eyes, you’ll need to store them at room temperature in indirect sunlight until they sprout.
Once your seed potatoes are ready, cut them lengthwise into 2 to 3-inch sections. Seed potatoes that are roughly the size of an egg can be planted whole. Using medium-sized pots filled with potting soil, place the potatoes root/cut side down 3 to 4 inches deep. The eyes should be facing upward so the plants can grow towards the light.
Set the potatoes on a sunny windowsill or anywhere they can receive 6 or more hours of sunlight every day. Keep the soil moist, but not sopping wet. Potato plants love full sunlight, but the potato roots won’t grow well if they become exposed. So be sure to add more potting soil as needed.
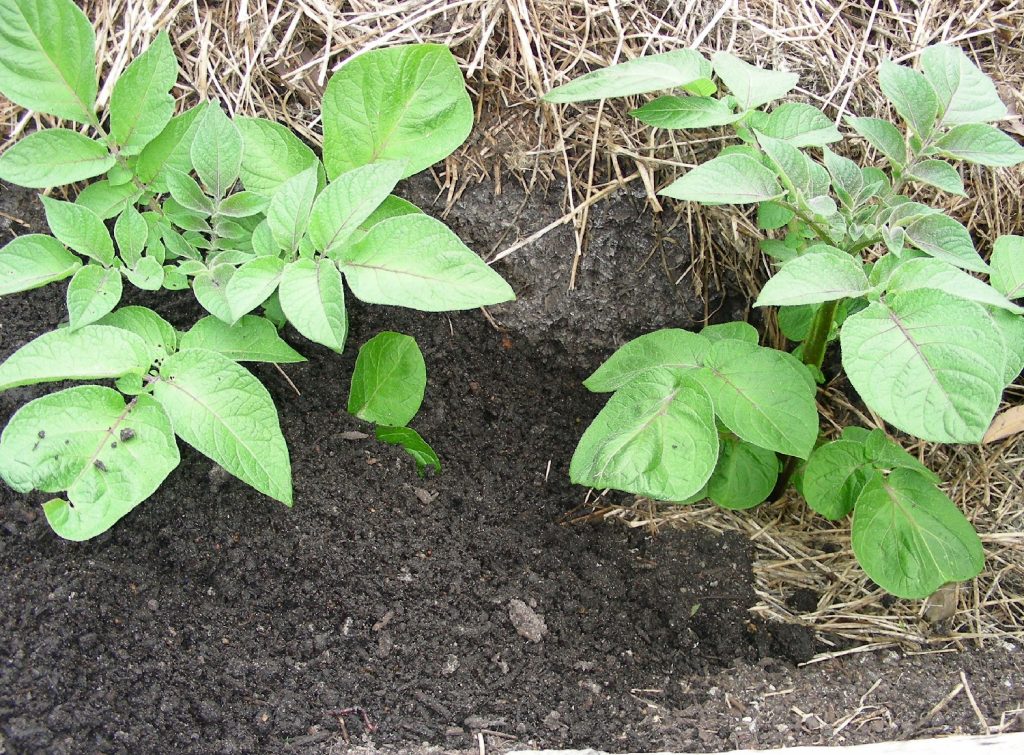
Starting seed potatoes in the garden
For this method, you’ll need to prepare your seed potatoes just as you would if you were growing them indoors — wait until they have eyes and cut them into small sections. You’ll also need to wait until 2 weeks after the last frost of the season, to ensure temperatures are warm enough to support potato growth.
Start by digging a trench 8 inches deep and planting a potato every 12 inches being sure to place the cut side down and eye side up. Cover the potatoes carefully by raking loose soil over them. Ideally, the seed potatoes should have 3 to 4 inches of soil over them. Keep 3 feet in between rows to give the potato plants plenty of room to spread out.
As the potatoes sprout over the next 3 weeks, it’s important to continue to add soil. This process is called “hilling” and, as with growing seed potatoes in pots, it helps keep the potato roots out of the sunlight so they grow better. If you don’t cover the roots once they start to peer out from beneath the soil, they won’t grow as big and may die altogether.
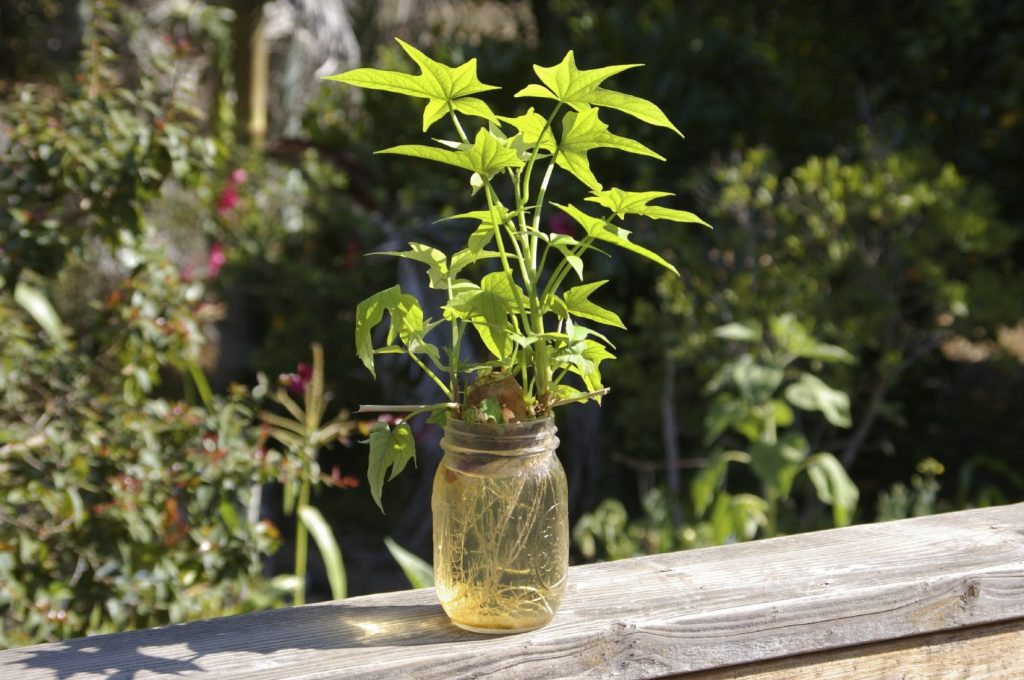
Starting seed potatoes in jars
Starting seed potatoes and sweet potato slips in jars filled with water allows them to develop roots before planting. This step is optional but produces stronger plants that have a better chance of surviving life outdoors.
Begin by cutting the potatoes into 2 or 3-inch sections. Each piece will become a new potato plant. Fill tall jars, like pasta sauce jars, ¾ to ⅞ full of water, and use toothpicks to suspend the potato sections into the water cut side down. The sections should be about halfway into the water. Fully submerging the potatoes will drown them.
Set the sections on a sunny windowsill where they can stay warm. Your potatoes will start growing roots in as little as 3 days, but it can take up to 10 days to show signs of life. Once the potatoes have sprouted roots and shoots, they’re ready to be planted in pots or straight in the garden.
What are the potato plant’s growing requirements?
Potatoes should be grown in well-draining, slightly acidic soil with a pH of 5 to 6. Potatoes are heavy nutrient users, so they benefit from being planted in soils that are rich in organic matter. The soil should be kept moist, but not soaking wet, otherwise, the roots may rot.
Potato plants should be kept in full sunlight, especially if you live in a cooler climate. Potatoes need warmth to survive. If you live in a hotter region, your potatoes will benefit from some dappled afternoon shade. Overall, potatoes are incredibly tolerant of heat, just be sure to keep the ground moist enough. You can use hay, lawn clippings, or sawdust as mulch to help the plants stay hydrated.
Growing your potatoes in suboptimal conditions will result in stunted growth and poor potato quality — that is, if you have any potatoes to harvest at all. Low light and alkaline soils make your potato plants susceptible to diseases like scab. So be sure to meet their basic growing requirements to ensure your plants produce as quickly as possible.
When are potatoes ready to be harvested?
When started properly and grown in their ideal conditions, potatoes are ready to be harvested anywhere from 70 to 170 days after planting. These are slow-growing plants because, unlike squash and tomatoes, they don’t produce fruit. It’s the roots of the potato plant that are harvested, so the plant itself must be allowed to grow, mature, and die before the roots can be collected.
If you prefer to harvest new potatoes (which are any potatoes harvested when young and tender), you can dig up your potatoes shortly after the plants flower. One benefit to growing new potatoes is that you get to enjoy them much sooner than older potatoes. But, the downside to new potatoes is that they don’t have a very long shelf life.
Russet potatoes and sweet potatoes take much longer to mature. How long specifically depends on the cultivar and whether or not the plant’s growing conditions are met. You can tell that your potatoes are ready to be harvested once the foliage starts to turn yellow and die. With their foliage gone, the potatoes have finally matured and are safe to harvest.
How can you speed up the growing process?
Unfortunately, there are no secret shortcuts when it comes to growing potatoes. It’s a long, drawn-out process and you’ve just got to be patient about it. But, we do have some good news. Your potato crop can benefit tremendously from proper fertilization and companion planting. And the healthier your potato plants are, the better your crop yield.
Amend the soil
Our soil recipe for raised garden beds provides potatoes with an excellent foundation. This mixture has a neutral pH, so it’s suitable for a variety of plants. But you can use amendments to make it more alkaline or acidic to tailor it even further. Here are some of our favorite homemade fertilizers for potato plants.
- Compost — A 1:1 combination of green matter, like flower heads and fresh lawn clippings, and brown matter, like shredded paper and cardboard egg cartons, compost is especially beneficial for potatoes because it’s full of nutrients. You can start composting today in a 5-gallon bucket. Compost supports the healthy bacteria in the soil to help your plants become more resistant to diseases. This slow-release all-natural fertilizer provides your potato plants with valuable nutrition all season long.
- Worm castings — Potatoes grow best when fertilized with manure, but not just any manure. Worm manure, AKA worm castings, is especially helpful for potatoes because it’s full of vitamins and minerals that have been broken down and are easier for the plants to absorb. Use worm castings as a top dressing by gently agitating the soil around your potato plants with a handheld weed fork and stirring the castings in.
- Coffee grounds — Like roses, potato plants love coffee grounds. Not only do coffee grounds provide potatoes with some extra nitrogen, which is necessary for healthy foliage production, but they also attract worms. And we know how good those guys are for growing potato plants.
- Bone meal — Potatoes use more phosphorous than any other nutrient. So giving your potatoes plenty of phosphorous in the form of bone meal can drastically improve potato production. Bone meal breaks down over 6 to 8 months, so it can feed your potato plants for a long time. Unfortunately, it does have an alkalinizing effect on the soil, so be sure to mix your bone meal with coffee grounds or sphagnum moss to neutralize the mix.
Potatoes use up a ton of nutrients, so be sure to mix plenty of compost into the soil once you’ve harvested your crop. Growing beans and other legumes after growing potatoes can help restore the soil to get it ready for the next growing season.

Companion planting
Companion planting is a strategy that has been used for centuries to maximize garden space and support crop production. Growing your potatoes with the following plants can improve their performance, resulting in a better crop and a shorter maturation rate.
- Thyme — Potatoes love thyme because this fragrant, low-growing herb helps ward off hungry insects while protecting the soil from moisture loss. Because thyme has shallow roots, it will never compete with your potato plants for nutrients.
- Basil — This herb loves moist soil, so it grows well alongside potato plants. Basil’s pungent odor helps repel pesky insects, and its sweet-smelling flowers attract beneficial pollinators to your garden.
- Parsley — This leafy green herb repels aphids, spider mites, armyworms, and beetles that like to make a meal of potato plant foliage.
- Cilantro — Like basil, cilantro repels harmful insects while attracting bees, wasps, and other pollinators that support crop production throughout your garden. These insects also prey on harmful bugs to keep the pest levels under control.
Because potatoes are so slow-growing, they’re more susceptible to pests and diseases simply because they stay out in the garden for so long compared to other vegetables. Companion planting is an easy way to ward off pests so your potatoes stay healthy long enough to produce.
How can you harvest your potato crop?
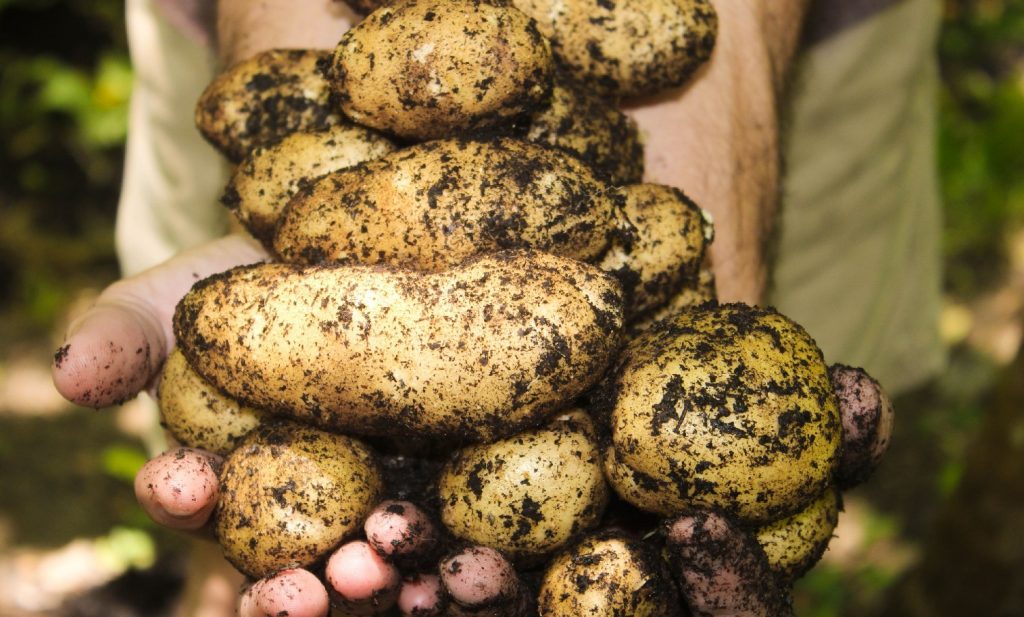
Once your potatoes are ready to be harvested, use a hand trowel to cut a circle around the circumference of the potato plants. Then carefully work your way inwards, feeling for the potato roots as you go.
Be careful not to jab the trowel into the soil. Potatoes have delicate skin that punctures easily. You don’t want to bruise them. If the soil is loose enough, you can use your hands to harvest the potatoes instead — of course, you’ll want to wear gloves, for obvious reasons.
You can use the stems of the plant to help you pry the potatoes up to the surface. Once collected, toss the foliage onto your compost heap, and use a vegetable brush to dust the dirt and debris away from the tubers.
How should you cure your potatoes?
Once harvested, your potatoes will need to be cured. Start by allowing the newly harvested potatoes to dry in a shady location for 3 or 4 hours. Then, collect the potatoes in wooden crates with slats large enough to allow for good air circulation.
Store the potatoes in a cool, humid location, like a basement. Ideally, temperatures should stay around 45 to 60 degrees. This will improve your potatoes’ shelf life.
Are homegrown potatoes worth the wait?
Storebought potatoes are mass-produced, and while there’s nothing wrong with that, they may not taste as good or be as nutritionally dense as homegrown potatoes. When you grow your own potatoes, you know exactly what goes into them. You don’t have to worry about harsh chemical fertilizers or insecticides.
While potatoes take a long time to mature, the plants themselves are easy to grow. By providing your potato plants with some all-natural fertilizers and a few companion plants, you can ensure you produce the best crop possible as quickly as possible.