We’re here to help! Wild Yards is a completely free website that is 100% dedicated to helping you create a wildlife-friendly, sustainable yard. Read more
WildYards is reader-supported. When you buy a product through a link on our site, we may earn a comission. Every product is independently selected by our (obsessive) editors and our reviews are unbiased and objective. Read more about our mission or our privacy policy.
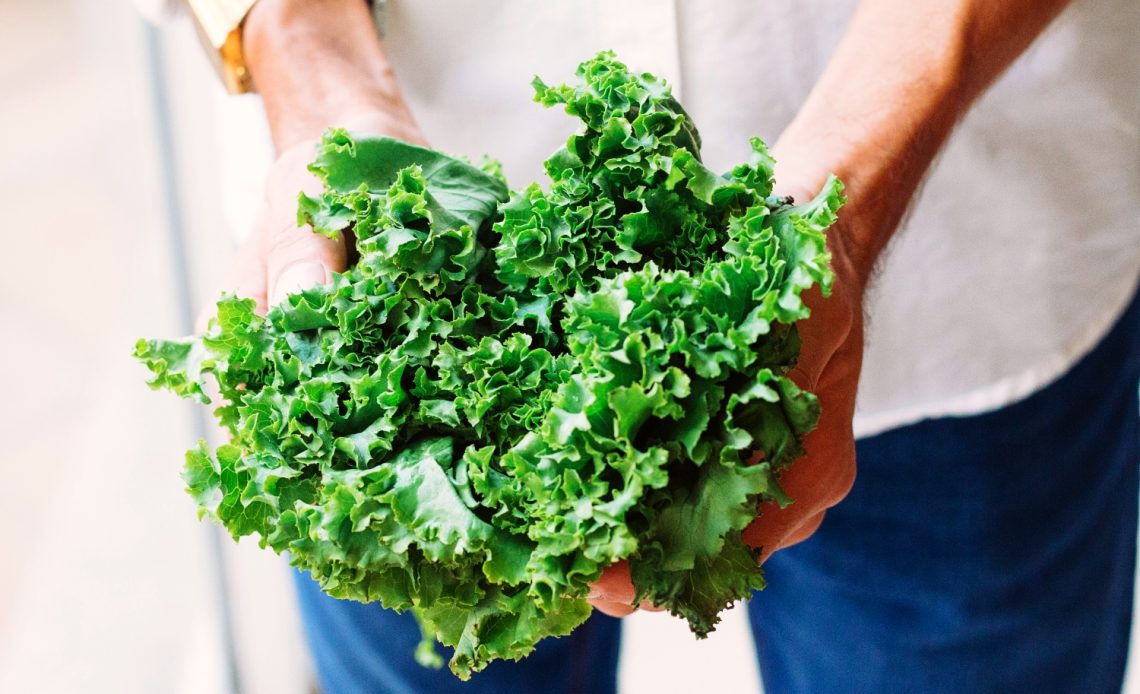
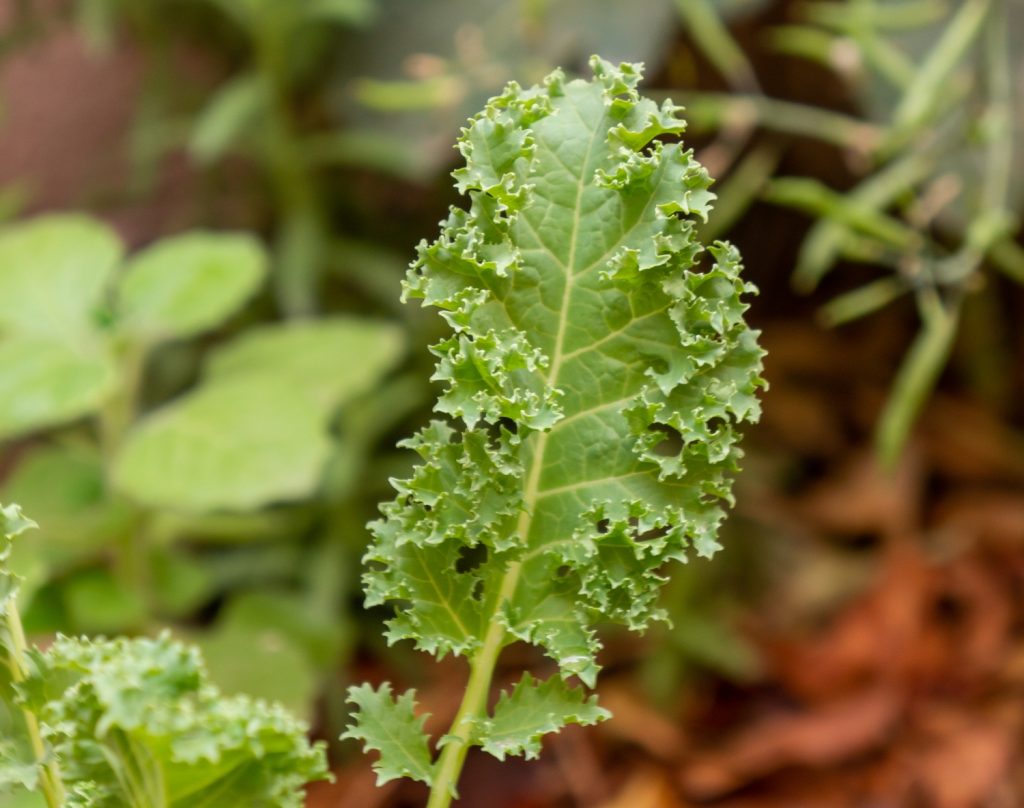
A nutritious leafy green that’s cold hardy and easy to take care of, kale is the perfect choice for a beginner’s winter garden. Kale is a member of the Brassica family, along with other cruciferous veggies like broccoli, cabbage, and cauliflower. This biennial plant produces crisp, ruffled leaves during its first year, and typically goes to seed during the second year, after which the plant dies. If you’ve never grown kale before and you want to know more about kale growing stages, we’re here to help!
Kale has two growing stages: baby and mature. Seedlings are easy to start and germinate in 7 to 14 days. Once young plants have developed true leaves, they can be transplanted into your garden. Kale grows best in well-drained, loamy soil, and is ready to be harvested approximately 60 days after germination.
What are kale’s growing stages?
Kale has two main growing stages: baby and mature. Young kale plants, or baby kale, produce crisp, tender leaves that are much more palatable than adult leaves. Plants stay in the baby phase for around 30 days after planting.
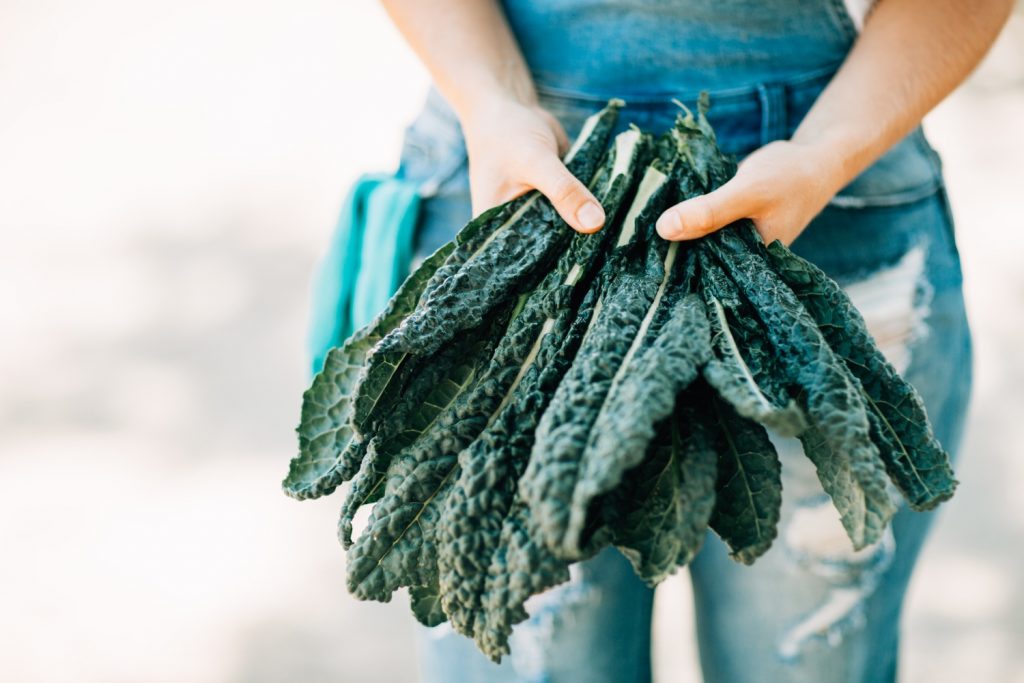
By the 60-day mark, kale plants have matured, and begun producing larger, tougher leaves. Even though mature kale goes much further than baby kale, it doesn’t taste quite as good and is somewhat astringent. The older the leaves are, the more bitter they become, especially if they’re exposed to warm weather.

When and how should you start kale seeds?
Like tomatoes, kale plants are easy to start from seeds. Plants grow best in cooler weather and are cold-tolerant to 10 degrees Fahrenheit. It’s best to start your spring kale crop 6 to 10 weeks before the last frost. For winter kale, start your seeds in late summer, anywhere from 12 to 14 weeks before the first frost of the season.
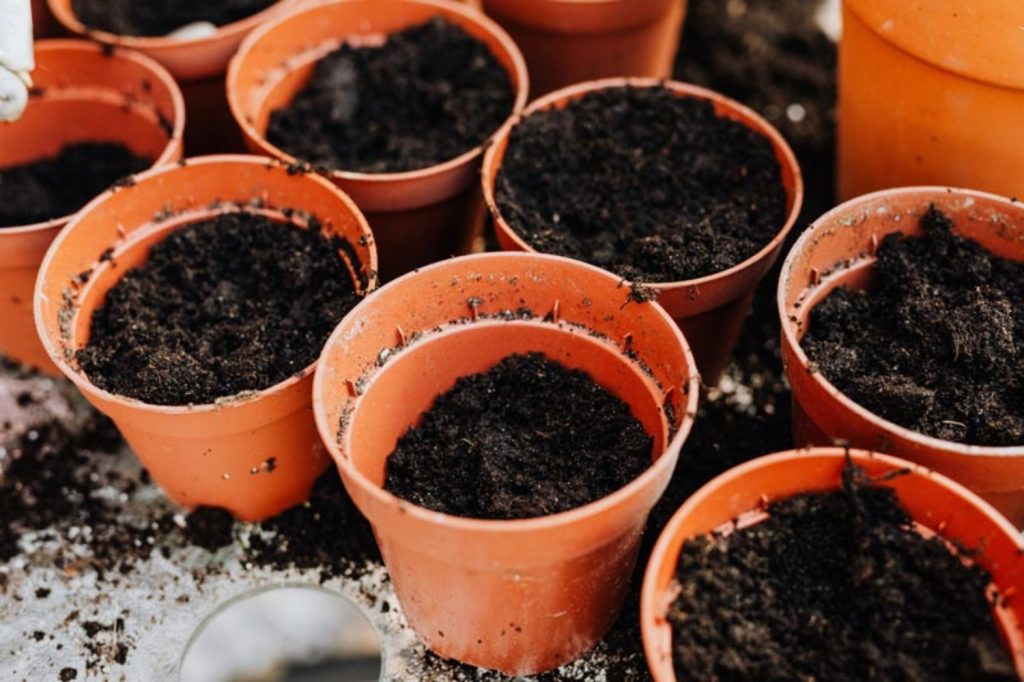
To start your kale seeds indoors, fill peat seed pots with a standard potting soil mix and sow seeds ¼ to ½-inch deep using your finger to backfill over them. Use 2 to 3 seeds per pot, and set the seeds on a sunny windowsill to catch the light. Check the soil often and water the seeds regularly to keep the soil evenly moist.
Kale seeds germinate in 7 to 14 days. Once the seedlings sprout up, examine each pot carefully. Remove the weaker seedlings to make room for the strongest ones. If you’re sowing seeds for a winter kale crop, keep the seeds in a folded damp paper towel in the refrigerator for 5 days before planting. This helps kickstart the germination process.
When to move kale to the garden
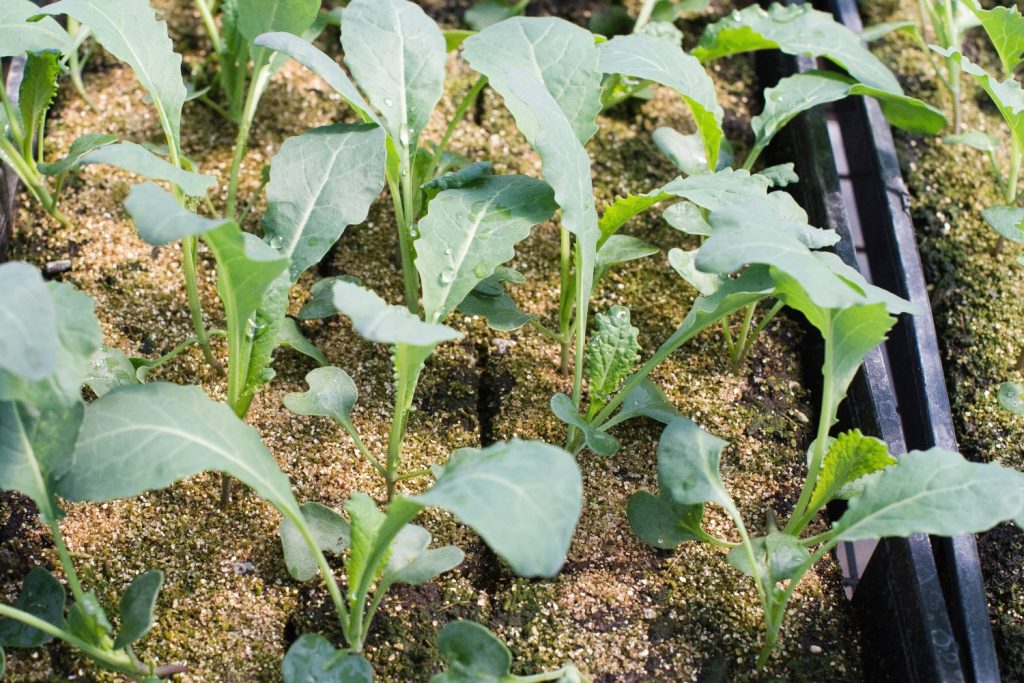
Once your kale seedlings have 2 to 4 leaves and have grown 3 to 4 inches tall, it’s time to move them to their permanent spot in your garden. Kale plants have relatively shallow root systems, but they can be quite extensive because these plants are heavy nutrient users. So space the plants 14 inches apart at least to give them plenty of room as they grow.
When transplanting kale, it’s important to handle the seedlings carefully. Start by soaking the peat seed pots in water for 30 minutes to an hour before transplanting. This makes the pots easier to remove and helps the soil stick together. Once the plants are ready, use a pair of scissors to cut the pots away and toss them into the compost bin.
Use a hand trowel to dig a hole two times as deep and as wide as the kale plant’s seed pot. Backfill some soil until the seedling’s root collar is level with the surrounding soil, then fill in around it and tamp the ground gently to remove air pockets. Digging a large hole loosens the soil and makes it easier for the plants to establish themselves quickly.
Once the seedlings have been transplanted, water them thoroughly. Check the soil every day for a week or two afterward, and water the seedlings anytime the soil feels dry. Lack of water is a leading cause of transplant shock, so keep your kale seedlings hydrated to get them started on the right foot. Spread a layer of straw mulch around the base of the plants to lock in moisture and keep the roots cool.
What are kale’s growing requirements?
Kale grows best in slightly acidic to neutral soil, with a pH of 5.5 to 7. The soil should be loose and loamy, with plenty of nutrient-rich organic matter. Compacted soils that are clay-dominant need to be amended with sand, manure, or perlite. And soils that are nutrient-poor should have a healthy dose of compost mixed in before planting.
While kale grows best in cooler temperatures, it prefers to be planted in full sun. Your kale won’t grow well if it’s kept in partial shade. However, if you live in a warmer growing zone, your kale may benefit from some dappled afternoon shade, which will give it a break from the heat.
It’s also important to water your kale regularly, even after baby plants recover from transplanting. Check the soil’s moisture daily by feeling it with your index finger. While your kale shouldn’t be left sitting in muddy soil for long periods of time, it shouldn’t be allowed to dry out, either. Fall and winter kale should be watered 2 to 3 times a week, while summer crops may require daily watering.
Feeding young kale plants
Because kale is such a heavy feeder, it can deplete the soil of its nutrition quickly. Fertilizing young kale will help the plants reach maturity faster. Use 24-8-16 fertilizer to feed your growing kale crops, which provides an excellent balance of nitrogen, phosphorous, and potassium for healthy foliage development. Nutritious kale requires plenty of nitrogen to produce its beneficial compounds.
Apply the first round of fertilizer 1 to 2 weeks after transplanting. This gives baby kale a boost in nutrients. Be sure to reapply the fertilizer every 4 weeks, using a weed fork to work it into the soil. It’s best to apply fertilizer just before rain, but if there isn’t any in the forecast, be sure to water your crops after fertilizing to help the minerals seep into the soil.
How to tell when it’s time to harvest kale
Kale is usually ready to be harvested 60 days after the seeds germinate, but, really, when you harvest your kale depends on how large you like the leaves to be. If you want mature kale leaves, then you’ll have to wait a month or two until the plants reach that growth stage. But, if you prefer baby kale, you can begin harvesting 3 to 4 weeks after transplanting.
Harvest kale by using a sharp pair of scissors to snip the leaves away from the base of the plant. Be careful not to damage the plant itself, because you want it to keep growing. Avoid cutting roots, too, as this can hinder the plant’s development. Choose the largest most mature leaves first, and only harvest about a handful of leaves at a time to avoid stressing the plant.
A number of insects like to eat kale, including cutworms and harlequin beetles. So be sure to wash the leaves in cool water after harvesting and pat them dry with a tea towel. Store your kale leaves in the crisper drawer of your refrigerator, where they’ll stay good for 7 days.
Should you let kale go to seed?
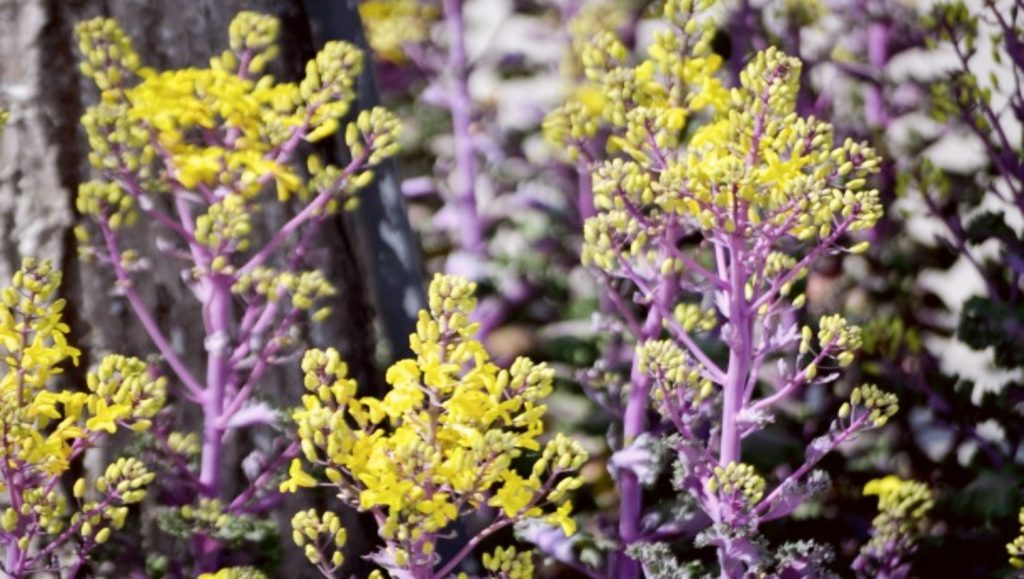
Late in their first year, but more often well into their second year, kale plants will produce bright yellow flowers and go to seed. Because the flowering process requires a lot of nutrition, it hinders the plant’s leaf production. So some gardeners wonder if they should trim the flowers back, or allow their kale crops to reproduce, instead.
If you want your kale crops to be self-sustaining so you don’t have to bother with planting new seedlings every other year, then it’s best to let your kale go to seed. Adult plants tend to become tough and bitter-tasting once flowers develop. But, in the long run, this strategy is a great way to save a little time.
If you’re picky about your kale’s taste and texture, trimming flowers back to prevent the plants from going to seed will result in sweeter, crisper leaves that are far more palatable. Of course, preventing the kale from reproducing means you’ll have to start new seedlings every other year.
More tips and tricks for growing kale
In addition to regular feedings, your kale plants will benefit from routine weeding to prevent unwanted plants from robbing the soil of valuable nutrients. It’s also important to keep other plants away from your kale. Measure at least 15 inches in between rows to give your plants plenty of room. Companion planting is highly beneficial for kale, as well. Plants grow best when planted near cucumbers, radishes, and celery. And be sure to keep pesky insects off of your kale crop by spraying foliage with a homemade insecticide.
Growing kale isn’t difficult. By meeting the plant’s basic needs, you’ll be doing all you can to support your kale through its growing stages, so you have a delicious and nutritious crop to harvest at the end of the season.