We’re here to help! Wild Yards is a completely free website that is 100% dedicated to helping you create a wildlife-friendly, sustainable yard. Read more
WildYards is reader-supported. When you buy a product through a link on our site, we may earn a comission. Every product is independently selected by our (obsessive) editors and our reviews are unbiased and objective. Read more about our mission or our privacy policy.
One of the unexpected struggles of gardening is transplanting. It can be tougher than you might think! Moving young plants from their seed pots to their permanent spot in your garden is necessary for their development. But, if you’re not careful, it can be quite traumatic for them — so much so that it can actually kill them. If you’re wondering how to transplant plants without killing them, there are a few key things you need to know.
Careful handling of the plants during the transplanting process prevents damage and stress. Digging a large, deep hole helps break up the soil, making it easier for the plants to establish themselves. And understanding the plants’ unique soil needs also improves their chances of survival.
How can you tell when plants are ready to be transplanted?
The first and perhaps most critical step to successful transplantation is moving your plants during the right point in their growth cycle. For instance, if you start squash seedlings or cucumber seedlings indoors but you transplant them to your garden before they’re ready, the young plants won’t be strong enough to handle the harsh outdoor climate and will likely die. So before you move your plants, you’ll need to take a closer look at them to make sure they’re ready to be moved in the first place.
How can you tell when to transplant seedlings?
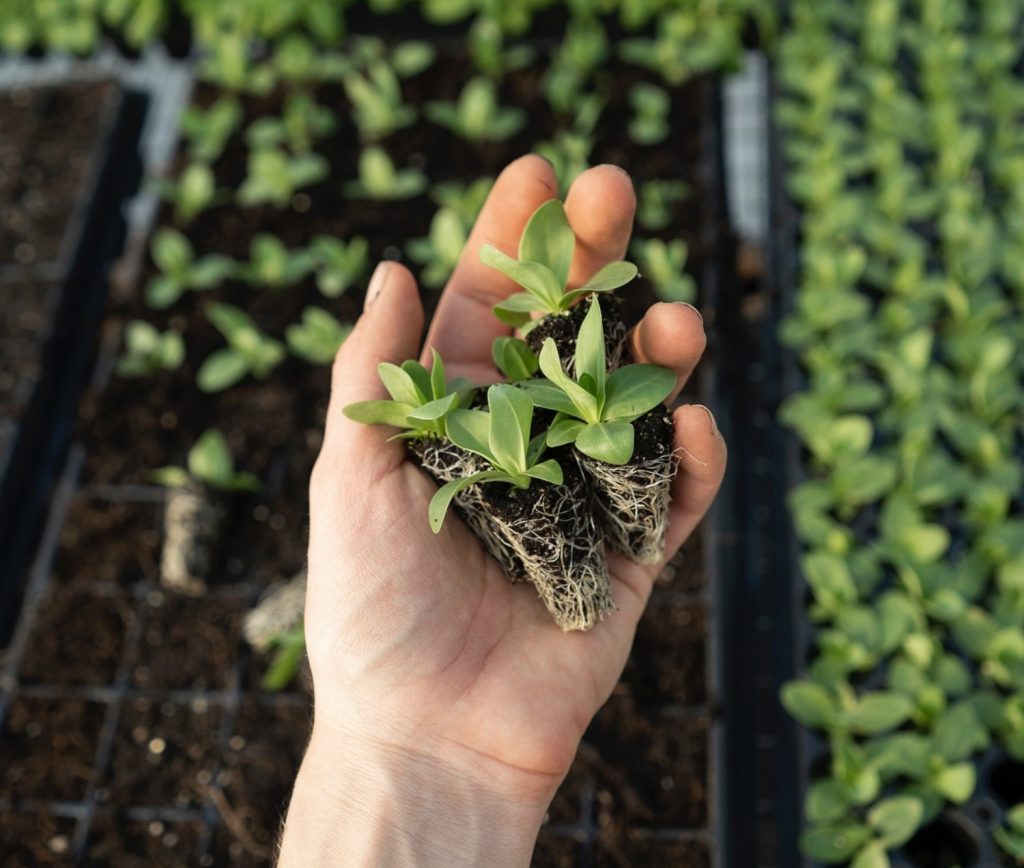
If you’re starting seedlings for your vegetable garden, you can be sure that they’re ready to be transplanted once they’ve developed 3 or 4 true leaves. Many vegetable plants, including tomatoes, carrots, radishes, and pumpkins are dicots, meaning that when they sprout, they produce a pair of cotyledons, which are smooth, oval embryonic leaves that provide sustenance to the baby plants.

True leaves are the next set of leaves to develop. These juvenile leaves take on the shape of adult leaves, although they’re much smaller. Different plants produce adult leaves with different shapes. For tomato plants, true leaves will be spade-shaped and lobed with smooth edges. For pumpkin plants, true leaves will be broad, slightly serrated, and lilypad or heart-shaped.
To get a better idea of what your seedlings’ adult leaves will look like, inspect the image on the front of the seed package they came in. Juvenile and adult leaves are stronger than baby leaves. They provide stability to the plant as it continues to mature, and they’re better able to utilize sunlight to turn it into energy. So be sure your seedlings have at least 3 true leaves before moving them to your garden.
How can you tell when to transplant mature plants?
Sometimes older plants need to be moved, too. Mature plants should be transplanted anytime their growing conditions are not being met. Signs that you may need to transplant your adult plants include yellowing foliage, foliage loss, wilting that is not relieved by watering, worsening appearance in the presence of overly dry or overly soggy soils, and stunted growth.
Potted plants should be transplanted anytime they show signs of being root bound. Roots growing out of drainage holes, or pushing the plant out of its pot, indicate that the plant needs more room to spread out. Drying out more quickly than usual and becoming top-heavy and falling over frequently are also signs that it’s time to transplant your mature plants.
What’s the best time to transplant your plants?
The time of day and time of year you transplant your plants also influences how well they adjust afterward. Vegetable seedlings should be transplanted at least 2 weeks after the last frost of the season. Move them to your garden on a warm, overcast day, as early in the morning as possible to give them plenty of time to adjust before being exposed to the harsh afternoon sun.
Ideally, mature plants should be transplanted in winter. Moving the plant while it’s dormant reduces stress and improves performance by giving the plant plenty of time to adapt to its new home before the growing season starts. But you can also transplant plants in the spring before it gets too hot, and in the fall, when the weather cools down.
Now, if the plant in question is clearly in poor health, you should transplant it as soon as possible. If the plant’s growing requirements are not being met in its current location, it won’t recover, and you need to move it. The worse the plant looks, the quicker you should act. While it’s true that unhealthy plants are more likely to die from transplant shock, transplanting gives them the best chance of survival. Most plants can recover quickly once their growing conditions are met.
How should you prepare the plant’s new spot?
Whether you’re transplanting seedlings or adult plants, you need to prepare their new spot properly. Loosening the soil and amending it to adjust its pH and improve moisture retention and/or drainage as necessary will help your plants grow better once they’ve been moved.
How to prepare your garden for seedlings
Once you’ve determined where you want to plant your seedlings, use a hand trowel to dig holes. Each hole should be bigger than you think it needs to be — 5 to 8 inches deeper than the roots of the seedling, and 2 or 3 times as wide as the plant’s original pot. Digging an extra large hole loosens the soil making it easier for roots to grow.
Now’s the time to amend the soil. If it’s too clay-rich, amend it with some sand to make it more porous. If the soil is nutrient-poor, mix in some compost to give your plants a dose of vitamins and minerals. Peat moss can be added to acidify the soil, and manure can be mixed in to make it more alkaline.
Growing your seedlings in our soil mixture for raised garden beds makes amending the soil easy. Because this soil recipe has a neutral pH, only small adjustments are necessary to keep a wide variety of plant seedlings happy.
How to prepare a spot for mature plants
If you’re moving mature plants, the transplanting process is similar. Find an appropriate location, then dig a hole deeper and wider than the roots of the plant. The hole should be around 8 to 12 inches deeper than the roots are long, and 2 or 3 times wider than the plant’s drip line.
Before backfilling the hole, amend the soil as needed. When transplanting roses, coffee grounds can be added to the soil to improve performance. When transplanting drought-tolerant plants, like lavender, consider adding a handful of pea gravel to improve drainage and keep the soil nice and dry. No matter which plants you’re transplanting, always take some of the soil from the original location to the new location to help prevent transplant shock.
How to transplant plants to bigger pots
If you’re transplanting a plant from one pot to another, choose a pot that is at least 2 times as large as the original pot. Pots with drainage holes are best, even if you’re transplanting a plant that loves muddy soils. This gives you better control over the water conditions of the soil.
Be sure to incorporate some of the soil from the existing pot into the new pot, to help the plant adjust. If your plant is healthy and likes the soil that it’s planted in, just use more of that soil mix. Otherwise, amend the soil as necessary.
What’s the best way to handle plants during transplanting?
When the new location is prepped and primed, it’s time to start transplanting. It’s important to handle the plants carefully throughout the process to prevent damage to the roots and foliage. Careful handling keeps plants in good shape so they can rebound quickly once they’re in their new home.
Handling seedlings during transplanting
Here’s a pro tip: grow your seedlings in peat seed pots. That way, you can simply soak the pots and tear them away gently, keeping the roots of the seedlings undisturbed during transplanting. Plastic pots are appealing because they’re reusable, but you have to tap them to pry the seedlings out of them. This can damage the delicate young plants, and they may not recover.
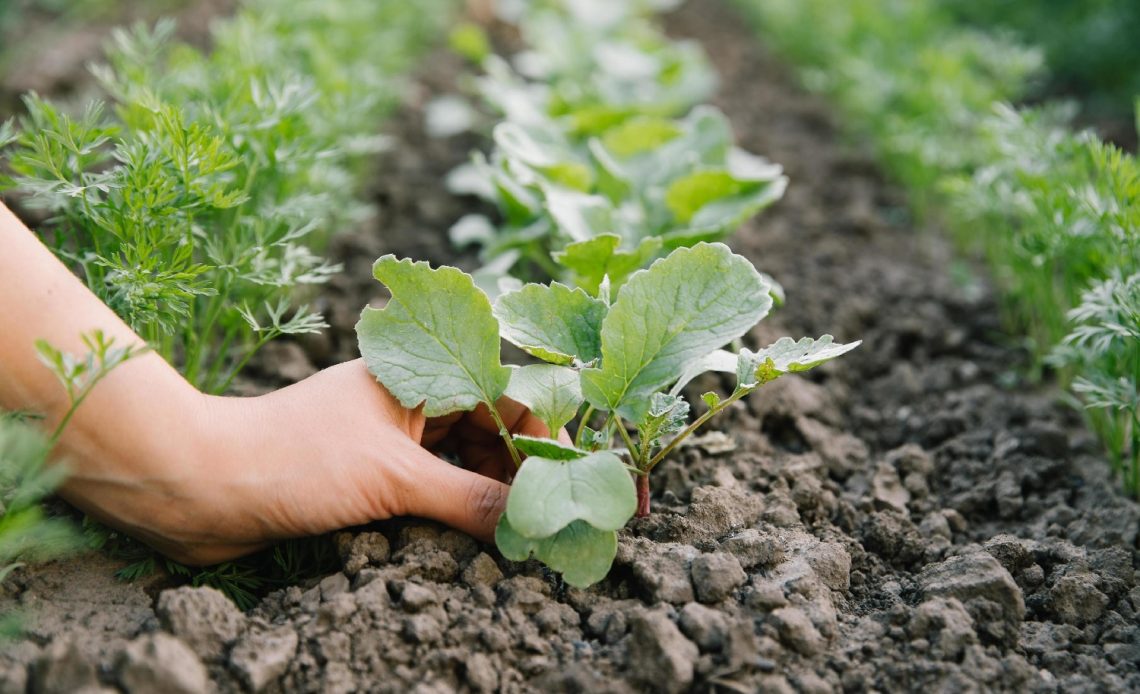
Once your seedlings have been removed from their pots, center them in their new holes, and use your hands to backfill around them. Gently tamp the surrounding soil to remove air pockets, being careful not to squash the baby roots beneath the surface. When you’re all finished, give your seedlings a small sip of water to keep the soil moist as they get used to their new home.
Handling mature plants during transplanting
To transplant mature plants, start by digging a circle around them, right along the edge of their drip line. Use a long-handled shovel to dig deep enough to get under the plant’s roots, then gently pry it up. Use one hand to grab the base of the plant near the soil, and the other hand to support the rootball. If the plant is large and heavy and you’re moving it over a long distance, carry it in a wheelbarrow or drag it along using a tarp.
Situate the plant in its new hole. The root collar (where the trunk of the plant meets the roots) should be level with the surrounding soil. Use a small shovel or your hand to backfill around the plant just enough so it can hold itself upright. At that point, you can use a larger shovel to finish the job. Tamp the surrounding soil to remove air pockets and water the plant to help the soil settle.
Handling plants during repotting
When repotting plants, regardless of their size or age, be sure to water them first. Give the plants a good, soaking watering about an hour before transplanting. Moist soil holds together much better than dry soil, making the whole repotting process simpler.
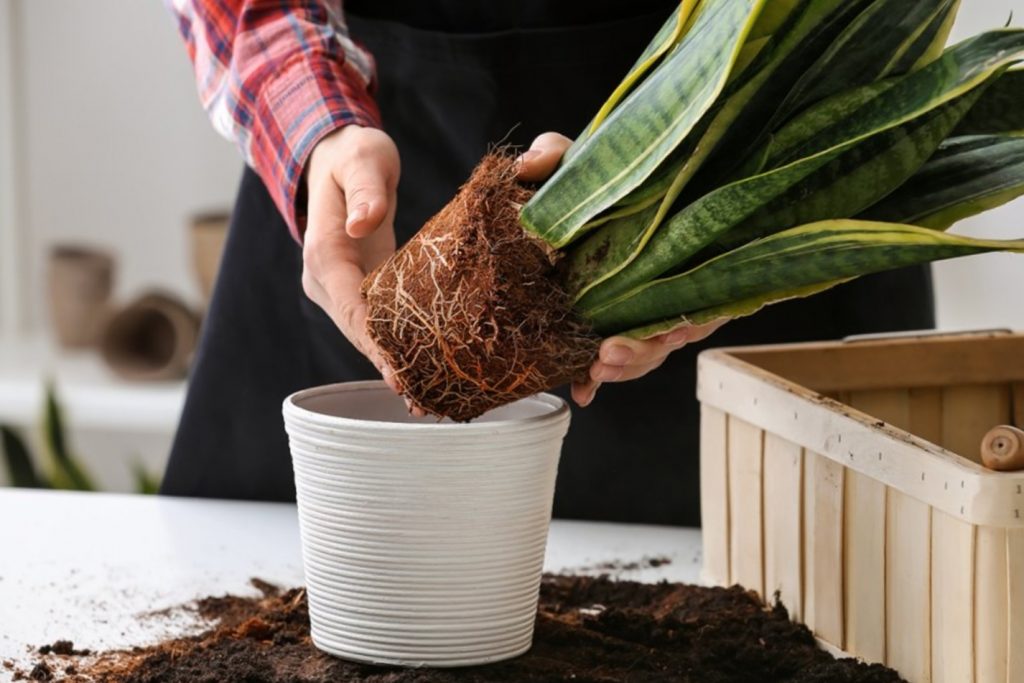
When you’re ready, tap the base of the pot to loosen the soil, tip the pot sideways to get gravity working in your favor, and gently pull the base of the plant. Ideally, the plant will come loose and you can plop it into its new pot. If not, set it back up and use a hand trowel to pry the soil away from the edges of the pot, then try again.
Once the plant is loose, situate it into its bigger pot and backfill as you would if you were planting it in the ground. Remember to squish the soil in a bit to get rid of air bubbles, and give the plant just a bit of water to keep the roots hydrated as the roots get situated.
Note: If the plant you’re transplanting is root bound, take a sharp pair of scissors and trim away the bottom third of the roots before placing it in its new location. It’s not uncommon for root-bound plants to die. Pruning the roots stimulates new growth so your plant can recover in its new home.
How often should you water your plants after transplanting?
The simple answer to this question is that you should water your transplanted plants as often as they need to be watered. For seedlings, that usually means daily, but you should check the soil first. If it feels dry about 1/4” down, give the seedlings some water. It’s important to keep the soil moist for young plants so they stay hydrated as they grow.
If you transplanted a plant because it was getting too much water in its original spot, you’ll need to wait until the soil in its new location dries out before watering it again. The water that you gave your plant when you initially transplanted it is enough to help it get established. Give the waterlogged plant a chance to enjoy its new drier soil before watering it again. Be sure to follow the plant’s unique watering guidelines so you don’t overwater it.
Alternatively, if you transplanted a plant because it wasn’t getting enough water in its original location, you’ll need to keep a close eye on it to be sure the soil doesn’t dry out. Certain plants, like peppermint, simply prefer moist soil. Depending on the soil in its new location, it may need to be watered daily, weekly, or monthly. Keep an eye on the plant, feel the soil often, and water as needed.
More tips for successful transplanting
Whether you’re transplanting seedlings or mature plants, be sure to give them time to acclimate to their new location. Avoid walking on the soil surrounding the newly transplanted plant. Doing so will pack the soil, making it difficult for oxygen and water to penetrate.
When transplanting plants from indoors to outdoors, keep the indoor plants outdoors as often as possible beforehand to help them adjust. Use plastic to keep the soil warm if necessary during the early weeks of spring. And refrain from using harsh fertilizers for several weeks following transplantation, as these chemicals can burn new roots.
All in all, transplanting doesn’t have to be a headache. Through preparation and careful handling, you can transplant your seedlings and mature plants successfully without killing them.