We’re here to help! Wild Yards is a completely free website that is 100% dedicated to helping you create a wildlife-friendly, sustainable yard. Read more
WildYards is reader-supported. When you buy a product through a link on our site, we may earn a comission. Every product is independently selected by our (obsessive) editors and our reviews are unbiased and objective. Read more about our mission or our privacy policy.
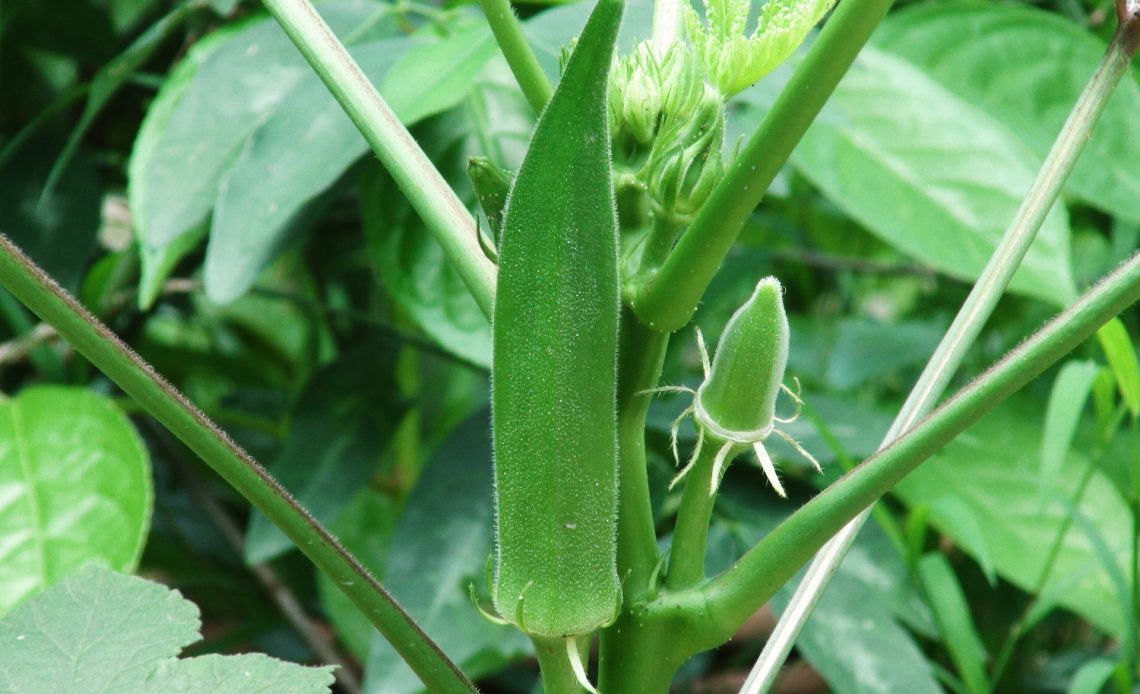
A high-yield crop that’s easy to grow, okra is the perfect vegetable for new gardeners who are just starting to test the waters. Okra can be used to make soups, particularly gumbo, but it can also be pickled or fried to make delicious finger foods. If you’re new to growing okra, or if you just want to get the most out of your crop, you’re probably wondering how to make okra produce more. The answer to that question, as it turns out, is pretty simple!
Ensuring all of the okra plant’s growing requirements are met is the best way to boost crop yield. Amending garden soil, regular watering, and choosing high-yield varieties, such as Jambalaya, Go Big, and Clemson Spineless, can also help.
How can you make your okra plants produce more?
There are no secret tricks when it comes to getting your okra plants to produce more. It all comes down to common sense. By understanding the okra plant, what it needs to grow well, and simply giving it those things, you’ll be doing all you can to support plant growth. Here are 9 things that you can do to encourage your okra plants to produce more.
Choose high-yield varieties
Growing lots of okra starts by choosing okra cultivars that are known to produce more than other varieties. When planning your garden for the season, look for the following types of okra:
- Jambalaya — Plants grow up to 3 feet tall with okra measuring 3 to 5 inches in length. Jambalaya okra has well-defined ribs running vertically along uniformly straight pods. These plants are prolific producers and can be harvested from summer to fall. Jambalaya okra has a mild taste similar to asparagus, with a fibrous texture.
- Clemson Spineless — The most popular variety of okra in America, Clemson Spineless plants are among the best producers, maturing in just 56 days. Clemson Spineless okra has that classic okra taste with tender pods that measure 2 to 3 inches when ready.
- Go Big — Measuring 5 to 7 feet tall at maturity, Go Big’s okra pods live up to their name averaging 7 inches in length. In spite of their size, Go Big okra pods remain relatively tender, perfect for use in soups and stews. Plants mature quickly in 60 to 65 days and are among the biggest producers.
Growing a high-yield okra cultivar will help you start off on the right foot. Although it can take plants several months to become established, once they start producing, they continue to do so for a long time, giving you plenty of okra to enjoy during the growing season.
Plant seeds at the right time
If you start your okra seedlings too early, they may become root bound and die in their seed pots before you even get a chance to move them out to your garden. Conversely, if you start your okra seeds too late, they won’t have time to mature before the growing season winds down.
For best results, start your okra seedlings indoors 3 to 4 weeks before the last frost of the season. Sow seeds at a depth of ¼-inch in potting soil, and keep the seed pots on a warm, sunny windowsill. Keep the soil moist, but not muddy. Okra seeds typically germinate in 7 to 10 days.
Once your okra plants have developed 3 sets of true leaves, and the temperature outside reaches 65 degrees Fahrenheit with no threat of a nighttime freeze, it’s safe to move the seedlings outside. Handle the plants gently during the transplanting process so they don’t become stressed.
Meet ALL of the plant’s growing requirements
Okra needs heat to perform well, so be sure to grow your okra plants in a spot where they will receive at least 6 hours of direct sunlight every day. If you live in the south where conditions are hot and arid, keep the plants where they will receive dappled afternoon shade. This will help prevent heat stress, which can greatly hinder pod production.
Okra grows best in slightly acidic soils with a pH of 6 to 6.8. The soil should be rich in decaying organic matter that keeps the dirt loose and loamy so excess water can escape quickly. If there’s one thing okra hates, it’s sitting in muddy soil.
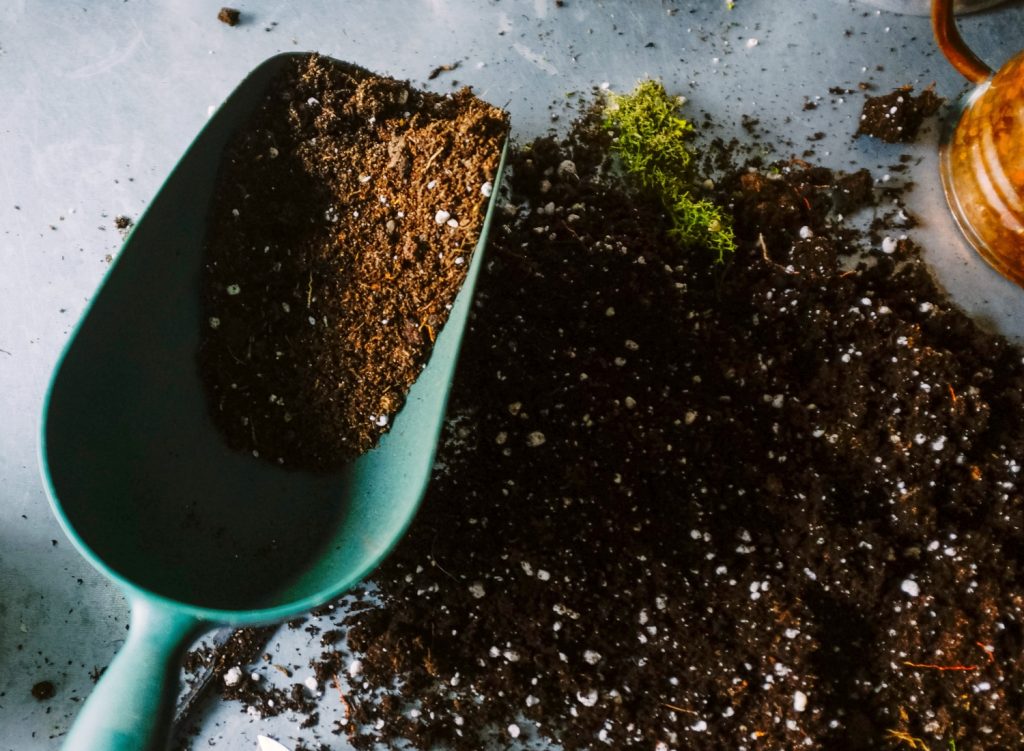
Amend your garden soil
If the soil in your garden is slightly alkaline or if it’s nutrient-poor and holds onto moisture for long periods of time, that doesn’t necessarily mean that you can’t grow okra. It just means that you need to amend the soil first.
Start by testing your garden soil’s pH. Remember, okra prefers to grow in slightly acidic soil that’s full of organic materials. If your soil is too alkaline, mixing in a healthy dose of sphagnum peat moss will bring the pH down a few ticks. If the soil is too acidic, even for okra, then add aged horse or cow manure to raise the pH.
Using organic materials to alter the pH of your garden soil will also help make the ground more porous, improving drainage. If your garden soil is already at an appropriate pH but is clay-rich and compacted, add perlite or coco peat to break things up. Not only will this help with drainage, but it will also improve aeration.
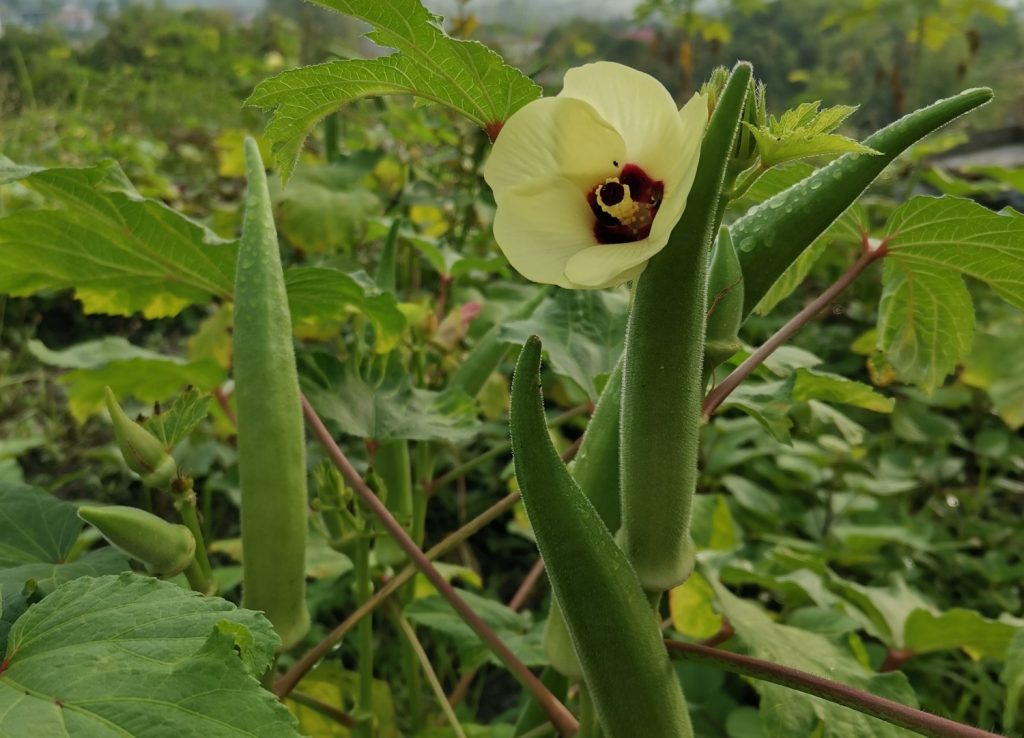
Keep okra plants hydrated
While it’s important not to allow the soil surrounding your okra crops to become muddy, it’s just as important to ensure the plants stay hydrated. When okra plants begin producing pods, their water needs increase. Making fruit takes a lot of resources, and if those resources aren’t available, plants won’t be able to make much fruit.
Once your okra plants start to flower, increase their water intake. Water plants deeply once a week with a watering hose — preferably in the morning. Check the soil daily by sticking your finger into the soil 1 or 2 inches down. If you find that the soil is drying out too quickly in between waterings, consider applying a layer of wood chips or old straw as a mulch to help seal in hydration.
Give plants plenty of space
Okra plants can be pretty sizeable. They’re also heavy feeders, so they need plenty of space to spread out. If other plants are growing too close to them, they may not be able to reach their full potential because they may not have enough nutrients to do so.
To prevent competition, space okra plants 3 to 4 feet apart. Keeping enough distance between plants has the added advantage of making harvesting much easier once the pods are ready to be picked.
Feed the plants
Once you’ve fixed your garden soil and planted your high-yield okra plants, be sure to feed them with a nitrogen-rich fertilizer to improve fruit production. It’s best to feed okra plants when they’re 18 to 24 inches tall. Use a basic 10-10-10 fertilizer, which will provide the plants with a healthy dose of phosphorus and potassium in addition to nitrogen. You can also use blood meal if you’d rather take an organic approach. Use a weed fork to gently work the fertilizer into the soil surrounding the okra plants, being careful not to cut any roots.
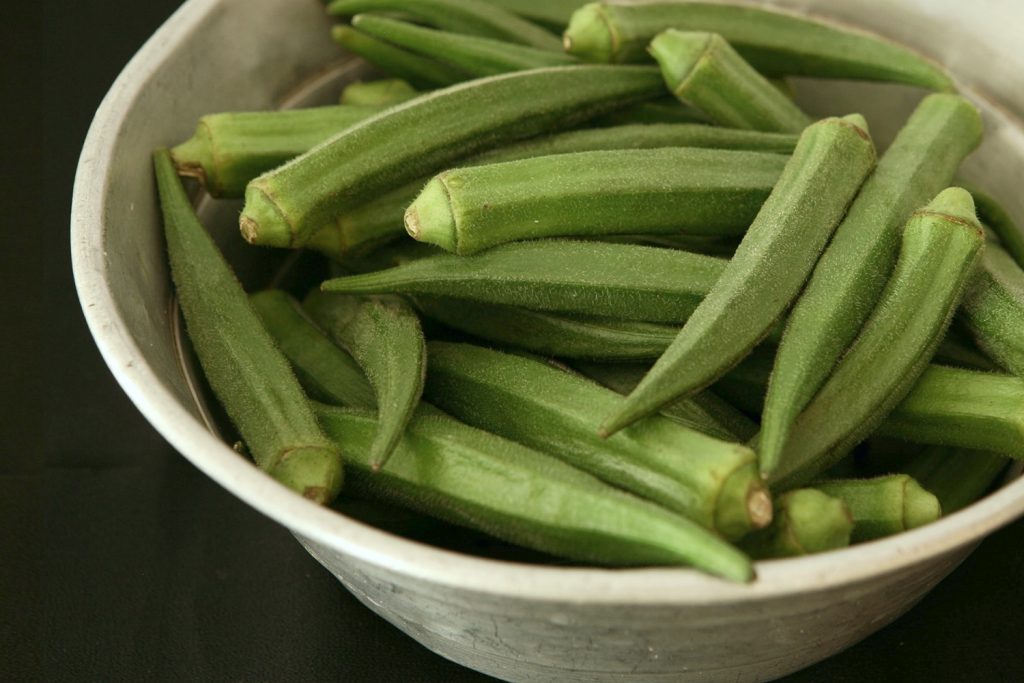
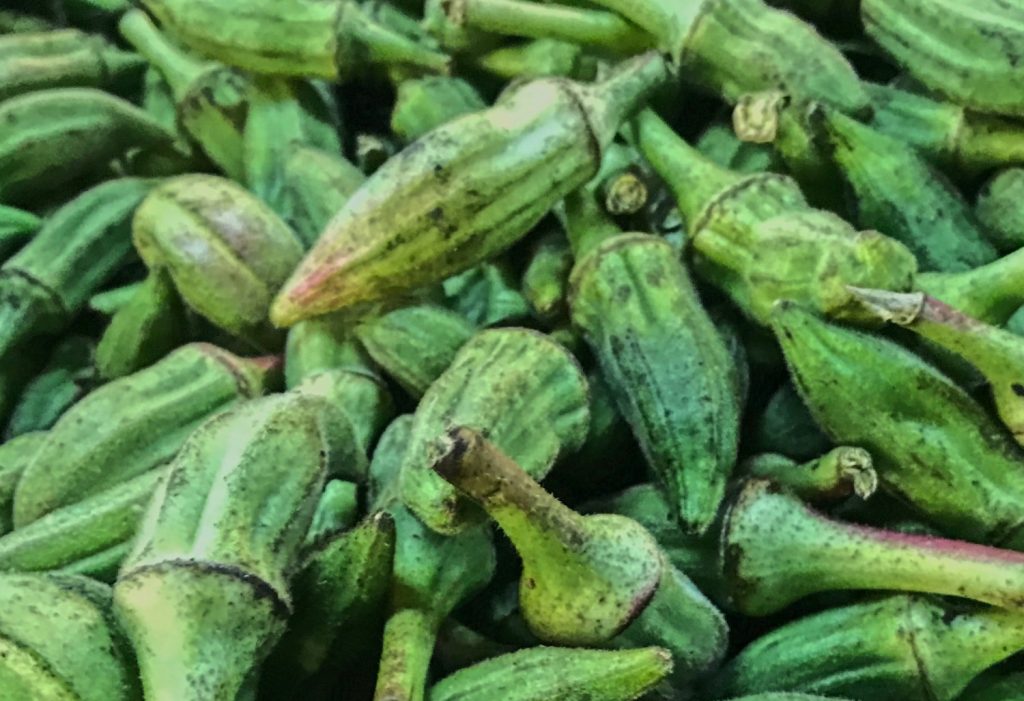
Harvest okra regularly
Once your okra plants begin producing, it’s time to get busy. Harvest your okra at a minimum of every two days. Leaving okra on the plants robs the plants of nutrients that they could be using to produce more okra. It also results in tough, fibrous pods that are difficult to eat.
Use a pair of garden clippers or scissors to cut tender, young pods from the plant. Snip about halfway between the pod and the plant stem. Be sure to clean the pods by scrubbing them gently under cold water, and spreading them out on a towel to let them air dry.
Cut back the plants
At a certain point during the okra plant’s growth cycle, its pod production will plateau. At this time, it’s best to trim the plants, which will allow them to get re-established. Using a sharp pair of gardening shears, cut the plants down 6 to 12 inches above the soil, and apply another round of fertilizer to encourage the plant to grow again. This strategy boosts okra production by stimulating growth later in the season. It’s a great way to get a late summer or fall crop out of the same plants you started in spring.
A few tips for making okra produce more
In addition to these tried-and-true strategies, there are a few other things you can do to encourage your okra plants to produce. Start by keeping okra’s favorite companion plants nearby. Peppers, cucumbers, watermelons, and basil all share okra’s growing requirements and work to support the plant’s health by attracting valuable pollinators. Checking your plants regularly for signs of infestation and using homemade insecticides to ward off bugs can support crop production as well.
Overall, these are some of the easiest garden veggies to care for. With a little extra effort, your okra plants will quickly prove to be some of the best producers in your garden.