We’re here to help! Wild Yards is a completely free website that is 100% dedicated to helping you create a wildlife-friendly, sustainable yard. Read more
WildYards is reader-supported. When you buy a product through a link on our site, we may earn a comission. Every product is independently selected by our (obsessive) editors and our reviews are unbiased and objective. Read more about our mission or our privacy policy.
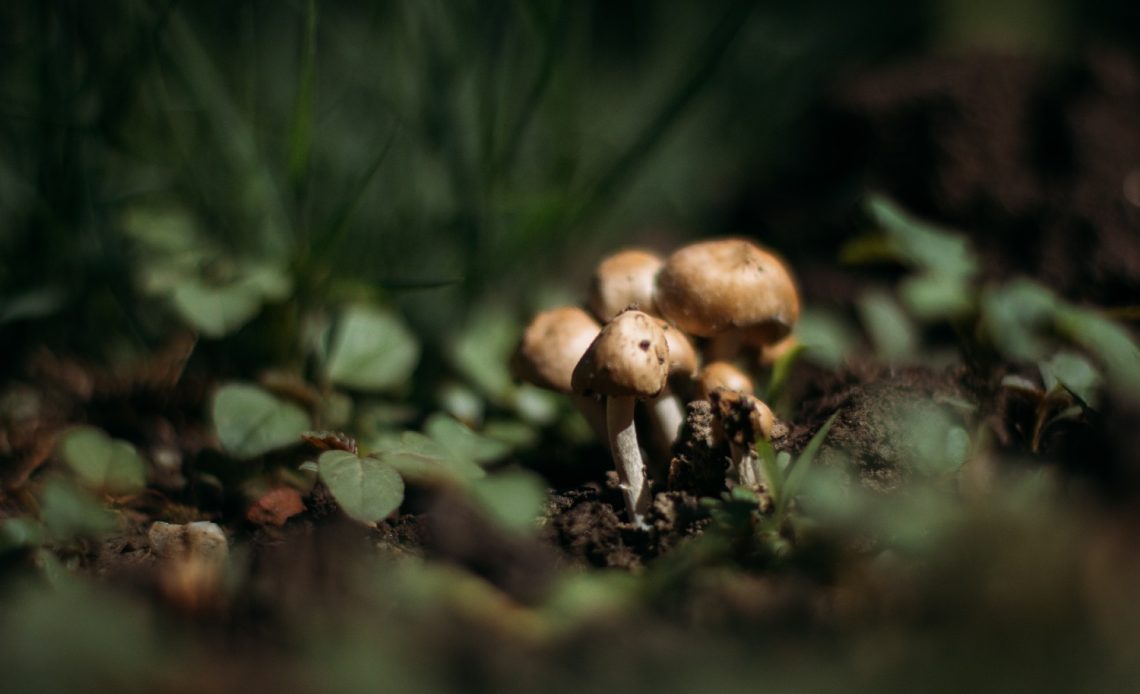
Mushrooms seem to pop out of the ground just about anywhere – and when setting up a garden bed, these are growths you’ll want to keep around. With that in mind, how do you grow mushrooms in garden bed setups?
Providing your garden bed is humid and well-shaded, you’ll likely start growing mushrooms with minimal effort. There are many different species of fungi you’ll grow in a bed – for the most part, moisture is the key to their cultivation.
Why is my garden bed starting to grow mushrooms?
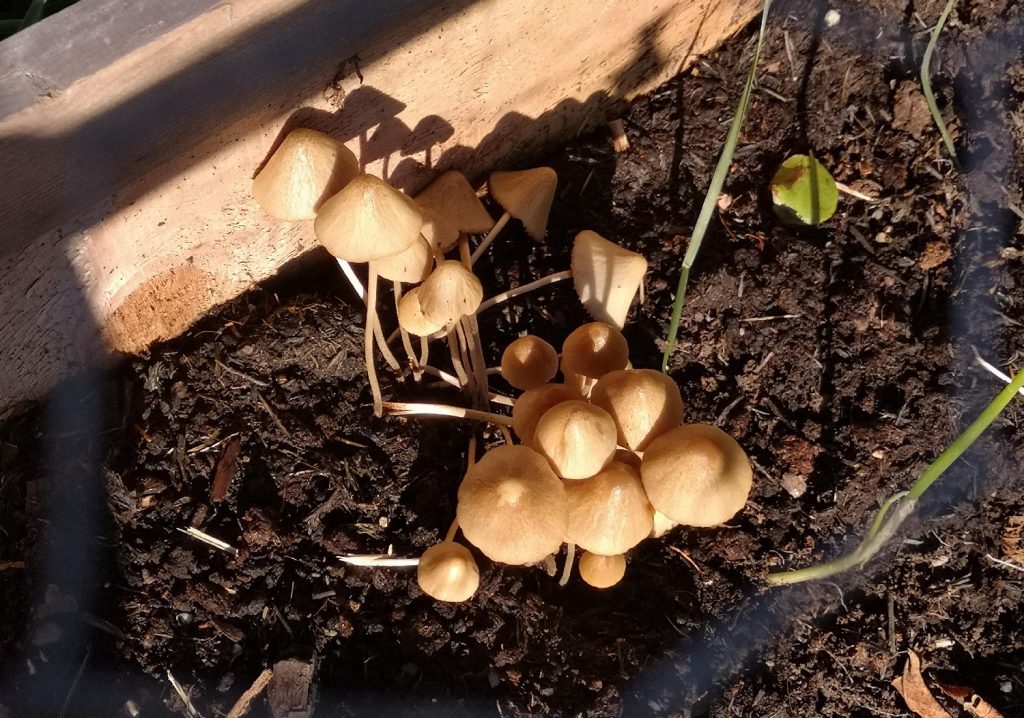
Your garden bed may start to grow mushrooms sporadically (pun intended) if it’s had an abundance of water and if temperatures are humid. Typically, most mushrooms enjoy cool areas to grow in but require plenty of moisture.
It’s important to distinguish mushrooms from harmful mold spores – these fungi, while there are many different species and types, all grow through the mycelial network – much like your favorite plants extend their roots. Unlike most plants, however, mushrooms don’t need chlorophyll, which is why they thrive so well in dark spaces – they don’t photosynthesize.
Your garden bed may be growing mushrooms simply because the pH of your soil is a little alkaline or because you’ve got a variety of organic matter decaying into your soil. If you’re following the ‘hugelkultur’ or ‘lasagna gardening’ method of maintaining a raised bed, you’ll likely spot a mushroom or two.
Do also make sure that your soil isn’t pooling or puddling. As much as many of us want to grow mushrooms in raised beds, fast propagation may be a sign that your soil simply isn’t draining well enough. If you’re not already noticing poor growth in sand-loving plants such as lavender, mushrooms can raise a red flag.
What exactly is a mushroom?
A mushroom is the ‘fruit’ borne from mycelium, a living network that can stretch for miles beneath the soil – which we simply can’t see. Mycelial cells stretch and expand like roots over time, soaking up water and nutrients from the ground. This network is surprisingly complex, only ever producing mushrooms when conditions are perfect. Before mushrooms sprout, the network will produce mycorrhizae, the foundations for fungi to pop up on the surface.
What are the biggest benefits of growing mushrooms in a raised bed?
Mushrooms are great for adding nutrients to your raised bed. Along with bacteria, fungi can help to break down organic material so it adds to natural mulch for your soil. If you’re already using your own compost to help stimulate plant growth, mushrooms’ presence will only amplify your medium’s nutritional content further. When they die, mushrooms will pass their own organic matter into the soil, continuing the cycle.
Intriguingly, mushrooms are very similar to worms in how they break down organic material such as leaves. The extended mycelial or mycorrhizal network will also work symbiotically with various plants, such as deciduous bushes, to ensure mutual growth and strength. This network works much like telephony – in that it helps to connect trees and plants together, share nutrients and water, and even helps raise the alarm if they’re under attack.
While some gardeners may find mushrooms unsightly, they will rarely – if ever – pose risks to your plants. You may wish to remove them if you’re cultivating your bed to look a certain way or if they’re starting to overcrowd other plants in the same soil. Despite their fast propagation and long-reaching mycelial network, mushrooms will never over-compete for nutrients. Instead, they can keep your soil rich and nutritious.
In return, mushrooms and the mycorrhizal network receive surplus sugar from plants and trees derived through photosynthesis.
Some species of mushrooms can also help to manage pests in your soil. The oyster mushroom, for example, is a carnivorous type of fungi that will paralyze and kill nematodes, some of the most destructive worms you’ll find in the garden. The mushroom simply poisons these worms and digests them – drinking up important elements such as nitrogen to foster healthy growth.
Contrary to some beliefs, mushrooms benefit from nitrogen – though some gardeners may use nitrogen-based fertilizer to help eradicate fungi in their soil. It’s used to help reduce the content in the soil that mushrooms feed on – thus starving them out.
How do I start growing mushrooms in my raised bed?
You don’t need to do much to start growing mushrooms in an existing bed – ensuring your plot gets plenty of shade and water is a good starting point. Typically, mushrooms will start to sprout and thrive in temperatures around 60 degrees Fahrenheit, meaning it may be easier to cultivate fungi in cooler USDA zones.
In some cases, it may be worth investing in mushroom spawn, which is mycelium-treated to help encourage fungal growth. Varieties such as sawdust spawn are great for sprinkling into appropriate layers and substrates. Or, you may wish to try grain spawn, which tends to be more nutritious – though it can attract pests. In many cases, you’ll be able to grow fungi without needing to resort to spawn.
Fungi adore moisture – which means rainy days are always likely to produce a fresh crop of mushrooms. While wet soil is not always guaranteed to produce mushrooms, continued moisture will boost your chances of seeing these growths. If your bed isn’t draining enough, you’ll see more and more mushrooms emerge – meaning you may wish to restructure your bed if fungi start to take over the topsoil.
It’s more likely that you’ll see mushrooms emerging in small pockets or spaces of your garden bed rather than cover the entire area of topsoil. They thrive in dense clumps of soil and compost, with very little airflow. It’s crucial to strike a careful balance here, as plants need aerated soil to grow to their full potential – keep aerating your soil (and encouraging earthworms to visit to do the work for you), but keep some spots in your bed dense and moist for mushrooms to grow.
Mushrooms won’t just grow in soil or organic waste. You can encourage mushroom growth through live and inactive mulch, such as through growing oregano, which will spread itself across the topsoil and thus create a canopy under which fungi can thrive. It’s also worth considering mulching French marigolds as organic mulch, as it’ll support mushroom growth and help deter invasive worms from your bed.
If you’re layering a raised garden bed with organic matter and compost, consider adding dung or animal waste, too. This is dense and moist, and in a shaded bed, will quickly encourage mushrooms to sprout upwards.
If you have soil pH meters or test strips, consider making the topsoil and compost in your raised bed a little more alkaline. Mushrooms love to grow in mediums between 7.7 and 8.9 on the pH scale, which means you may need to add a little extra matter to alter the balance. Add lime (or calcium carbonate), ground-up eggshells, and bone meal, for example, to increase the alkalinity. Always test your soil beforehand and gradually increase the matter.
A word of warning – changing the alkalinity of your bed’s soil in favor of growing mushrooms may disadvantage some of your plants – some specimens, such as azaleas, nasturtiums, hydrangeas, and daffodils all prefer acidic soil. Others, such as columbines, catmint, foxgloves, lavender, salvia, and yarrow, will all happily thrive alongside mushrooms in alkaline soil.
Can I grow my own mushroom bed?
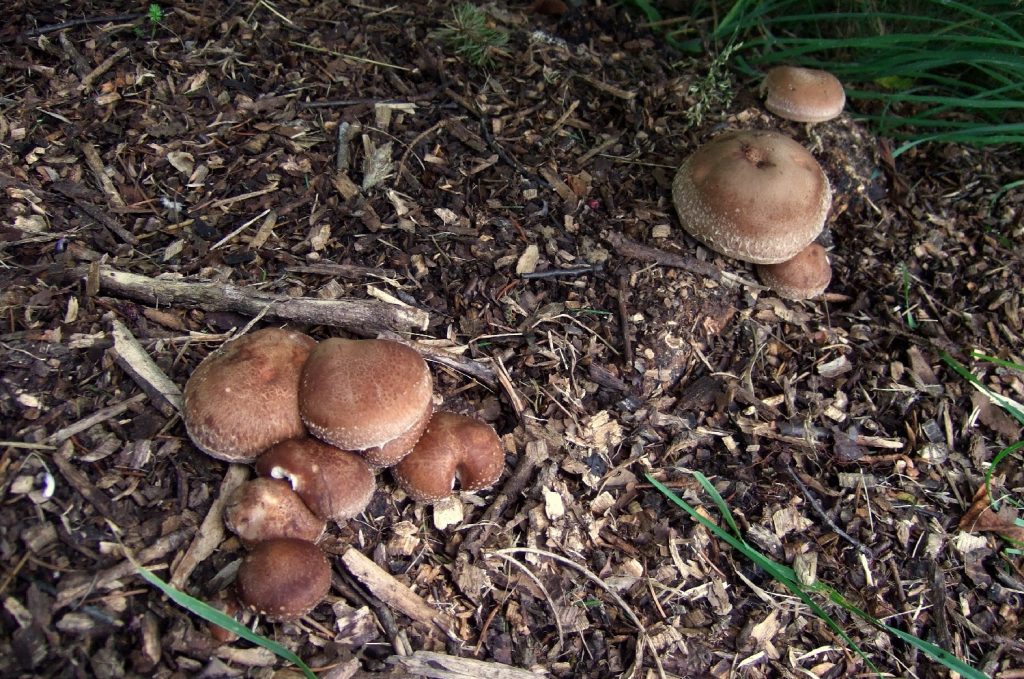
If you’d like to grow a mushroom bed separate from other plants and vegetables in your garden, it’s possible to set up shaded spots to attract specific varieties of fungi. For example, hard-working wine cap mushrooms, or Stropharia rugosoannulata, are huge specimens that thrive in woodchip and straw.
Wood isn’t the best raised bed lining for drainage, but this works to the wine cap’s advantage. For optimal wine cap growth, consider layering your bed with mushroom spawn and filling it with rich compost. Wine caps appreciate soil contact as much as they thrive in moist, woody layers.
Alternatively, consider growing a bed full of oyster mushrooms to help keep your nematode populations low. These mushrooms are perfectly edible and are some of the easiest to cultivate in beds – but you’ll need a loose, straw-based layer with mushroom grain to help encourage growth.
Growing mushrooms in your own bed – a step by step guide
If you’re committed to growing mushrooms on purpose, here are a few handy steps you’ll need to follow. The following steps are ideal for cultivating oyster mushrooms, but are generally applicable to mushroom-growing success elsewhere.
- Start as early in the year as you can. By setting up in early spring, you may expect several beds’ worth of mushrooms to harvest!
- Choose a spot in your garden that’s well-shaded across daylight hours. Direct sun will inhibit mushroom growth – the darker the plot, the better. Build your bed before deciding upon a growth medium.
- Lay down a lining – cardboard is ideal – to prevent weeds from sprouting up through your bed. Don’t worry, your mushrooms will be able to access the soil underneath.
- Layer your bed with an appropriate medium. Straw is a great choice for cultivating various species of mushroom, particularly oyster spawn.
- Oyster grain spawn, for reference, may arrive in small clumps. Be sure to break these up and sprinkle across your bed. Save some for a second sprinkling if you can.
- Add another layer of straw to your bed, before sprinkling further grain spawn across the top. You can go ahead and finish your bag (unless you have another bed to fill). You’ll need to add one final layer of straw to finish off your ‘mushroom lasagna’.
- Now you’re set up, give your bed a thorough soak with a water hose and cover it over with a thin sheet of tarpaulin. This is to help create a moist atmosphere in which the mycelial network will start to extend and sprout.
- Weigh down your tarpaulin with a few stones to prevent it from flying away in the wind or getting disrupted by animals. With a craft knife, make a few slits in the fabric to help aerate your bed. Without airflow, your mushrooms simply won’t emerge.
- Keep checking your bed and keep it moist by lifting the cover and spraying water if it starts drying out.
- It may take up to eight weeks for mushroom fruit to start appearing! You may start to see mycelium appearing after two weeks of setting up. If you start noticing one area of your bed growing more mushrooms than the other, feel free to remove parts of your tarpaulin to aerate.
- After harvesting, repeat the process and you may expect two or more mushroom harvests across the growing season. In some cases, you may be able to harvest mushrooms late into the fall.
- Be careful to only harvest those mushrooms you’re expecting to grow. In a dark, moist environment, you can expect a variety of species to thrive – some of which may be invasive or even poisonous. If you’re growing oyster mushrooms, familiarize yourself with what they look like before starting to pick.
Are there any wild mushrooms I can grow to eat?
You can safely eat porcini mushrooms, hedgehog fungi, scarlet elf cups, field blewits, giant puffballs, and cauliflower fungi – all of which you can easily grow in your own raised beds. But, do be careful to learn what each of these specimens looks like – as several wild fungi are toxic to consume.
Toxic wild fungi include the aptly-named death cap, the autumn skullcap, the destroying angel, and the deadly dapperling. These mushrooms can cause mild to severe symptoms if ingested – and may even kill in small quantities – research is vital!
Growing mushrooms in a raised garden bed is easy – and while some gardeners may not like the look of fungi crowding their plants, they are immensely beneficial for nutritious soil across the growing seasons. Remember, moisture and coverage is key – and in many cases, you can harvest crops to eat later (providing you examine your specimens carefully).