
We’re here to help! Wild Yards is a completely free website that is 100% dedicated to helping you create a wildlife-friendly, sustainable yard. Read more
WildYards is reader-supported. When you buy a product through a link on our site, we may earn a comission. Every product is independently selected by our (obsessive) editors and our reviews are unbiased and objective. Read more about our mission or our privacy policy.
Homegrown eggplant straight from the garden makes all the difference in dishes like eggplant parmesan, vegetable lasagna, and ratatouille. If you’re an avid at-home chef who loves cooking with fresh ingredients, then eggplant deserves a spot in your garden. Hardy from zones 9 through 12, eggplant is easy to grow and can be high yield as long as its soil, light, and water requirements are met. If you plan on growing eggplant this season, but you have no idea what to expect, here are the 7 eggplant growing stages to help you get started.
Eggplant is started from small, tan seeds that sprout in 2 to 3 weeks. Seedlings grow quickly, and plants reach maturity in 70 days. It can take anywhere from 100 to 140 days for eggplants to ripen. After fruiting, plants are often removed, but, with a little extra care, eggplant can be grown as a perennial.
What are the 7 eggplant growing stages?
Eggplants must make their way through several growing stages before their fruits are ready to be harvested. Because plants experience an increase in nutritional demands during some of their growing stages, and an increased susceptibility to insects during others, understanding the eggplant growing stages can help you take better care of your eggplants as they grow.
Stage 1: Starting seeds
The eggplant is a member of the nightshade family of vegetables, which also includes peppers and tomatoes. If you take a closer look, you’ll notice that eggplant seeds are small, round, and tan, similar in appearance to those produced by other nightshades. Fortunately, eggplants are like other nightshade vegetables in another way, in that they’re easy to start!
Simply sow your eggplant seeds in peat seed pots filled with potting soil at a depth of ¼-inch and keep them on a warm, sunny windowsill. Your seeds should sprout within 7 to 14 days. It’s best to start your eggplant seeds 10 weeks before the last frost of the season. If you don’t want to mess with transplanting a bunch of seedlings, you can also start your eggplant seeds outside directly in your garden 1 to 2 weeks after the last spring frost.
Wherever you choose to start your seeds, be sure to keep them well-watered during this eggplant growing stage. If the seedlings dry out, they may die. But you should also be careful not to overwater them, either. If your eggplant seeds stay in muddy soil for too long, they may drown.

Stage 2: Seedlings
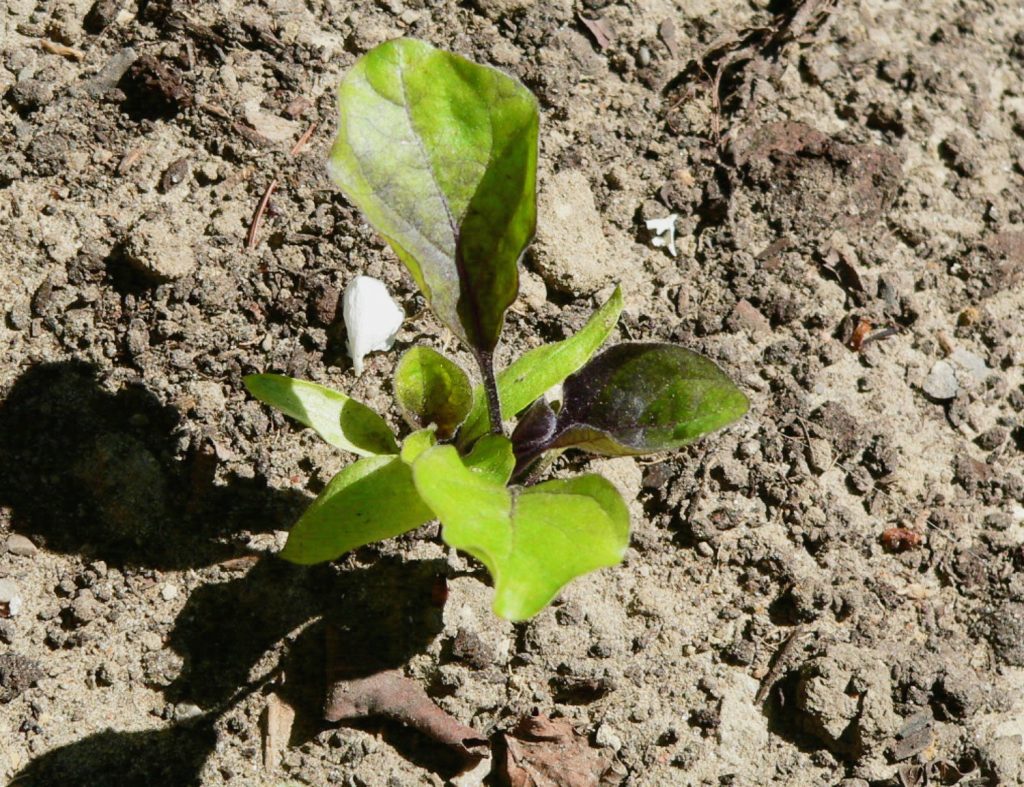
Once your eggplant seeds germinate, you’ll see two small seed leaves peaking up out of the ground. The eggplant’s first pair of leaves are small and lance-shaped. These first leaves help the plant produce energy after relying on their seeds for food. In the weeks following germination, your eggplant seedlings will begin producing true leaves, which take the shape of their adult leaves.
What your eggplant seedlings’ true leaves look like depends on their variety. In general, the true leaves of most eggplants are spade-shaped with smooth edges and a flat matte finish. As the plants grow, many eggplants develop purple stems and veins. Once your eggplants have grown 2 to 4 sets of true leaves and the thermometer outside reaches 60 degrees Fahrenheit, your seedlings are ready to be transplanted into your garden where they can continue to make their way through the eggplant growing stages.
To improve your eggplant seedlings’ chances of survival once they’ve been planted outside, be sure to harden them off. Move the seedlings outdoors when it’s warm and sunny to help them get acclimated. Exposing them to a little bit of wind and rain helps the plants develop strong root systems. That way, they can get established quickly once they’re in your garden.
Stage 3: Getting established
It takes anywhere from 6 to 10 weeks after germinating for eggplants to reach maturity. Once your seedlings are out in the garden, their growth rate will increase dramatically. The color of the plant will also change, with foliage turning a deeper shade of green.
Eggplants are moderately heavy feeders. As the plants mature and get closer to the flowering stage, they rely more and more on the nutrients in the soil to help them meet all of their energy demands. If your native soil is naturally nutrient deficient, then you may notice your eggplants growing more slowly during this stage. That’s a sign the plants need to be fertilized.
You can use homemade compost to feed your plants during this eggplant growing stage. However, a balanced NPK fertilizer like 13-13-13 will also work well. Use a time-release pelleted fertilizer, and feed your plants every 10 to 12 weeks. Ideally, you should check the soil using an at-home test kit prior to feeding the plants to make sure you don’t over-apply the fertilizer and burn the plant’s roots.

Stage 4: Flowering
Depending on your eggplant’s variety, the plants may begin flowering anywhere between 50 and 80 days after germination. During this eggplant growing stage, plants produce purple flowers with yellow centers that attract bees and butterflies. Although eggplant flowers are self-fertile, plants can still benefit from being visited by these insects. Many eggplant growers note an increase in yield when their crops have been pollinated by outside sources.
In the case of the cucumber, plants produce male flowers and female flowers. Only female flowers can produce cucumbers. But because the eggplant’s flowers are self-fertile, every flower has the potential to produce an eggplant.
It’s important to note that cool weather can prevent the flowers from self-pollinating. Eggplants grow best in warm weather. If you live in a cooler growing zone, be sure to plant your eggplants where they will receive more than 6 hours of sunlight every day. This will speed up the pollination process and encourage the flowers to reach the next eggplant growing stage, which is…

Stage 5: Fruiting
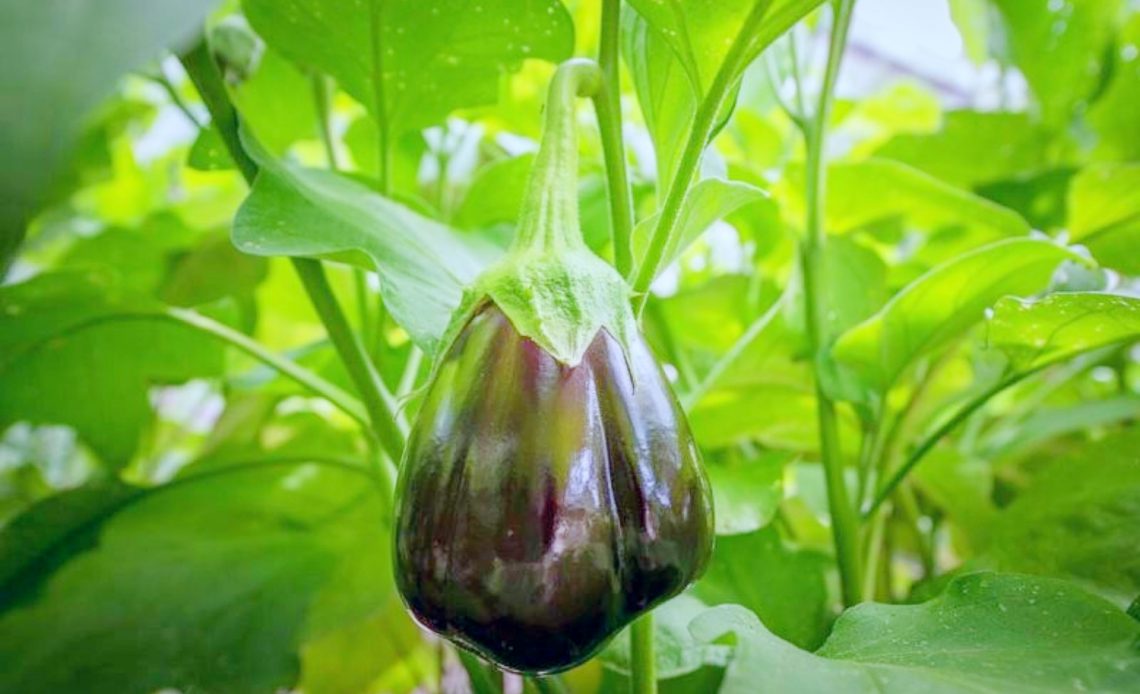
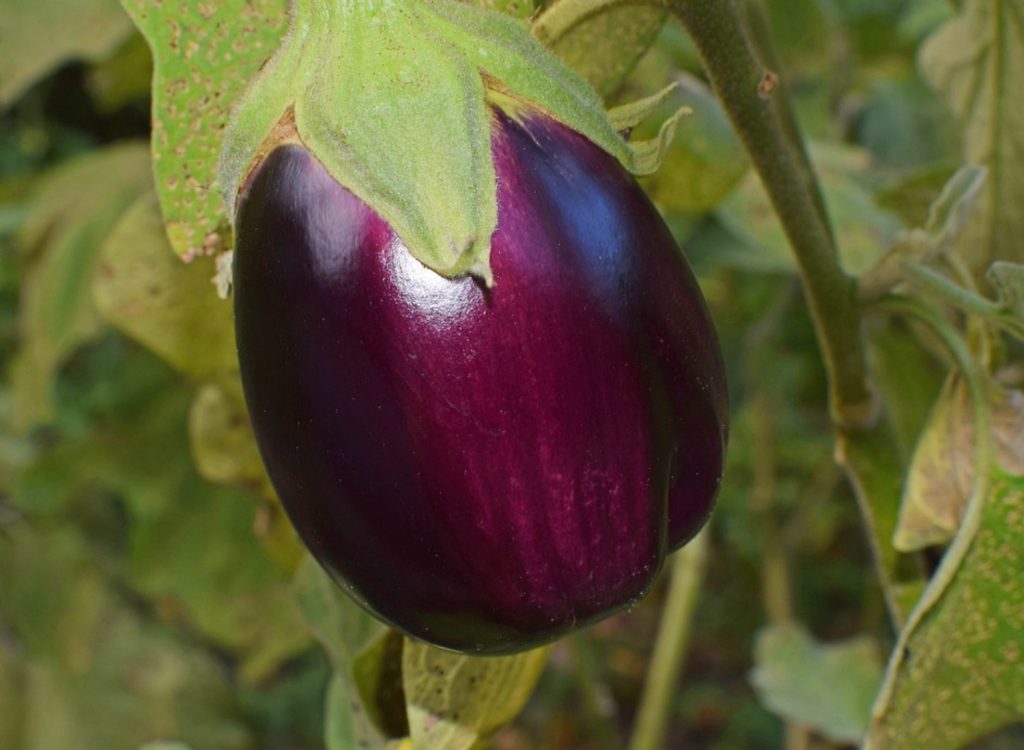
After successful self-pollination, eggplant flowers begin producing fruits. Unlike many other vegetables, which start out green and gradually develop their mature color as they ripen, eggplants emerge the same color they will be when they’re ready to be harvested.
Most eggplants are deep purple in color, with some appearing to be almost black. But it all comes down to what cultivar you’ve got. ‘Applegreen’ eggplants, for instance, are pale green in color, as their name might suggest. Others, like the graffiti or zebra eggplant, are purple with green striations.
When conditions are ideal, meaning your eggplant is getting plenty of sunlight, water, and nutrients, and temperatures are routinely between 70 and 80 degrees, then the fruits should ripen 100 to 140 days after germination. If the temps outside are cooler, eggplants will be slow to ripen. If you keep your eggplants in pots, move them to a bright, sunny location during the fruiting stage to encourage the eggplants to ripen.
Making fruit requires a lot of energy, so continue to fertilize your crops during this eggplant growing stage to make sure they keep producing. Ensuring your eggplants have plenty of nutrients will also help them create good-tasting fruits that have a nice texture. Avoid overwatering your eggplant crop during this growing stage to prevent the fruits from becoming mushy and bland.
Stage 6: Harvest time
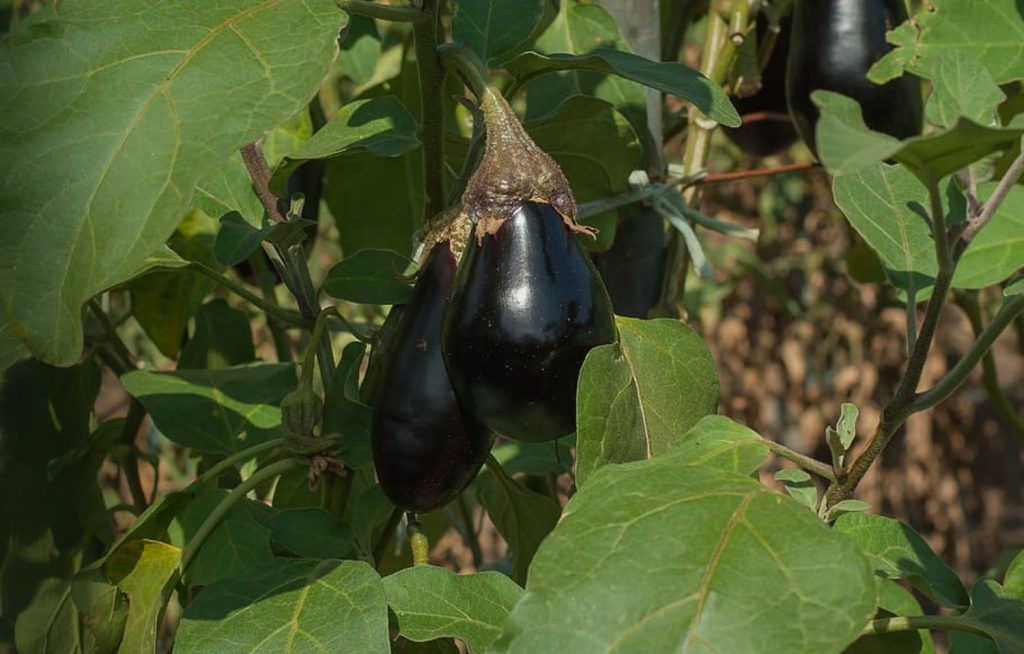
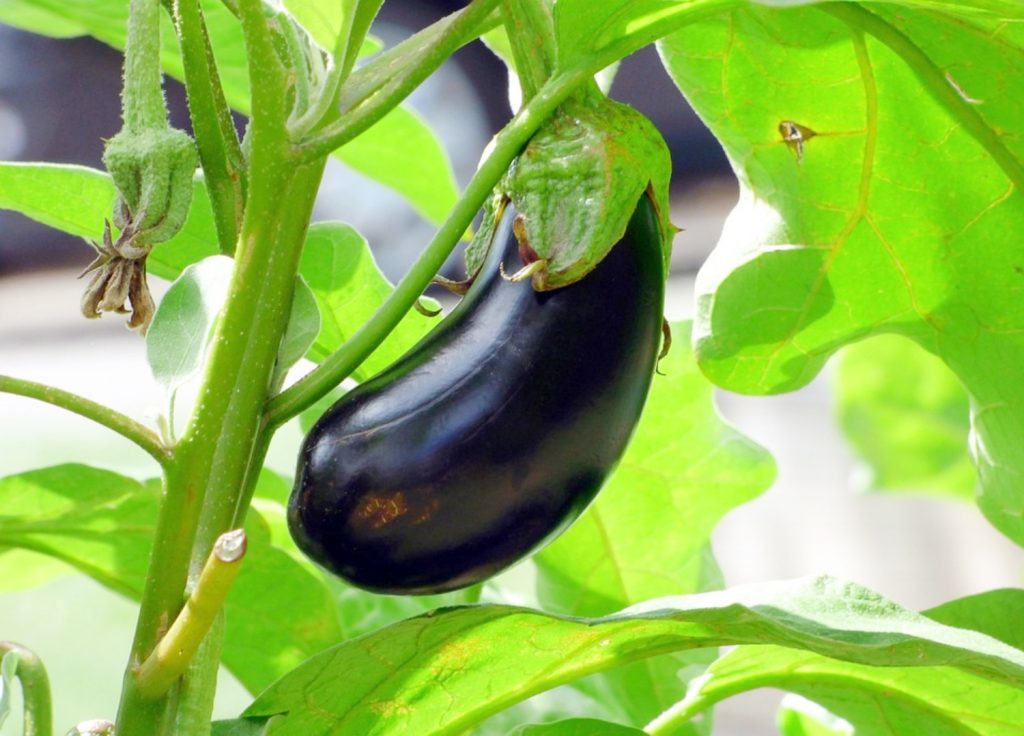
After a few weeks on the vine, your baby eggplants will mature into large fruits. It usually takes an eggplant 7 to 14 days to ripen, depending on how warm it is outside. If your eggplants are overrun with bugs, they may bore holes into the fruits and cause them to rot from the inside out. So be sure to keep an eye on your eggplants as they ripen so you can address any insect infestations that may pop up.
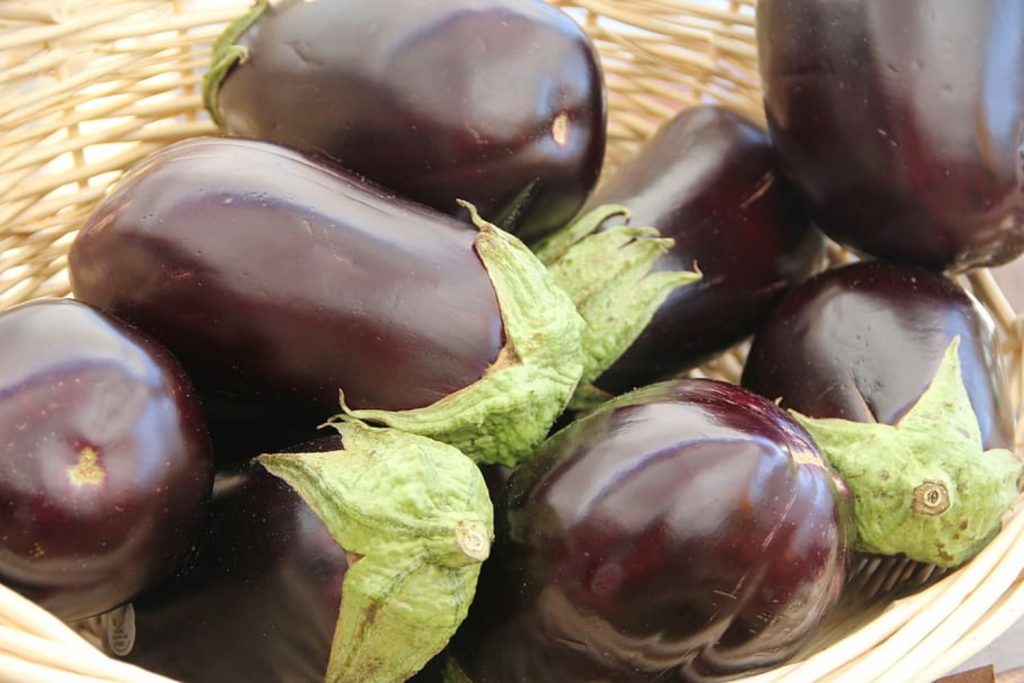
You can tell that your eggplants are ready to be picked when they feel heavy for their size and become firm. You may also notice that their color begins to deepen. However, since eggplants tend to stay the same color, it can be difficult to tell when this has happened. So another sign that your eggplants are ripe is when the fruit develops a shine. Fruits with a dull finish aren’t ready and need some more time on the vine.
Eggplants sometimes have thorns on them under the leaves and near where the fruit attaches to the plant so be careful when harvesting the fruits. Wear thick gardening gloves and use clippers to trim the eggplants away from the plant an inch above the stem. Harvest your eggplants regularly to encourage the plant to continue producing. On average, a single eggplant can produce anywhere from 10 to 12 fruits.
Stage 7: Dying back
After the fruiting eggplant growing stage, plants will start preparing for dormancy. Many gardeners grow eggplants as an annual, removing the stalks once they’ve served their purpose. However, eggplants are perennials, and if you don’t need the extra space in your garden for fall veggies, you can allow them to die back so they can reemerge on their own in spring.
One advantage to growing eggplant as a perennial is that established plants can begin producing eggplants a lot sooner in the growing season than plants that were started from seeds. If you want to overwinter your eggplants, trim the plants back when temperatures reach the 40s, leaving just the main branches at the base of the plant behind. Cover plants with plastic and a packing blanket when the temperatures dip below 32 degrees Fahrenheit to protect them from frost.
If you’ve protected your eggplants well enough, then when temperatures start to warm back up in spring, the plants will begin growing again. Since the plants are already established, they should begin flowering several weeks sooner than younger plants, giving you an earlier harvest to enjoy.
Can you save eggplant seeds to start new plants?
You can save seeds from your eggplants to start new seedlings during the next growing season. You’ll need to collect one or two overripe eggplants for this. Wait until the eggplants become hard and wrinkled. Overripe purple eggplant varieties will turn brown and green and white cultivars will turn yellow.
Cut the overripe eggplant in half lengthwise and use a spoon to scoop out the seeds. Put the seeds into a sieve and rinse them under cool water. They may still feel a bit slimy when you’re done, but that’s okay. Lay them out on a paper towel and tamp them dry, then spread them into a single layer on a cookie sheet to dry for 2 to 4 weeks. Turn the seeds daily to prevent them from sticking to each other.
When the seeds are done drying, scoop them into a paper envelope and store them in a cool, dark, dry place until you’re ready to plant them. If you live in a particularly humid region, store the seeds in a glass jar with a few silica packets instead.

How can you grow the best eggplants possible?
There is no single trick for growing good eggplants. What it comes down to is how well you care for them, especially at the beginning of the eggplant growing stages. Meeting all of your crop’s growing requirements is the best way to ensure you get plenty of gorgeous, delicious eggplants when harvest time comes.
Amend your native soil appropriately
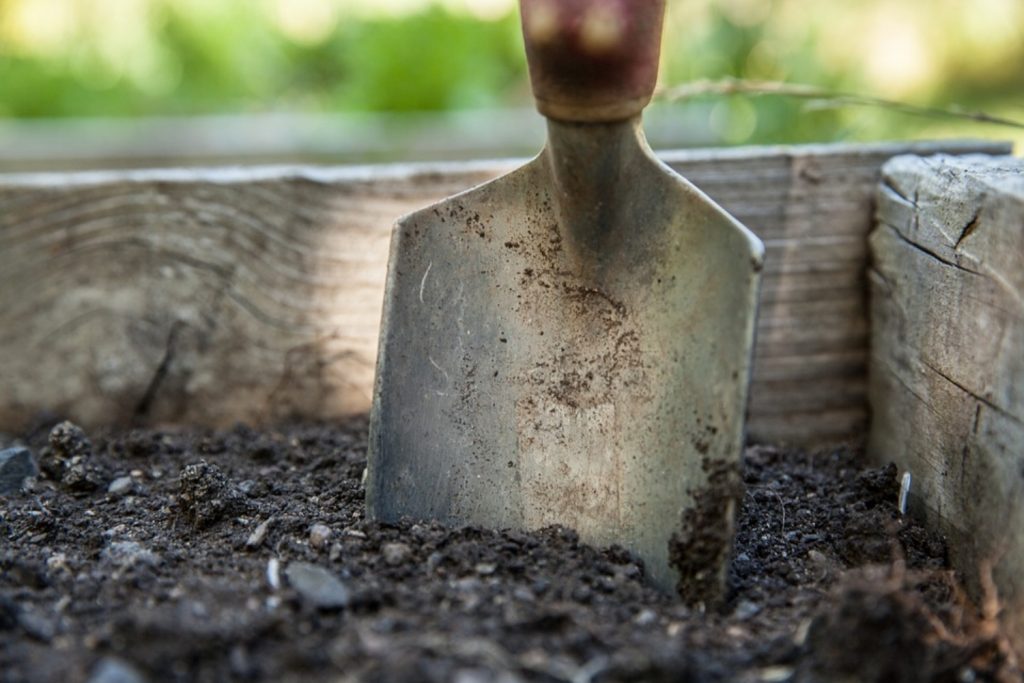
Eggplants can fall prey to diseases if they’re planted in muddy soil. If your native soil tends to stay too wet, or if it’s overly compacted, then you’ll need to amend it to improve its structure. Use compost, worm castings, and manure to make the soil in your garden loamier. These organic materials will also help feed the beneficial bacteria in your soil, which, in turn, will support your eggplant’s immunity to infections. If you find that your native soil is too difficult to work with, then consider planting eggplants in raised beds using a mixture of topsoil, compost, and sand, if necessary.
Check your soil’s pH level
It can be easy to dismiss soil pH as irrelevant, but it plays a crucial role in how well your eggplant crop performs. Eggplants grow best in slightly acidic soil that has a pH of 5.5 to 6.5. Use at-home litmus paper strips or a pH meter to test your soil. If your soil is too acidic, add baking soda or lime to push the pH closer to neutral. And, if your soil is too alkaline, use peat moss or sulfur to make it more acidic. For best results, you should amend your soil in the fall at the end of the growing season and re-test it in late winter to see if you need to make any more adjustments before planting your eggplant crop in spring.
Be sure the plants get enough sunlight
Eggplants are a lot like okra, squash, and watermelons. They love the sun. In mild climates, eggplants need 6 or more hours of direct sunlight per day. The warmer you can keep these plants, the better they will perform. But, in hotter regions, your eggplant may appreciate some dappled afternoon shade. For southern gardens, try growing your eggplant on the east side of a bean trellis, to keep them in the shade during the hottest part of the day. If your eggplants are growing in pots, then keep an eye on them for signs of heat stress. If your eggplants are in full sun, but they wilt in the afternoons and won’t perk up no matter how much you water them, move them to a shadier spot to recover.
Water the eggplants regularly
Like most garden veggies, eggplants grow best when they’re given an inch of water per week. Of course, this is just a rule of thumb and is subject to change. If your region has seen excessive rainfall, you probably won’t need to water your eggplants very often. Conversely, if your growing zone has been going through a drought, then your eggplants will probably need to be watered more often, especially if it’s hot out.
To determine whether or not your eggplants need to be watered, check the soil. Stick your finger 1 to 2 inches below the surface. If the soil feels dry and powdery, give the plants a good soak. If the soil is boggy, allow the plants to dry out for a few days, then check again. Alternatively, if you find that your eggplants are drying out too quickly in between watering, spread a layer of wood chip mulch to slow the evaporation rate.
Pick ripe eggplants often
If you plan to collect seeds to start another crop of eggplants in the future, then you’ll need to let 1 or 2 eggplants get overripe. Otherwise, for best results, you should remove eggplants as soon as they’re ripe. The flowering and fruiting eggplant growing stages take a lot out of the plants. By removing ripe eggplants, crops can conserve energy which can be used to produce even more eggplants. Removing dead flowers, leaves, and stems as you see them can also help the plants.
Keep an eye out for insect infestations
Once you move your eggplant seedlings out into the garden, the plants become susceptible to insect infestations. Inspect your crops frequently throughout the eggplant growing stages for signs of bugs. Look for chewed edges and holes in the leaves. Yellowing foliage, loss of flowers, and holes in the eggplants themselves all point to an insect infestation.
Shine a flashlight from the underside of the leaf up to cast a shadow on tiny insects that are nearly invisible to the naked eye. Caterpillars, spider mites, Colorado potato beetles, and aphids are among the insects most likely to prey upon eggplants. Use a homemade insecticide to kill and repel these pesky insects and keep your crop safe until harvest time.

Check the plants for diseases
Eggplants are pretty hardy, and they can be quite resilient when all of their growing requirements are met. However, they can still be susceptible to certain diseases. Specifically, eggplants can develop bacterial and fungal wilt. Signs that your eggplant is suffering from wilt include wilting (obviously), yellowing foliage, loss of flowers and fruits, and sudden death. If your eggplant crop is showing signs of disease, spray the plants down with an herbicide or remove them and burn them to prevent the spread of infection.
Grow eggplant near the appropriate companions
Growing your eggplant crop near the right companion plants can make all the difference in crop yield and quality. Plant strong-smelling insect deterrents like oregano and marigolds to keep your eggplants safe from infestation. Nasturtiums and borage produce vibrant flowers that attract bees and butterflies who will visit your eggplants, too, and support speedy pollination. Meanwhile, spinach keeps the soil surrounding your eggplants sufficiently moist by acting as a living mulch, and pole beans keep your eggplants well-fed by boosting nitrogen levels in the soil.
More tips for growing eggplants in your garden
Fresh eggplants can transform a boring dish into a feast for the tastebuds. Aside from meeting your crop’s most basic growing requirements as it makes its way through the eggplant growing stages, there are a few other things that you can do to make growing eggplants simpler. Eggplants can grow to be quite tall. Most plants average between 2 and 4 feet, but some varieties can grow upwards of 6 feet tall. Use tomato cages to help them stay upright as they grow, so they don’t snap in half.
Another trick for growing healthy eggplants is to use crop rotation to your advantage. Eggplants love nitrogen, so plant beans in your eggplant plot every 2 to 3 years to boost levels of this essential mineral. Rotating with brassicas like cauliflower, broccoli, and kale every 2 to 3 years can help prevent the spread of soil-born diseases like wilt.
Growing delicious eggplants isn’t difficult, it just takes a little practice. Knowing more about the eggplant growing stages will help you care for your crops better so you can enjoy sharing plenty of eggplants with your family and friends at the end of the growing season.
