We’re here to help! Wild Yards is a completely free website that is 100% dedicated to helping you create a wildlife-friendly, sustainable yard. Read more
WildYards is reader-supported. When you buy a product through a link on our site, we may earn a comission. Every product is independently selected by our (obsessive) editors and our reviews are unbiased and objective. Read more about our mission or our privacy policy.
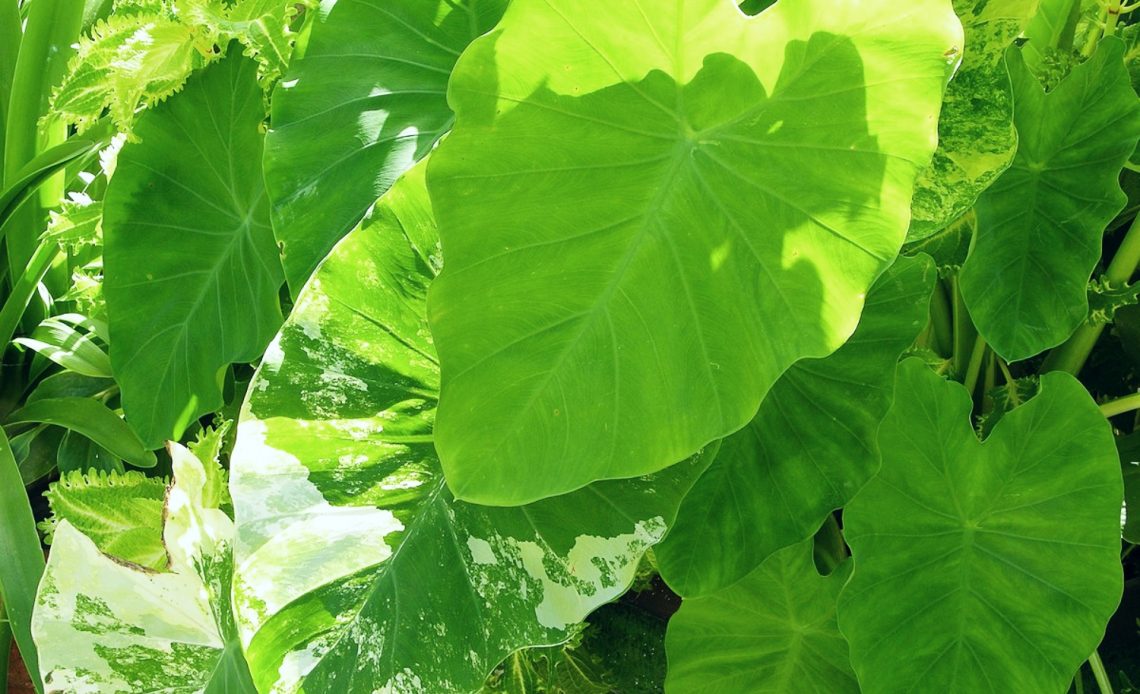
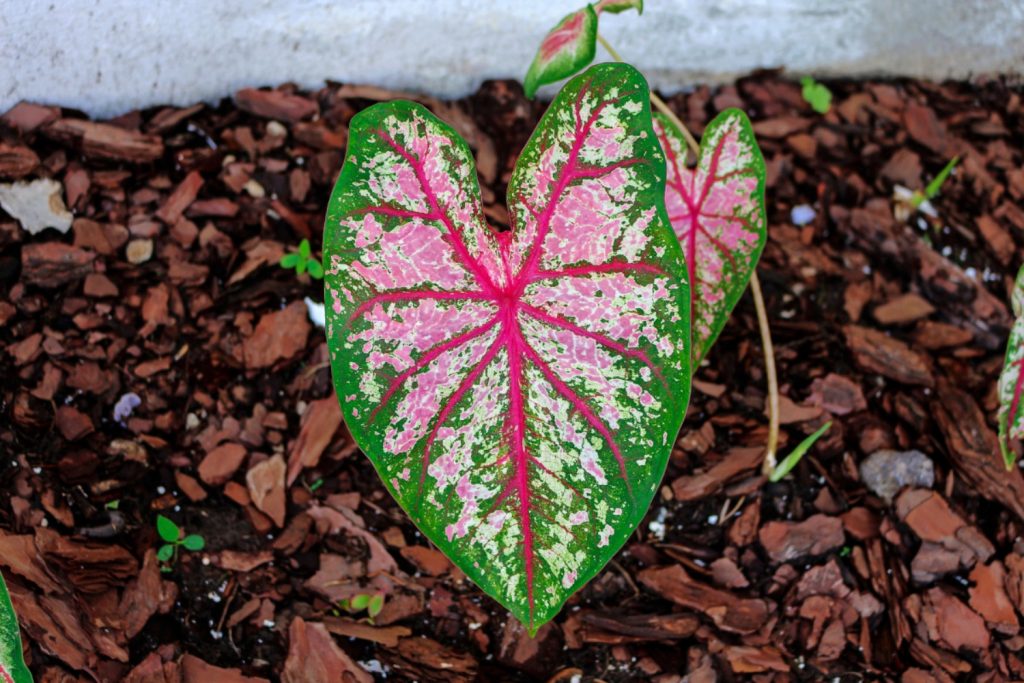
Native to southeastern Asia, elephant ears are fast-growing plants that produce large, distinctive heart-shaped leaves.
Elephant ear plants prefer tropical conditions, growing best in full to partial sunlight, in humusy, well-draining soil, and in humid climates.
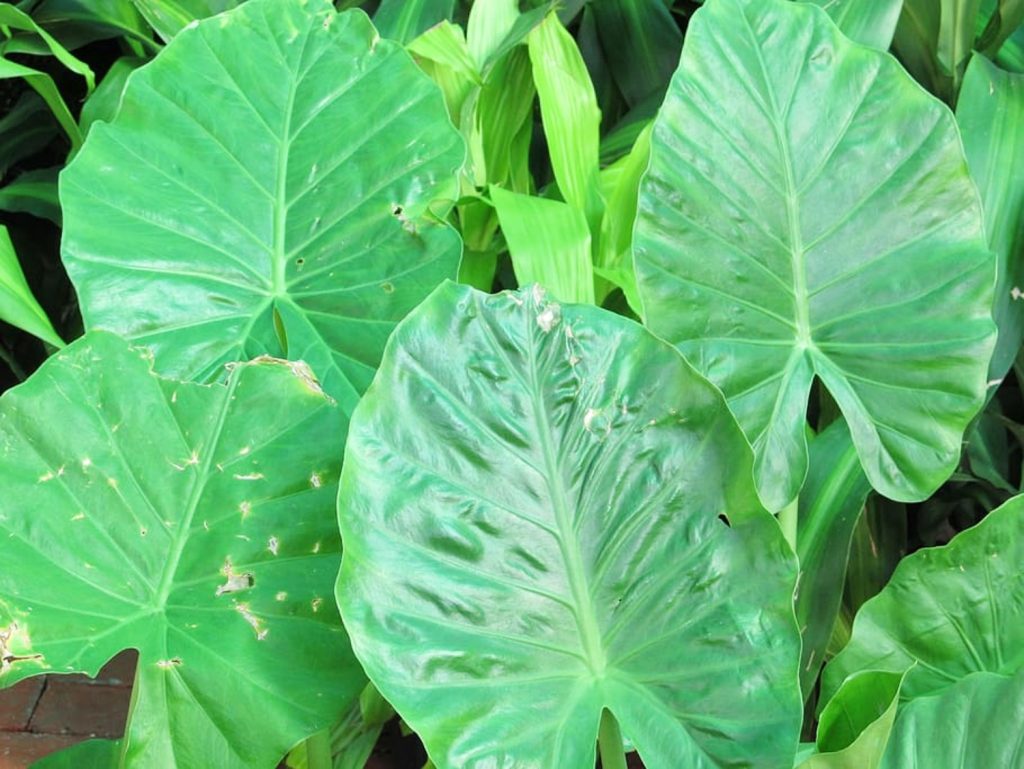
These plants are incredibly popular, not just as greenery for landscaping, but also as houseplants, and that’s because they’re so easy to care for.
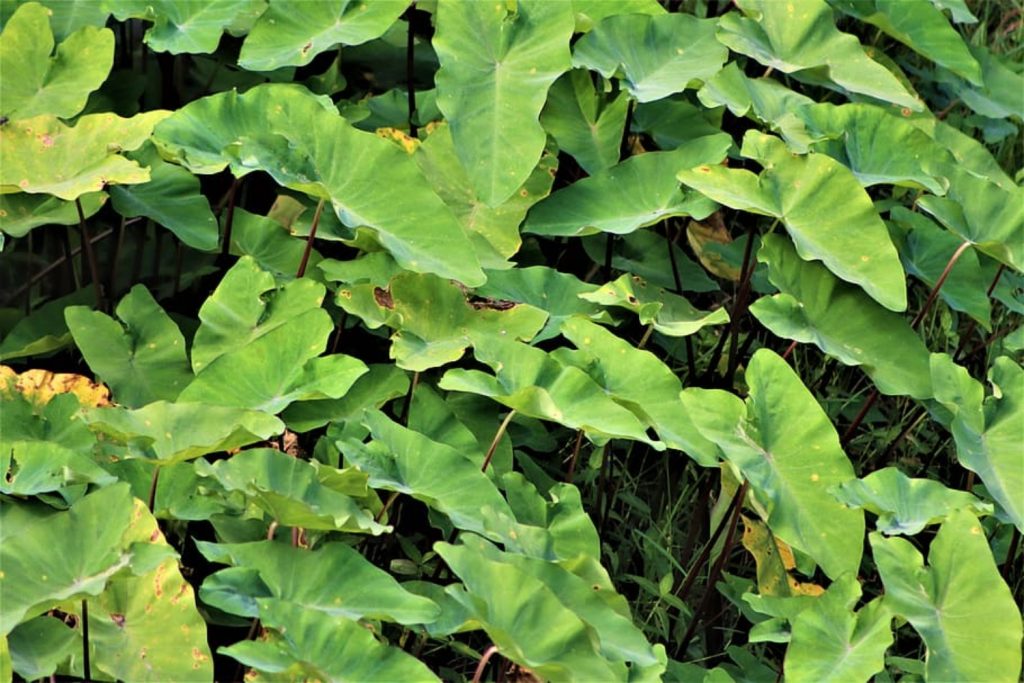
In ideal conditions, elephant ear plants can grow to be quite large. It’s one of the things we love about them!
But that means that they can quickly become overcrowded in pots, containers, and beds with limited space. Fortunately, elephant ears are very easy to divide.
If you’re looking to learn how to propagate elephant ear plants, the process couldn’t be simpler.
Elephant ear plants are easily propagated via tubers. It’s best to separate the elephant ear tubers in autumn when plants have finished growing and before they go dormant. Houseplants can be planted immediately, but outdoor plants should be kept in a cool, dry place until warmer weather arrives.
How to propagate elephant ear plants to get new plants
Maybe you’ve decided to turn a section of your backyard into a zen garden, and you want to transplant some elephant ears to give it a more authentic feel.
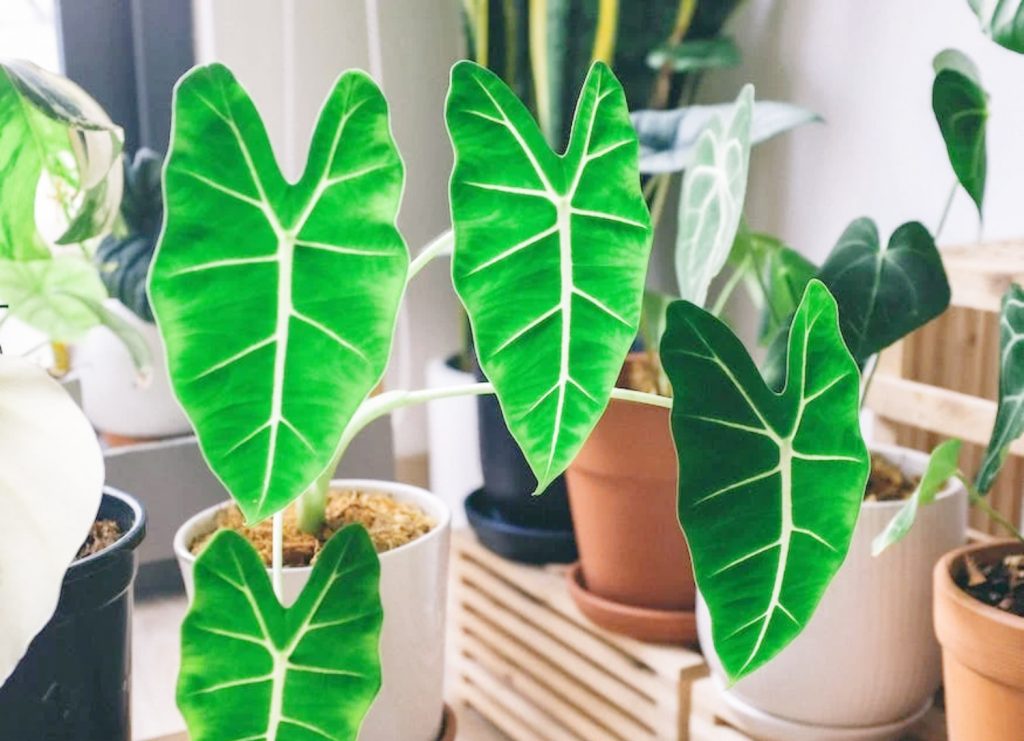
Or maybe you’ve had so much success with your new dragon scale elephant ears that you want to start new plants to share them with your family and friends.
No matter what the case may be, elephant ears are just as easy to propagate as they are to grow.
Just follow these 4 simple steps, and you’ll be successfully propagating elephant ear plants in no time!
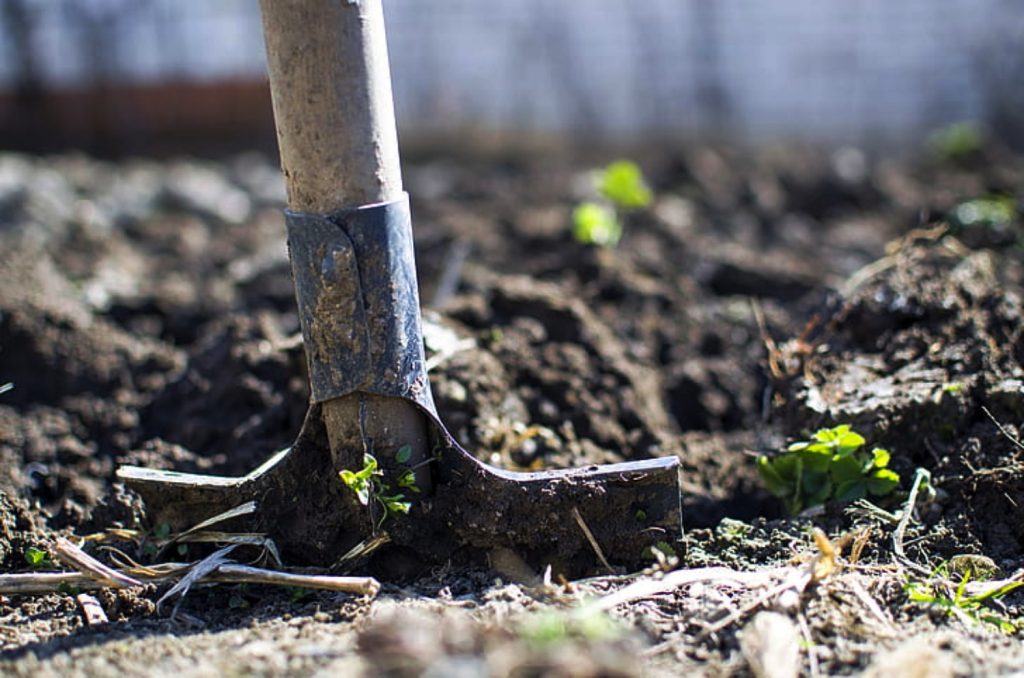
Step 1. Dig up the plants
Propagating the plants during the active growth phase may stress them out, stunting the growth of the parent plant.
So, for best results, propagate your elephant ears in the fall as the plant’s leaves are beginning to turn brown and die back.
Start by digging up the parent elephant ear plant.
Use a hand trowel to dig the plant out of the ground. Be gentle during this process to avoid damaging the plant’s roots.
To remove a potted plant, water the plant well the day before to hold the soil together. Then, grasp the plant by the base of the stem and slowly wriggle it out of the container.
Use your hand to brush the excess dirt off of the rhizomes, and you’ll notice small nodules protruding from the parent root.
These are root buds, and they’re what you’ll be collecting to start new plants.
Step 2. Divide the tubers
Before starting step two, you’ll need to sterilize a sharp knife and/or a pair of gardening shears.
Dip the knife and shears in a bucket filled with one part bleach and nine parts water then rinse them off with a hose. Dry them off with paper towels, or allow them to air dry.
It’s important to use clean tools when pruning and/or propagating plants to prevent the spread of bacteria and fungi.
Once the tools are nice and clean, select root buds that have sprouted one or two roots, and trim the buds where they meet the parent tuber.
Choose the healthiest root buds from each plant. While you should also take care to remove rotted and/or diseased spots from the parent root, you should not save these for propagation purposes.
Be sure to re-sterilize your knife and shears after removing diseased, rotting portions from the parent root to avoid spreading pathogens to healthy tissues.
Trimming the healthiest root buds from the tubers improves your chances of successful propagation.
Dividing the roots also effectively prunes the parent plant’s root system, stimulating new growth next season and giving the plant more soil space to root into.
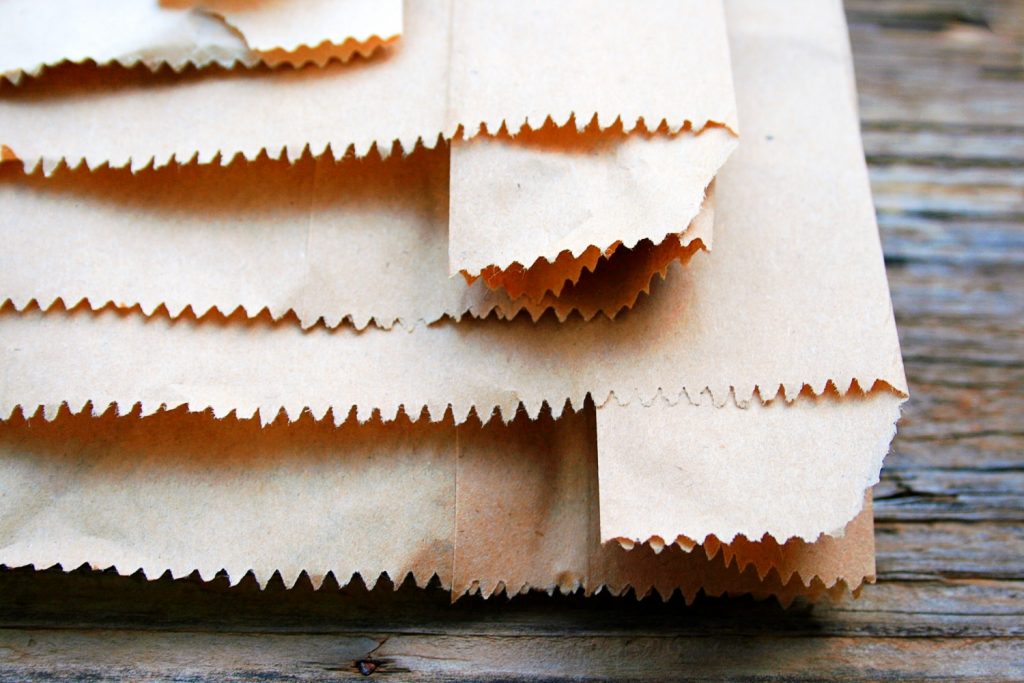
Step 3. Store the tubers
Once you’ve divided the plants, you will need to store the tubers until they’re ready to be planted next season.
Place each tuber in a separate brown paper bag, fold the top of the bag over, and staple it in place.
It’s important to store the tubers in bags made from breathable material so they don’t get too humid and start to rot.
Stapling the top of the bag will help keep bugs out. Plus, if you accidentally drop a bag, you won’t lose the tuber.
Store the bagged tubers over the winter in a cool, dry, dark place, like a basement.
Ideally, the tubers should be kept anywhere between 50 and 70 degrees Fahrenheit.
This mimics the elephant ear plant’s natural winter dormancy, which helps the tubers prepare for the upcoming growing season.
If you live in a growing zone where the temperature stays above 40 degrees year-round, or if you intend to grow your new elephant ears as houseplants, then you can skip this step completely, and move straight onto the next one.
Step 4. Plant the tubers
When spring rolls around and the threat of frost has passed, it’s time to plant the tubers. Make sure the temperatures outside are above 40 degrees.
Double-check your elephant ear type’s preferred growing conditions to ensure you choose the proper location for them. Most elephant ear cultivars grow best in full to partial sunlight.
Giving the tubers enough sunlight will keep them warm and encourage them to start growing.
Next, examine the soil. You may need to amend it using compost, manure, or horticultural sand.
As a rule, elephant ear plants prefer to grow in sandy to loamy soil that is well-draining, but fertile and can be kept slightly moist.
Once your site has been prepared, plant the tubers at a depth of five inches keeping the roots facing down and the pointed cut side facing up. Backfill over the tuber, and water the soil well.
Keep the soil damp, but not soggy, in the following weeks. If the tubers dry out, they may die.
It may take up to a month before you see signs of life but don’t lose hope. The plants must begin producing strong roots before they can start making shoots.
If planting multiple shoots, space the tubers 3 to 6 feet apart to give the plants plenty of space to branch out as they mature.
If planting in pots, plant the tubers in large, deep containers that have had drainage holes drilled into the bottom.
Pack the potting soil around the tubers gently to remove air pockets. Remember to keep the tubers warm and watered to kickstart growth.
Can you propagate elephant ear plants from leaf cuttings?
Unlike most plants, which can be propagated by cuttings, elephant ears are best propagated by tubers.
That’s not to say that it’s totally impossible to start new elephant ear plants from leaves.
However, since these plants propagate themselves via their roots, starting new plants from the roots is just working with nature. It makes the propagation process much simpler.
If you’re determined to start new elephant ears from leaf cuttings, or if you just want to see what will happen, use shears to trim a new leaf away from the main stalk, and place the stem in a pot filled with soil. Water the cutting well and place it in a warm location in bright, indirect sunlight.
After a few weeks to months, if the propagation is successful, the leaf will develop roots and start growing new foliage.
You can also try starting leaf cuttings in water. Keeping the leaf in a glass jar gives you the opportunity to watch the roots grow up close and personal.
That said, it is very difficult to get elephant ear leaf cuttings to sprout in water alone, and the process takes much longer.
Be prepared to wait months before the leaves begin producing roots. Changing the water out regularly, using room temperature water, and adding just a pinch of rooting hormone will help speed things up.
Is it difficult to propagate elephant ear plants?
In some regions, elephant ears are considered invasive, spreading beyond the confines of their beds and sometimes smothering their companion plants.
Because they multiply via their root systems, they can be difficult to get rid of once they’ve been planted.
While this unstoppable quality irks some gardeners, it’s great news if you’re new to the plant world. The elephant ear’s resilience means these plants are easy to propagate!
Just be sure to meet the plant’s basic care requirements and keep the tubers well watered in the days following planting, and the plants should grow without skipping a beat.
Once you’ve mastered the art of propagating elephant ears, you’ll develop a feel for propagating other tuber plants, like gladioli and dahlias.
Should you propagate elephant ear tubers in pots?
Although you can store the tubers over the winter to start in spring, planting the tubers in pots immediately after harvesting them gives them a headstart on the growing season.
Keeping the tubers in pots indoors over the winter means you can transplant started plants in the spring, maximizing their potential growth for the season.
Starting the plants indoors has the added benefit of allowing you total control of their care.
You can monitor their water intake and move them from windowsill to windowsill to ensure they stay warm and catch enough light to sprout.
If you have the time, the space, and the desire to do so, propagating your elephant ear tubers in pots is a better choice overall.
What is the best potting soil for propagating elephant ear plants?
Elephant ear plants prefer to grow in sandy to loamy well-draining soil that is rich in decaying organic matter.
The ideal soil mixture for elephant ear plants is similar to the dragon fruit’s ideal soil mixture.
Create your special soil mix for elephant ear plants using one part sand, one part compost, and two parts potting soil.
This will provide the tubers with adequate drainage while still allowing for optimal hydration. It also gives the plants enough nutrients to begin growing.
How often should you water your elephant ear tubers?
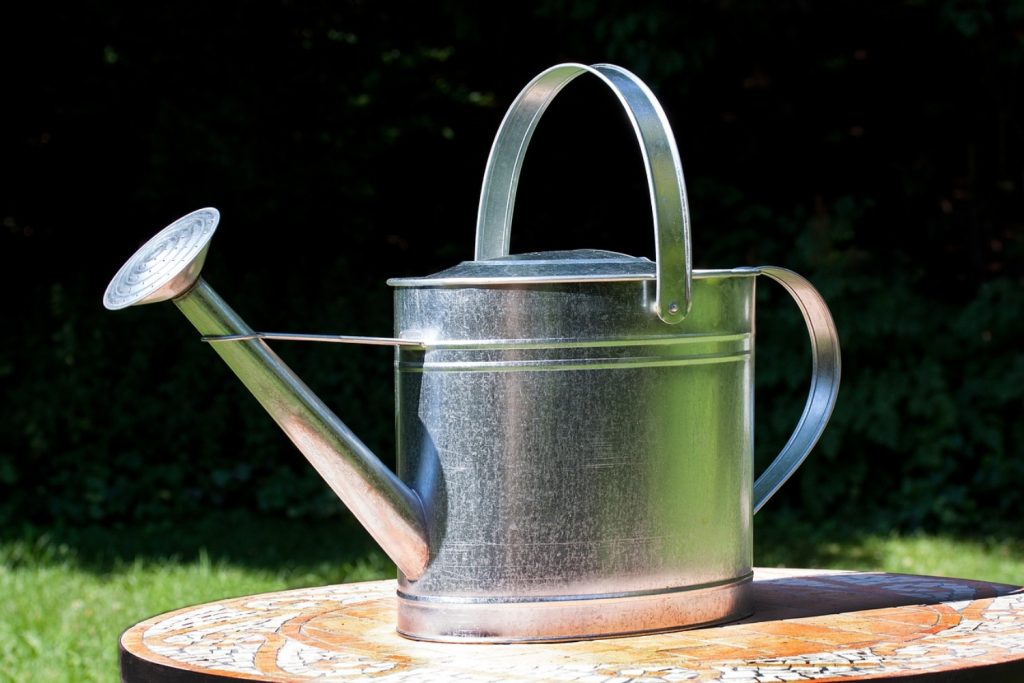
Keeping your newly planted elephant ears hydrated is key to successful propagation. But there’s a fine line between hydrated and overwatered.
After planting the tubers, water them deeply.
For potted plants, that means until water starts pouring out of the drainage holes. And, for outdoor plants, that means keeping the hose on for a minute or two to reach the plant’s deepest roots.
After the initial watering, you’ll need to pay close attention to soil moisture levels. Check the soil an inch below the surface daily.
It’s okay if the soil feels damp, but avoid letting it dry out completely. You should also avoid watering the tubers to the point that they’re sitting in mud.
What is the best mulch for elephant ear plants?
If you find that the young plants are drying out too quickly in between waterings and developing drooping leaves, you can spread mulch on the soil to prevent them from losing too much water.
Sphagnum moss is the best mulch for elephant ear plants.
Elephant ear plants prefer to be planted in slightly acidic soils with a pH of 5.5 to 7.0.
Because sphagnum moss is acidic in nature, with a pH of 5.5 to 6.5, on average, sphagnum moss lowers the soil pH, keeping it in the sweet spot that elephant ears need to grow well.
Sphagnum moss is spongy in texture. Once saturated, it releases water steadily, keeping the soil below moist, but not muddy.
Using sphagnum moss as mulch regulates how much moisture your tubers receive and prevents them from getting too dry.
Tips for success when propagating elephant ear plants
Because elephant ear plants are so hardy, you don’t have to have a green thumb to propagate them successfully.
Remember, elephant ears tend to reproduce through rhizomes. That means they can produce multiple offsets, or new plants from the parent root, per season.
It’s worth noting that you can select healthy offsets for transplanting during the growing season if you’d prefer not to dig the parent plants up and divide the tubers.
Feeding the elephant ear plants shortly after transplanting using an organic high-phosphorus fertilizer, like bone meal, encourages strong root systems and allows the plants to get established quickly.
Applying a high nitrogen fertilizer, like blood meal, once new leaves sprout is also highly beneficial, as this supports healthy foliage production.
With some patience and a little careful planning, you can propagate elephant ear plants like a pro and enjoy beautiful foliage all throughout your backyard.