
We’re here to help! Wild Yards is a completely free website that is 100% dedicated to helping you create a wildlife-friendly, sustainable yard. Read more
WildYards is reader-supported. When you buy a product through a link on our site, we may earn a comission. Every product is independently selected by our (obsessive) editors and our reviews are unbiased and objective. Read more about our mission or our privacy policy.
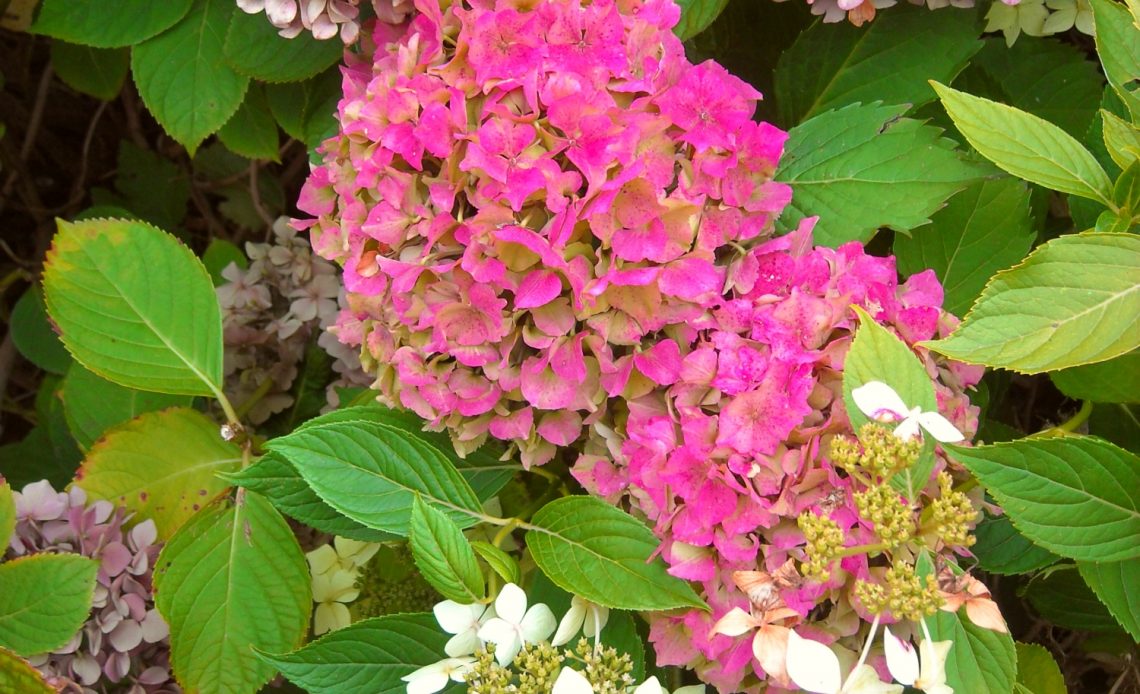
Hydrangeas are a hit in any landscape. These large shrubs produce show-stopping blossoms that come in a variety of colors, including white, pink, purple, red, blue, and green. Their eye-catching, nectar-filled blossoms can help attract hummingbirds, bees, and butterflies to your backyard. In general, hydrangeas are easy to grow, but they can be quite delicate. If your hydrangea plant looks a little lackluster, you may be concerned for its health. Is your hydrangea dying? And, if so, what can you do to save it?
There are several reasons why your hydrangea might be dying. Excessive sunlight, underwatering, and overwatering are the most common reasons. But poor soil conditions, nutritional deficiencies, transplant shock, and being planted in a container that’s too small can also kill hydrangeas.
What are the signs that your hydrangea is dying?
A healthy hydrangea plant will have deep green foliage and large, vibrant flowerheads. Hydrangeas grow two feet a year on average, however, they can grow more when conditions are ideal. When hydrangeas are well taken care of, they can live for around 50 years. If your hydrangeas are healthy, they will have dense foliage and no shortage of blossoms.
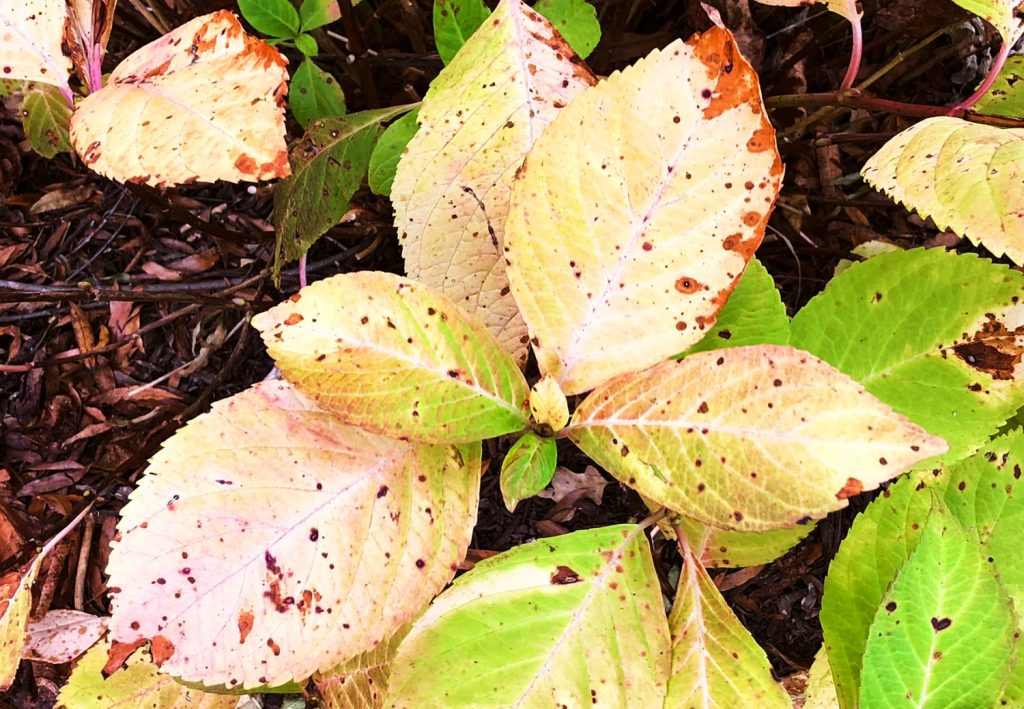
But when your hydrangeas are struggling to survive, you’ll notice a definite change in their appearance. If your hydrangea looks sickly, take a closer look. Here are a few of the signs that your hydrangea is dying.
- Yellowing foliage
- Curling leaves
- Foliage turning brown or black
- Leaves drying up and crumbling
- Wilting
- Lack of new growth
- Loss of foliage
- Drooping flower heads
- Flowerheads turning brown and dropping off
- Brittle stems that snap easily
- The presence of mold, which indicates decay
The more of these symptoms your hydrangeas have, the worse its health is, and the faster you’ll need to act. In some cases, the hydrangea may be too far gone to revive. Remember, hydrangeas are delicate plants. Sudden changes in their routine can shock them. And sick plants may not have the strength or energy to recover from an additional shock. You must identify the signs of a dying hydrangea quickly so you can treat it before it’s too late.
Why is your hydrangea dying and what can you do to revive it?
Hydrangeas can suffer from a variety of problems. Once you’ve determined that your hydrangea is in poor health, you’ll need to investigate to figure out why. Understanding the underlying cause allows you to treat the plant effectively. Which of the following problems is making your hydrangea sick?
The problem: too much sunlight
Hydrangeas love to soak up the morning sun. But if the shrubs are sitting in the sun during the hottest part of the day, they’re probably getting way too much light. Hydrangeas need 4 to 6 hours of sunlight per day. If you live in a cooler climate, then your hydrangeas will likely be able to tolerate more sunlight. But if your growing zone is on the warmer side, they may require full shade in the afternoon to help them cool off.
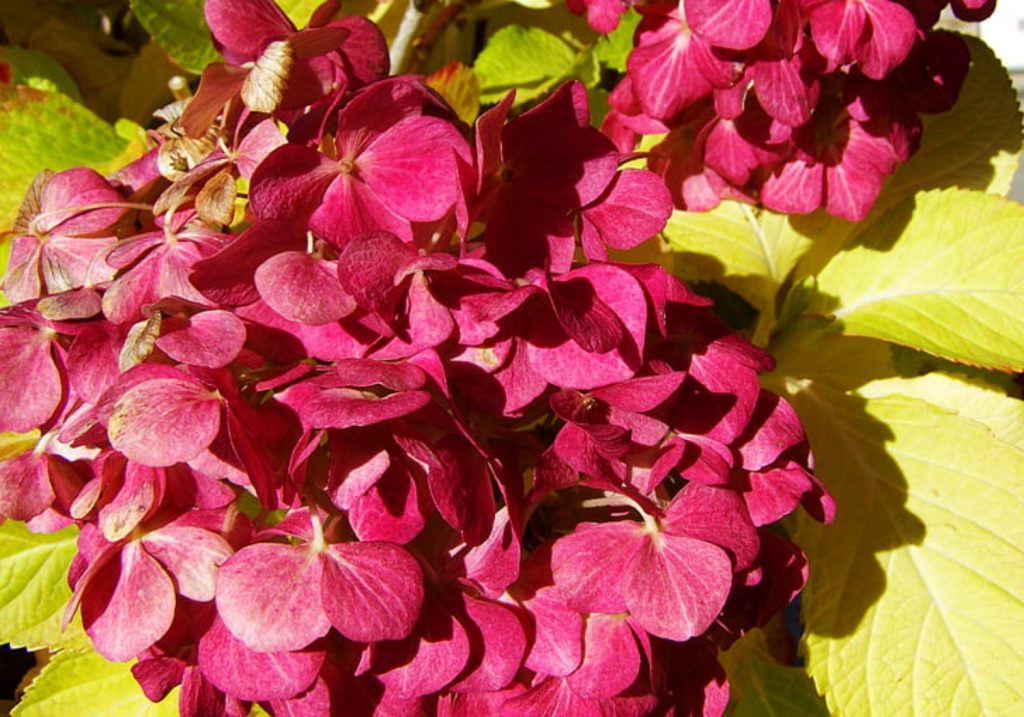
If your hydrangeas are getting full sun in the afternoon, they’re probably struggling. You’ll notice yellowing foliage and poor bloom production. When temperatures are in the upper 80s or higher, the hydrangea’s leaves will begin to burn and turn brown and flowerheads will lose their color and wilt.
If your hydrangeas are dying because they’re getting too much sunlight, you may notice that the surrounding soil dries out quickly. Your plants will also likely stay wilted, regardless of how much you water them. When hydrangeas bake in the sun, no amount of water will help them recover.
The solution: move the plant to a shadier location
If your hydrangeas are getting too much sun, the best thing to do is move them to a shadier location. Transplant large hydrangeas that are growing in the ground to a place where they’ll get morning sun, but spend the rest of the day in the shade. Consider moving smaller hydrangeas to pots, so you can easily move them around to catch the light as needed.
Whether you decide to plant your hydrangeas in the ground or in pots, try keeping them on the east side of a building or a tree. This way, they’ll get the morning sunshine they crave, and be well-protected from the heat of the afternoon.
The problem: insufficient sunlight
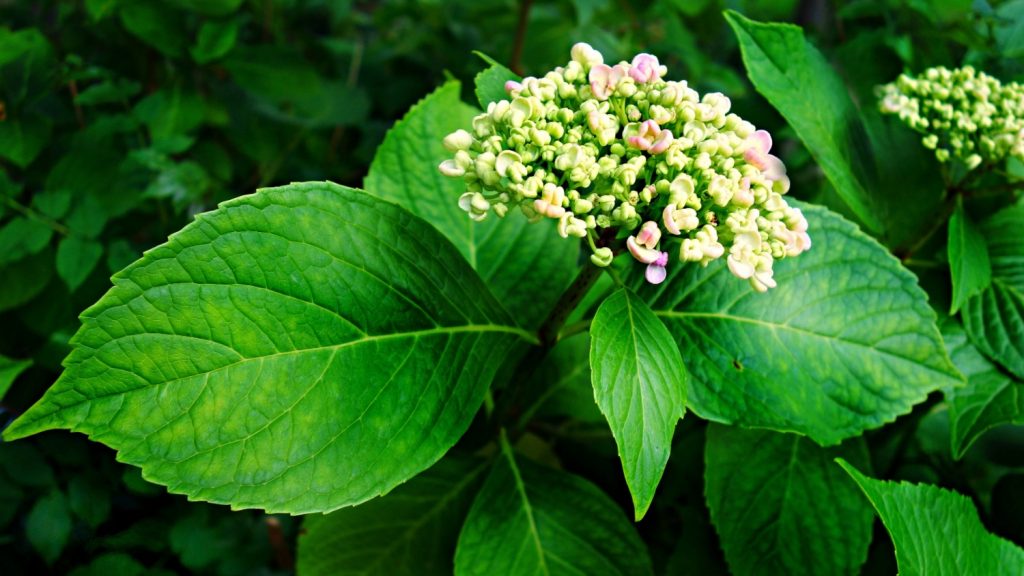
Hydrangeas that don’t get enough light develop an anemic appearance. Their foliage turns pale green then yellow. The plants may wilt and show signs of stunted growth. Without adequate sunlight, your hydrangeas won’t be able to produce colorful flowers, either.
Hydrangeas are perennials and, depending on their variety, they’re hardy from zones 3 through 9. These shrubs grow best in mild climates where temperatures stay between 50 and 70 degrees Fahrenheit.
If you live in a hotter region, it may make sense to grow your hydrangeas in full shade. But this can have a detrimental effect on the plant’s health. If your hydrangeas look sickly, watch them during the day to see how much sun they receive. If it’s less than 4 hours, then the plants aren’t getting enough light.
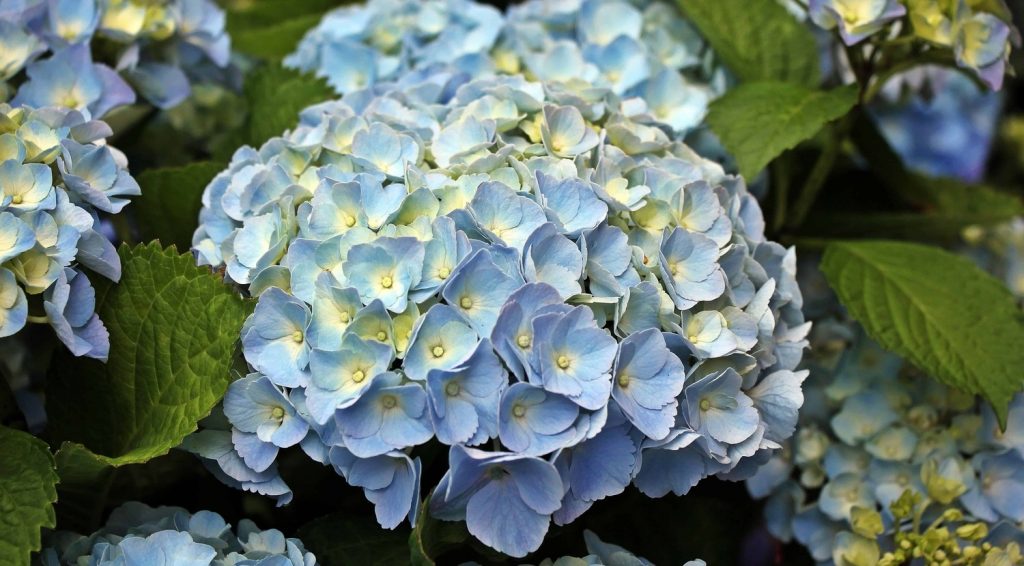
The solution: transplant the hydrangeas to a sunnier spot
Hydrangeas need light to photosynthesize. Without sunlight, they essentially starve, because they’re unable to convert the nutrients, carbon dioxide, and water they absorb into energy. Transplant your hydrangeas to a sunnier location so they can get the light they need. Four to 6 hours of morning sun is ideal. In hotter growing zones, you may find that filtered morning sun is sufficient to keep the plants green and blooming consistently.
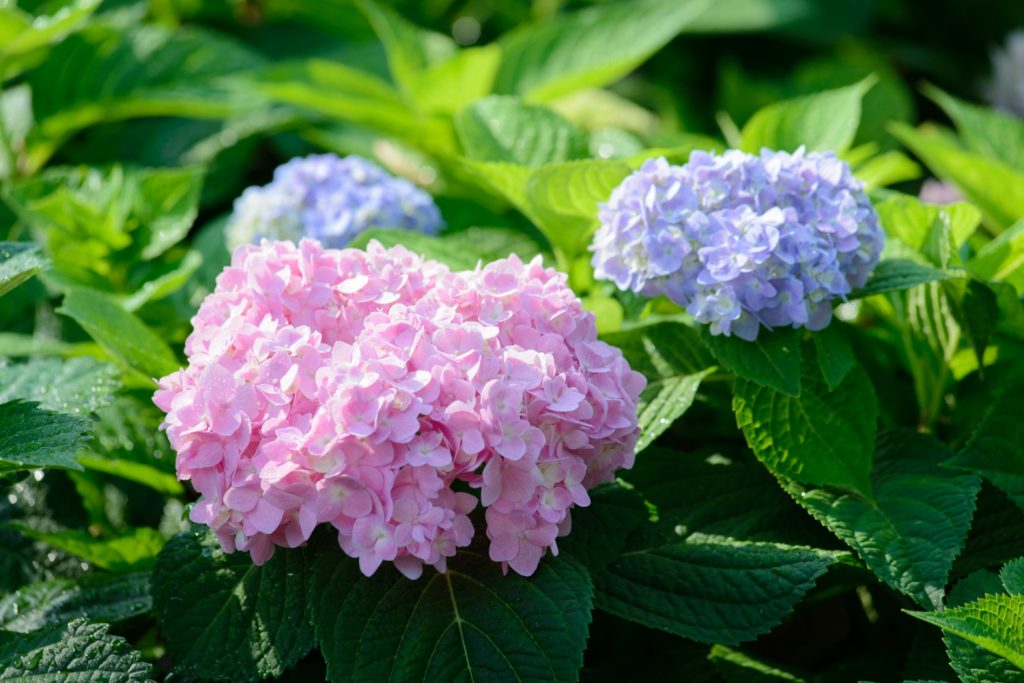
The problem: underwatering
Another reason why many hydrangeas die is that they go unwatered for long periods. It’s true that hydrangeas don’t like to sit in muddy soil. But if you go too long in between waterings, or if your ecoregion is experiencing a drought, your hydrangeas are probably not getting enough moisture.
Symptoms of underwatering can mimic those of excessive sunlight. If you’re sure your hydrangea is getting just the right amount of sunlight, but its leaves are still turning brown and drying up, then you should suspect dehydration next. Stick your finger an inch or two into the soil. Does it feel dry and powdery? That’s a good sign that your hydrangea is thirsty and could use a drink.
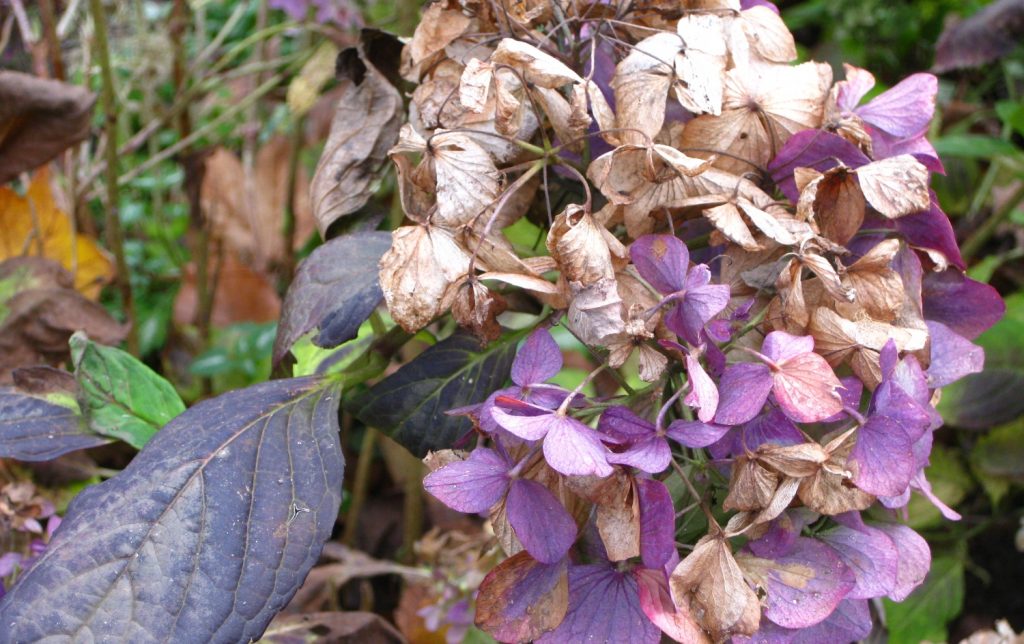
The solution: water the plants
If your hydrangeas are thirsty, give them a drink! Hydrangeas love moist soil, so water them thoroughly with a garden hose 1 to 3 times a week. Watering the plants deeply encourages the roots to grow farther into the soil.
How much water your hydrangea plants need can change depending on where you live and how much rainfall your area receives. During droughts, your hydrangeas will need to be watered more frequently. You’ll also need to water your hydrangeas more often if you live in a warmer climate. In temperate regions that receive regular rainfall, you may only need to water your hydrangeas once a week.
Young hydrangea plants require more water than older plants. Regular waterings help the plants become established. Mature shrubs that have seen a few growing seasons are somewhat drought-tolerant, so they can recover if you accidentally forget to water them once in a while.
Always test the soil before watering your hydrangeas to avoid overwatering them, and consider spreading a layer of wood chip mulch around them. This will help the soil retain a healthy amount of moisture and also prevent rapid dehydration.
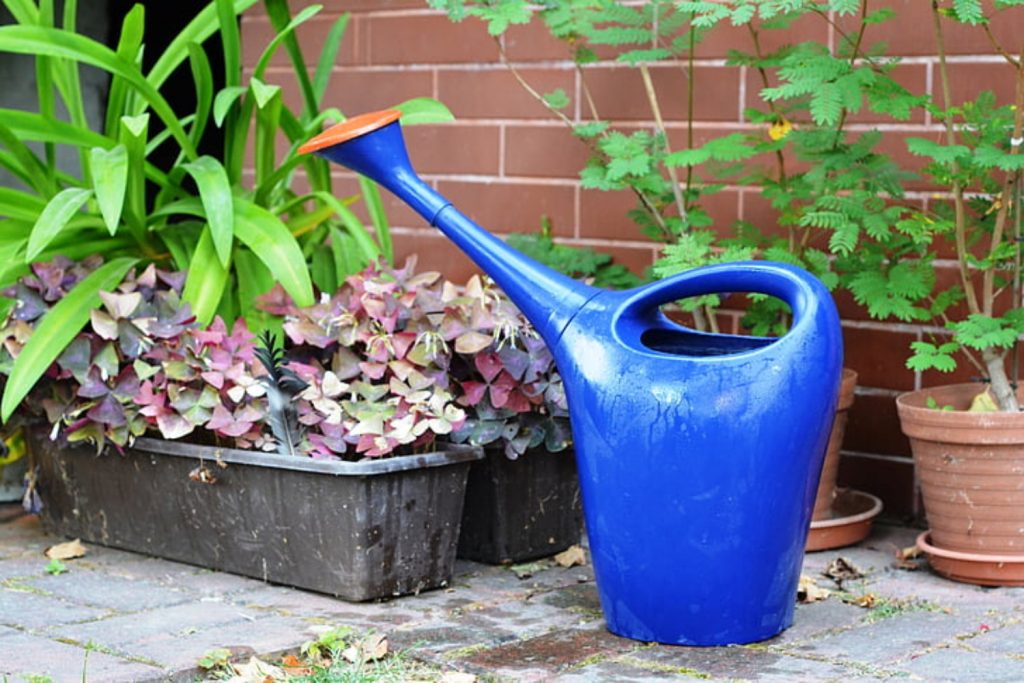
The problem: overwatering
Underwatering won’t do your hydrangeas any good, but neither will overwatering. Hydrangeas prefer to grow in moist soil. That little touch of dampness keeps their roots cool and allows them to absorb nutrients properly. But too much water prevents air from reaching the roots, and the plants suffocate.
The first sign that your hydrangeas are overwatered is yellowing foliage. After that, the leaves will wilt and turn brown. This can confuse gardeners into believing that the plants are actually underwatered, causing them to give the plants a good soak, thus perpetuating the vicious cycle.
Again, feel the soil around your hydrangeas. If it feels excessively moist, or if you see standing water around the base of the plants, then they’ve been overwatered and are struggling to breathe. You may also notice a foul odor coming from the ground. This is a sign of root rot, a fungal infection that can kill the plant if left untreated.
The solution: let the plants dry out
If your hydrangeas are overwatered, cut back on your watering schedule and allow the soil to dry out again. Dig a ditch if necessary to help standing water drain. If your hydrangeas are planted in a low spot, then consider transplanting them to higher ground.
Waterlogged hydrangeas can be removed from their soggy soils and placed on newspaper to dry overnight. Once the roots get a chance to breathe, it’s safe to move them to a new spot — preferably one with well-draining soil.
Not all native soils are appropriate for growing hydrangeas. If your soil is especially loamy or has a high clay content, amend it with some sand, perlite, or potting soil designed for lavender. This will help improve drainage so your hydrangeas can breathe.
The problem: nutrient-poor soil
Hydrangeas are heavy feeders, especially when they bloom, so their soil can become depleted of nutrients over time. This is especially true if your hydrangeas are kept in flower beds, where their dead leaves and old flowerheads are raked up, rather than left to decompose in the soil.
Like all other plants, hydrangeas rely on nitrogen, phosphorus, and potassium the most. These three nutrients support the development of healthy green foliage and enhance the plant’s ability to tolerate diseases and dry spells. However, it’s worth noting that hydrangeas rely on other nutrients to survive, too.
Calcium, magnesium, sulfur, and other micronutrients help hydrangeas bloom. If your soil is naturally deficient in these minerals, you may notice your hydrangeas dying. The leaves will turn yellow and may become deformed. Flower development will slow to a standstill, and the flowers that do develop will have a washed-out appearance. You’ll also notice foliage loss.

The solution: feed the hydrangeas
If your hydrangeas are dying because they aren’t getting enough nutrients, use an at-home test kit to determine which minerals are missing from the soil, then choose a fertilizer that will help fill in the nutritional gaps. A general-purpose fertilizer designed specifically for hydrangeas or flowering shrubs should work well. Once you replenish the lost minerals, your hydrangeas will perk up quickly. You’ll notice an improvement in the plant’s foliage within days to weeks.
The problem: over-fertilizing
You might think that giving your hydrangeas extra fertilizer would help them perform better. They are heavy feeders, after all. But giving your hydrangeas an excessive amount of fertilizer can lead to nutrient imbalances that can have a negative effect on their health.
For instance, too much nitrogen can lead to nitrogen burn. Your hydrangeas’ leaves will turn brown along the edges and may die back to the roots. If the levels of nitrogen in the soil are too high, it can kill the plant.
Fertilizing your hydrangeas is important because it helps keep them healthy. Overfertilizing your hydrangeas, however, can kill them quickly and should be avoided at all costs.
The solution: stop feeding the plant
First things first: stop feeding your hydrangeas. If they’ve been overfertilized, more fertilizer certainly won’t help them. Water the plants thoroughly to help flush out the extra nutrients. If the hydrangeas are in pots, leaching the soil several times by watering the plants deeply and allowing the water to drain completely will also help them recover. Always test your soil before fertilizing to avoid overfertilizing your hydrangeas.
The problem: wrong soil pH
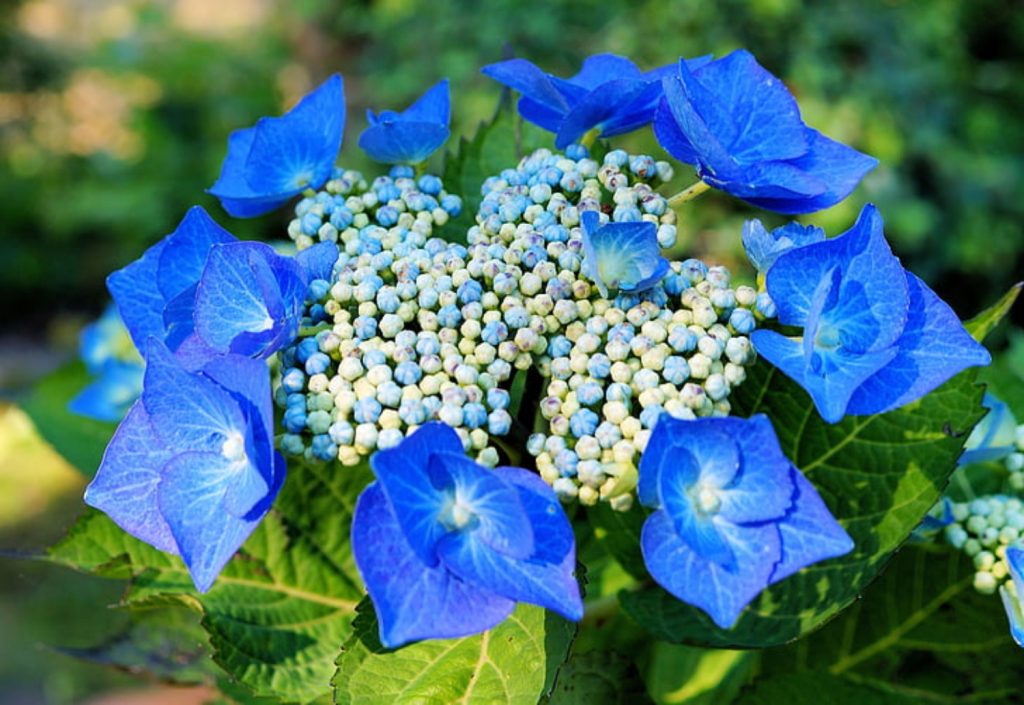
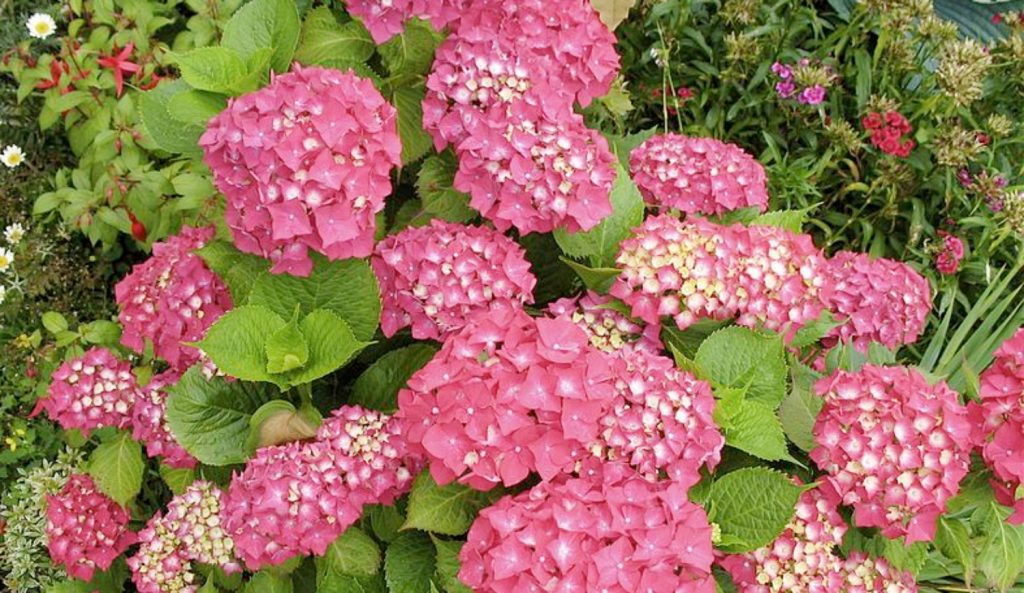
Did you know that soil pH can influence your hydrangea’s color? Acidic soils between 4.5 and 5.5 encourage the plants to produce blue flowers, whereas more alkaline substrates between 6.0 and 7.0 result in deep pink to red blossoms.
If the soil your hydrangeas are growing in is too acidic or too alkaline, the plants won’t be able to absorb nutrients properly. It’s also worth noting that your hydrangea’s variety can influence how it will react to soil pH. For example, if you’re growing a blue hydrangea cultivar, like ‘Nikko Blue’, it may show signs of poor health if it’s kept in alkaline soil. The opposite may be true for pink cultivars, like ‘Red Sensation’.
The solution: balance the soil pH
Soil pH can change slightly over time based on how much water it receives and what types of plants are growing in it. Plants release organic acids as they grow, which can lower the pH slightly over time. If you test your soil and find that it’s too acidic for your hydrangeas to grow well, then use lime to raise the pH to a more hospitable level. And, if your soil is too alkaline, adding peat moss can help make it more acidic.
The problem: transplant shock
If you moved your hydrangeas to a new location recently and now it looks like they’re dying, then they’re probably suffering from transplant shock. Hydrangeas can get stressed out easily. They don’t like it when their roots are disturbed. So moving them from one place to another can take a toll on their health.
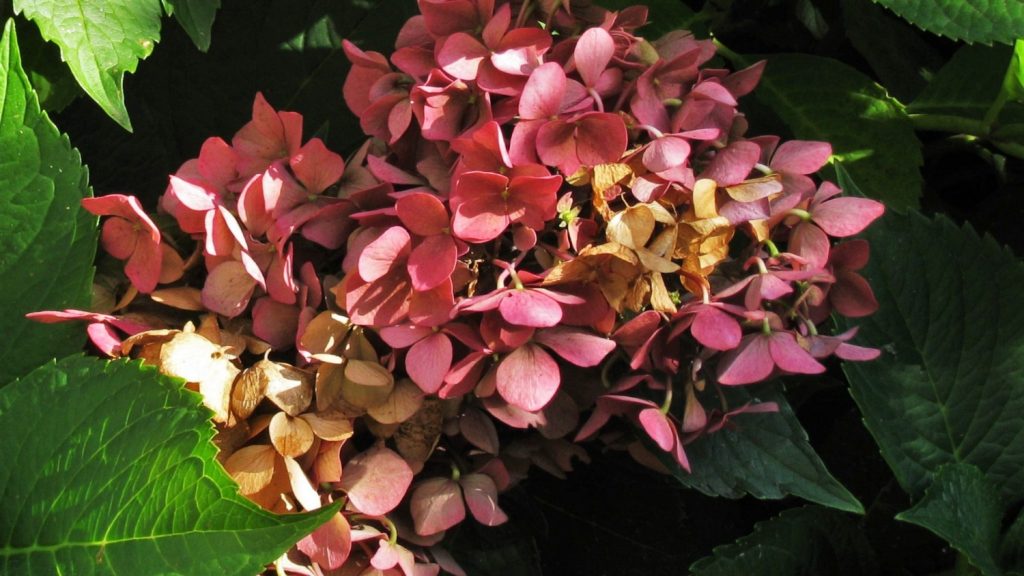
You’ll know that your hydrangeas are in transplant shock if their foliage turns yellow and begins to wilt not too long after being moved. Hydrangeas with transplant shock may also fail to become established, even weeks after being transplanted. If they don’t receive the care they need to recover, the plants may die back to the roots, or just die altogether.
The solution: supportive care
Sometimes you have to move your hydrangea plants for their own good. The only thing you can do is provide them with some extra TLC as they recover from the move. When transplanting a hydrangea, be sure to dig the new hole twice as wide and twice as deep as the plant’s roots. This will help break up the soil and make it easier for the plant to get established. Backfill around the plant carefully to avoid disturbing the roots, tamping the soil as you go to remove any air bubbles.
Once the plant is in its new location, keep the soil uniformly moist. Watering the plants regularly will help prevent transplant shock. If your hydrangeas still aren’t showing signs of improvement 2 to 4 weeks after being transplanted, consider feeding them a dose of homemade compost. The extra nutrients will give them the boost they need to start producing healthy new growth.
The problem: rootbound
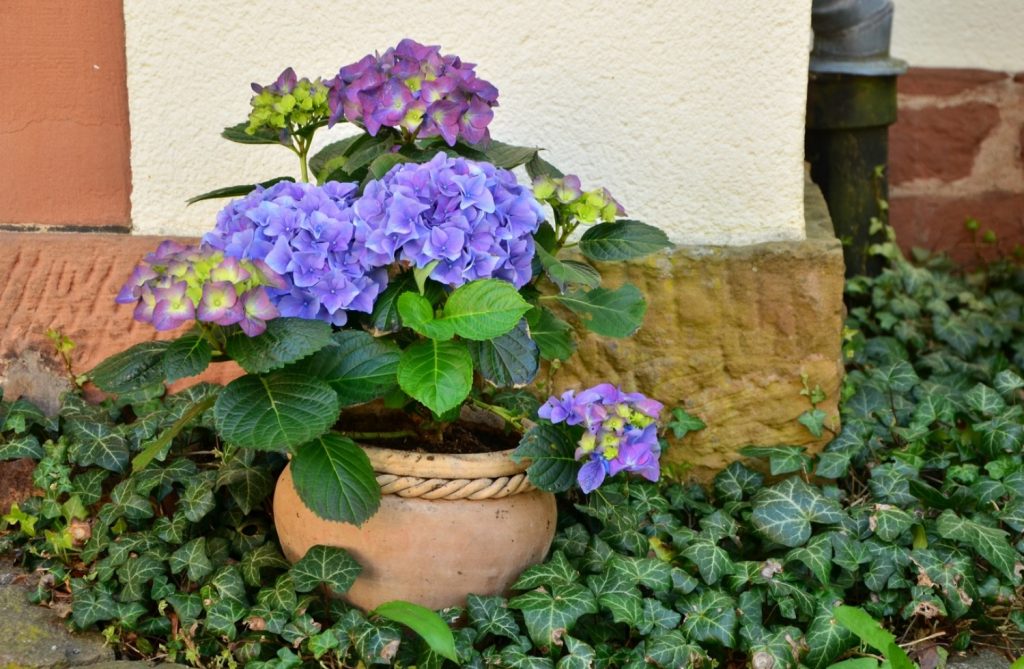
Hydrangeas typically grow very well in pots. And, in some ways, it can be easier to care for potted hydrangeas. Pots allow for better drainage than some native soils, and they make it easier to move the plants around so they can get sun and shade as needed. But if your hydrangea has been growing in the same pot for a long time, it may be rootbound.
When plants become rootbound, that means that their roots have grown as much as they possibly can within their current container. With no more room to grow, the roots entangle themselves and the plant begins to suffocate.
Signs that your hydrangea has become rootbound include yellowing foliage, stunted growth, and poor flower production. Grasp your hydrangea by the base of the plant and wriggle it around gently. If the plant moves, soil and all, as one mass and can easily be separated from the edges of the pot, then it has outgrown its container. Rootbound hydrangeas will die if they go untreated.
The solution: repot the hydrangea
There are two ways to fix a rootbound plant. The first is to prune the roots and return the plant to its original pot. This method works fairly well for rosemary and French lavender. But because hydrangeas are highly sensitive about their roots, this strategy may result in the hydrangeas dying.
The second way to fix a rootbound plant is to move it to a new pot or stick it in the ground. Rootbound plants need more room, that’s all there is to it. So whether you decide to transplant your hydrangeas to a new container or out to your garden, it doesn’t really matter. What matters is that you act fast.
Rootbound plants live on borrowed time. The sooner you give them more space, the greater their chances of recovery. When transplanting rootbound hydrangeas, avoid disturbing the roots. Contrary to popular belief, there’s no need to break up the roots of a rootbound plant. Simply giving them more space is enough to help these plants recover.
The problem: insect infestation
The hydrangea’s leathery leaves make it somewhat pest resistant (unfortunately, however, it doesn’t make them deer resistant). But some plants, particularly younger ones with tender foliage, can fall prey to damaging insects. If your hydrangea is dying, it could have a bug problem.
In addition to yellow leaves, foliage dieback, and loss of flowerheads, if your hydrangeas are infested with bugs, you’ll likely notice holes in the foliage. The edges of the leaves may have bites taken out of them where insects have chewed them away. Some bugs will eat up the hydrangea’s flower heads before they even get a chance to bloom, causing the buds to fall to the ground.
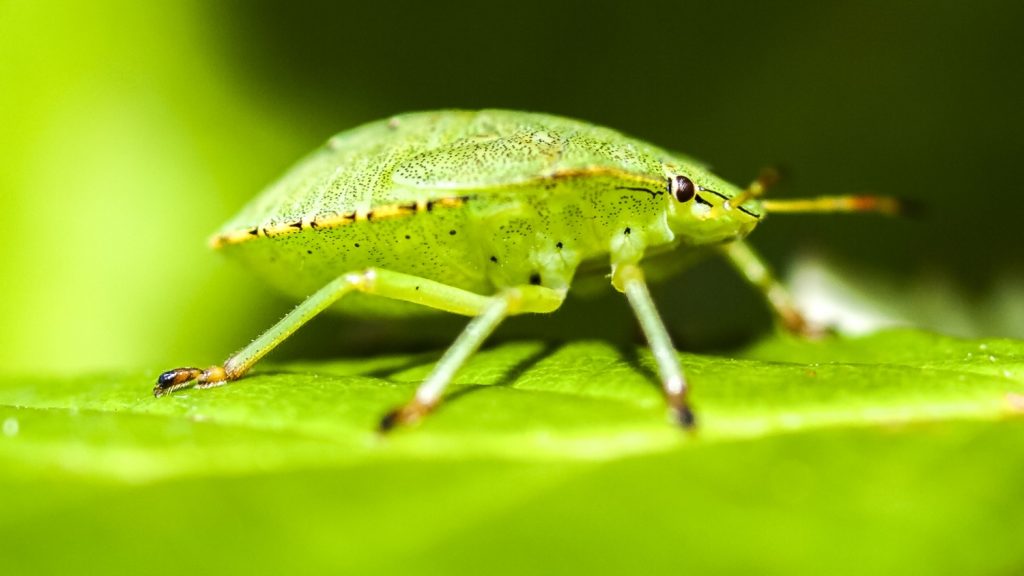
Use a magnifying glass to inspect your hydrangeas carefully. Aphids, spider mites, thrips, beetles, and a variety of caterpillars will infest hydrangeas when given the chance. If you see a large number of these bugs on your plants, then they’re probably why your hydrangeas are dying.
The solution: homemade insecticides and predator insects
Hydrangeas that are struggling with insect infestation will need some extra help. Use a homemade insecticide to kill and repel harmful insects. Essential oils, including neem oil, are particularly helpful for keeping sap-sucking insects like aphids at bay. But onion juice and garlic juice are highly effective as well.
Insects like aphids and spider mites can reproduce so fast that it’s easy for them to adapt to insecticides. So for best results, alternate between several types of insecticides to prevent the bugs from developing a resistance to them. You should notice an improvement in the infestation after a few applications. Remember to reapply the insecticide of your choice after rain.
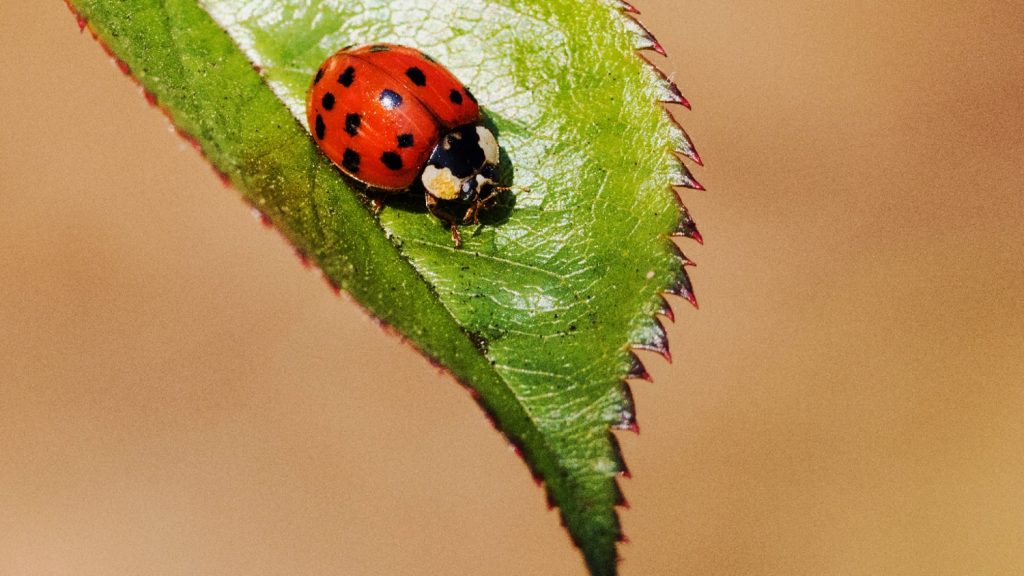
Releasing predator insects like ladybugs and lacewings can also help you tackle an infestation. These beneficial bugs patrol the flowers in your landscaping and help keep pest levels down. Letting predator insects loose in your garden early in the spring can help prevent these damaging pests from preying on your plants altogether.
The problem: disease
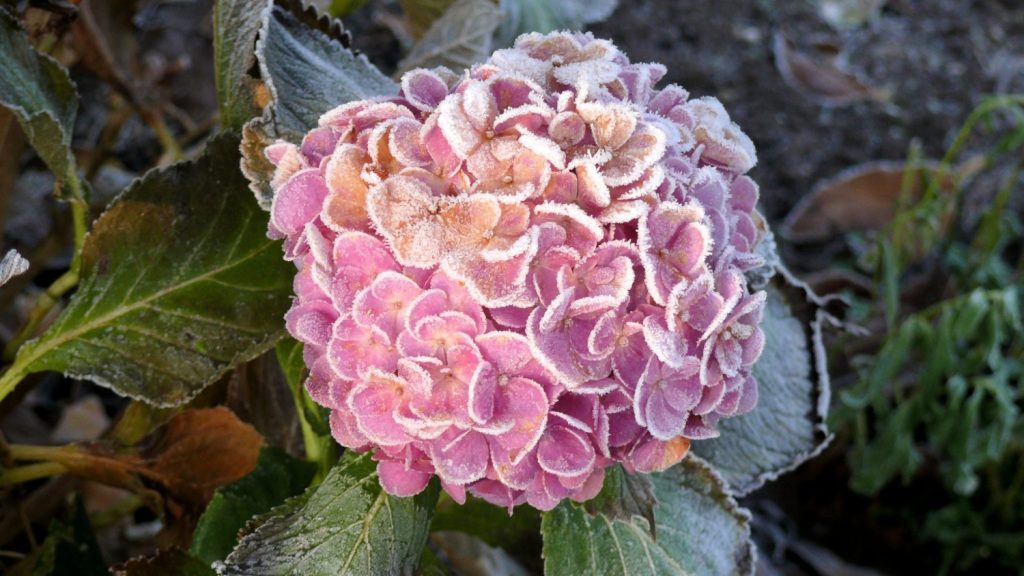
Hydrangeas are susceptible to several diseases. Powdery mildew produces a white, powdery substance that coats the plant’s leaves, while leaf spot causes black and brown spots to develop on the plant’s foliage. Both of these conditions can make hydrangeas look sickly.
Rust is a fungal infection that causes rust-colored splotches to develop on the hydrangea’s leaves. Over time, plants may lose their foliage. Another infection that hydrangeas often develop is bacterial wilt. This disease causes the plants to wilt suddenly for seemingly no reason.
It can be tough to tell whether your hydrangeas are diseased or whether they’re suffering from some other kind of ailment. But diseased hydrangeas are often discolored and misshapen, with abnormal splotches that have an asymmetrical pattern across the foliage.
The solution: use a fungicide
If your hydrangeas are suffering from a disease, the best thing to do is spray them down with a fungicide. Mild to moderate infections can usually be treated. And if the plant is in good health otherwise, then its prognosis will be good. However, if your hydrangea was already doing poorly when it became infected, your best bet is to uproot the plant, destroy it to prevent the spread of infection, and replace it.
If you do choose to replace your hydrangea, you should avoid planting a new shrub in the old plant’s soil. Spores from the infected plant can linger in the soil for years. So always plant new hydrangeas in new soil to make sure they stay healthy.
More tips for growing healthy hydrangeas
Some plants, like salvias and zinnias, are highly adaptable. They can grow just about anywhere. But hydrangeas are much pickier. Although they can be easy to care for, they perform significantly better when all of their growing requirements are met from the get-go.
To prevent your hydrangeas from dying or getting sick, plant them in a location where they can receive morning sun and afternoon shade. Be sure to grow them in loamy soil that’s full of organic materials, but that still drains well. Water them whenever their soil dries out, and fertilize them with a balanced plant food like 13-13-13 in the spring, summer, and fall.
By ensuring your hydrangea’s most basic needs are met, you’ll be doing all you can to keep the plants healthy so you can enjoy their lovely blooms for many years to come.
