We’re here to help! Wild Yards is a completely free website that is 100% dedicated to helping you create a wildlife-friendly, sustainable yard. Read more
WildYards is reader-supported. When you buy a product through a link on our site, we may earn a comission. Every product is independently selected by our (obsessive) editors and our reviews are unbiased and objective. Read more about our mission or our privacy policy.
For decades, all cauliflower was good for was stinking up your microwave. But these days, cauliflower can do just about anything. Cauliflower can be used as a low-carb substitute for rice and mashed potatoes. It can even be used to make a gluten-free pizza crust. Who could’ve predicted this cruciferous veggie was capable of so much? And because the world now knows just how versatile cauliflower can be, it’s becoming more popular among backyard gardeners. If you’re thinking of growing cauliflower, but you’ve never planted it before, here are the 7 cauliflower growing stages to help you know what to expect.
Cauliflower is started from tiny round seeds, which sprout in 7 to 14 days. Once transplanted, cauliflower matures slowly, growing best in mild weather. Cauliflower heads are typically ready to be harvested 55 to 100 days after planting.
Stage 1: Starting seeds
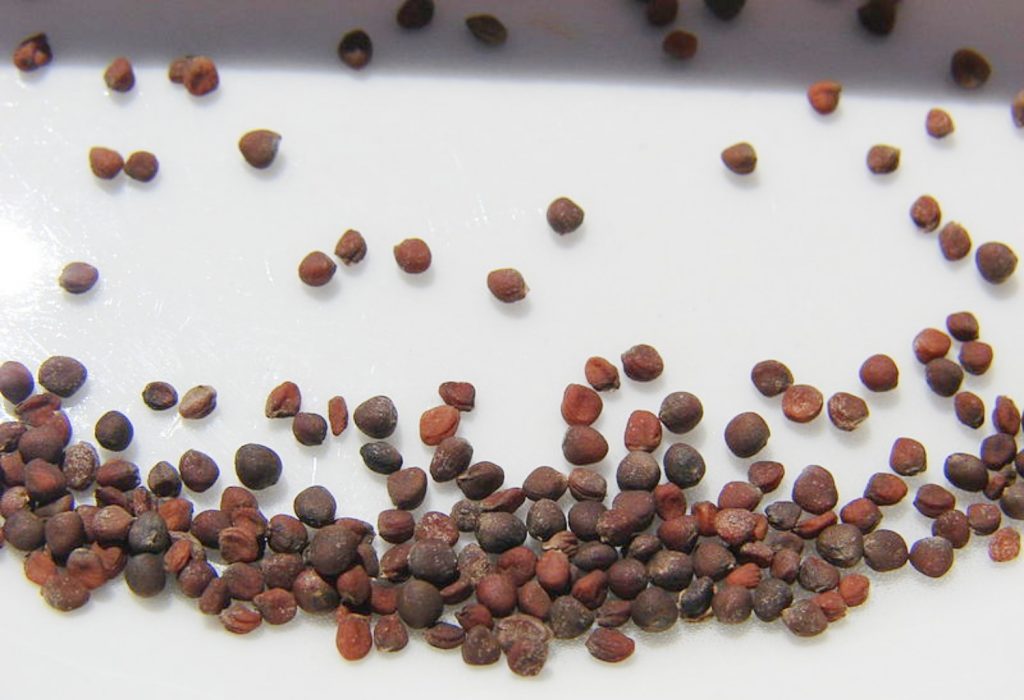
Cauliflower seeds are small and round, similar in size and shape to a peppercorn. The seeds range in color from tan to dark brown to black. Cauliflower seeds should be started indoors in late winter or early spring. For winter gardens, seeds can be sown directly in the ground and should be planted in early fall.
The cauliflower growing stages begin the moment you sow the seeds. Fill peat seed pots with potting soil, and use your index finger to press each seed into the soil at a depth of around ¼ inch. Gently tamp around the seeds to remove air pockets, and water the seeds when you’re finished. Keeping the soil uniformly moist is crucial to germination.
Cauliflower seeds sprout anywhere from 7 to 14 days after planting, but the average time is around 8 to 10 days. You’ll need to keep your cauliflower seeds in a bright, warm location to help them sprout. The ideal temperature for cauliflower seed germination is between 70 and 75 degrees Fahrenheit. If you’re worried your cauliflower seeds won’t stay warm enough to grow, spread plastic wrap over the top of them to create a greenhouse effect.
Stage 2: Transplanting seedlings
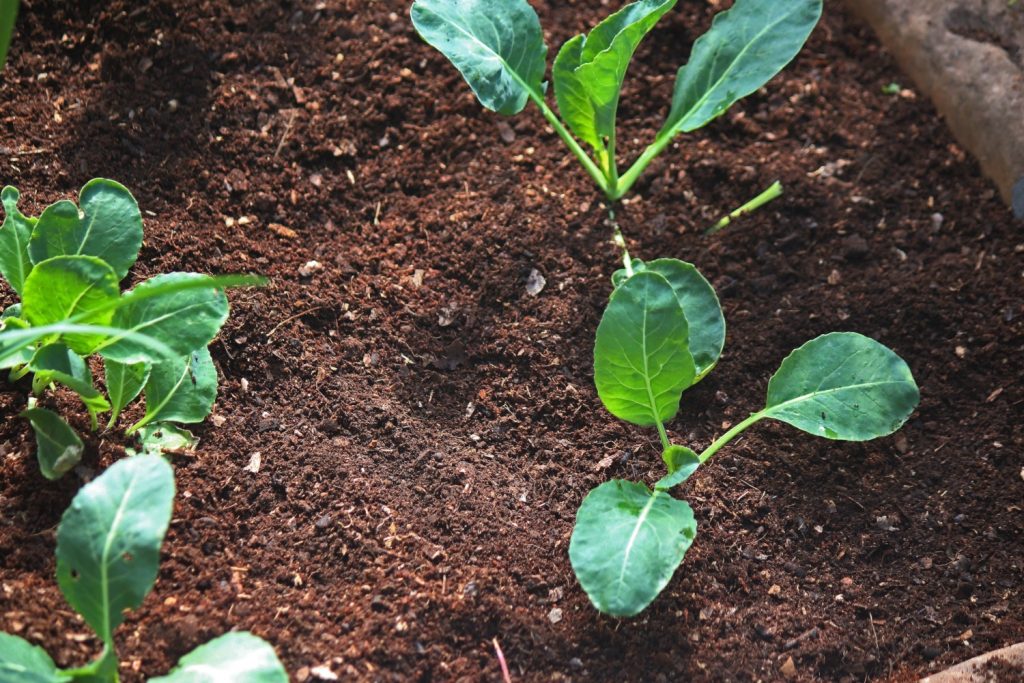
In a week or two, your seedling tray should be full of tiny cauliflower plants. During this cauliflower growing stage, your plants will be equipped with two seed leaves. These small, kidney-shaped leaves help the young cauliflower plants make the transition from relying on their seeds for food, to making food for themselves via the process of photosynthesis. Once your seedlings have sprouted, it’s best to leave them outdoors as often as possible to harden them off.
Shortly after your seedlings sprout up, you’ll notice true leaves erupting from the center of the plant. It usually takes 7 to 14 days for cauliflower seedlings to grow true leaves. These adult leaves have a tougher texture than the plant’s seed leaves, which will help the plant survive the harsh outdoor environment once it has been transplanted out into your garden. A cauliflower’s true leaves have ruffled edges. The leaves are round when they first emerge, but become elongated as time goes on.
Cauliflower seedlings are ready to be moved to their permanent residence once they’ve developed 2 to 4 sets of true leaves. By this point, the seedlings should measure around 3 or 4 inches tall. Transplant the seedlings when the weather is mild to avoid transplant shock. Cauliflower should be grown in full sun in well-draining soil that can easily be kept moist.
Stage 3: Getting established
Roughly 4 to 6 weeks after first sowing seeds, your crop will enter the juvenile cauliflower growing stage. At this point, plants will begin growing in earnest. Unlike radishes, which can be harvested 3 to 4 weeks after planting, cauliflower is much slower to mature. Although cauliflower plants don’t develop rapidly, they do grow steadily, especially when temperatures are mild.
It’s important to keep your cauliflower plants well-watered during this time to prevent them from developing transplant shock, and to encourage strong root systems. However, it is equally important to avoid overwatering your cauliflowers, as these plants hate sitting in muddy soils. Check the soil an inch below the surface before watering to determine whether or not the plants need a drink. If you find the soil dries out too quickly in between waterings, spread a layer of straw to prevent rapid water loss.
Ensuring all of the plant’s requirements are being met is the best way to speed up the cauliflower growing stages. It’s worth noting that some cauliflower varieties grow more quickly than others. ‘Snow Crown’ and ‘Minute Man’ are two cultivars that mature in 50 to 70 days, so if you want to enjoy your cauliflower crop as soon as possible, choose these varieties.
Stage 4: Adulthood
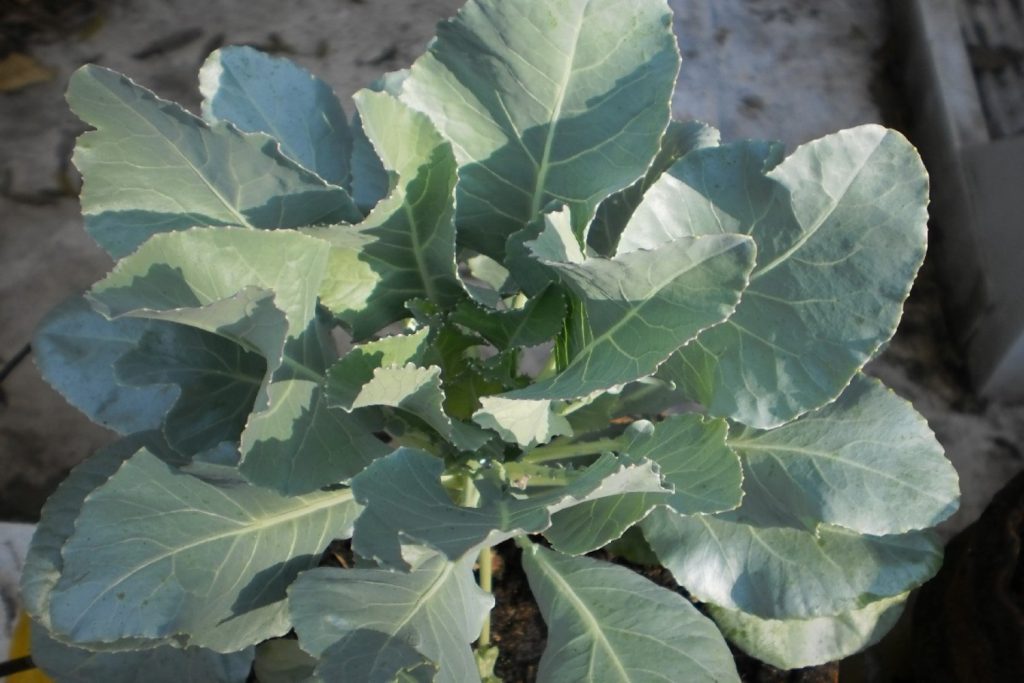
Once your crop has become well established, the plant will start looking much different. During the adulthood cauliflower growing stage, plants produce much broader leaves than before. The leaves sprout up from the center of the plant and then curl outward. The leaves are blue-green and resemble broccoli leaves and mustard greens — which is no surprise since they’re all related.
Adult cauliflower plants typically grow 18 to 24 inches tall by as many inches wide. How big your cauliflower plants grow depends, in part, on the variety you choose. Meeting all of the plant’s growing requirements also tends to result in larger plants.
Cauliflowers are heavy feeders, and during their adulthood stage, they rely on an abundant supply of nutrients to prepare for reproduction. To ensure your cauliflowers get plenty of nutrients, be sure to fertilize them during this stage. Weeding is also critical to prevent competition. Ensuring the plants get all of the vitamins and minerals they need allows them to reach the next growing stage more quickly.
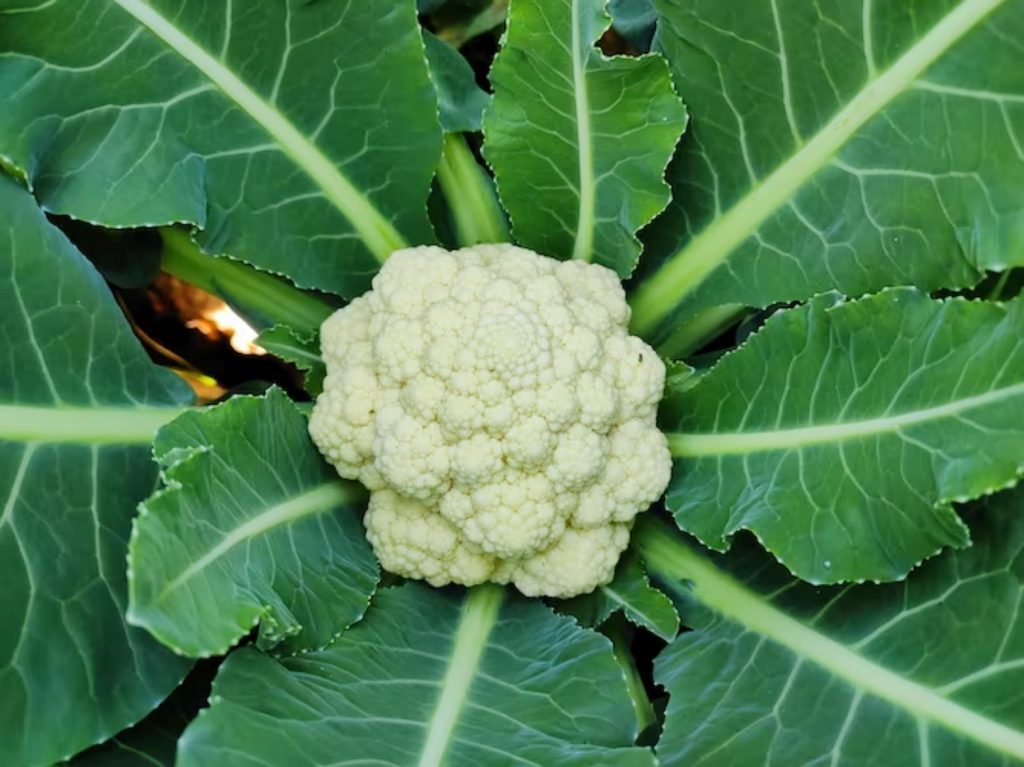
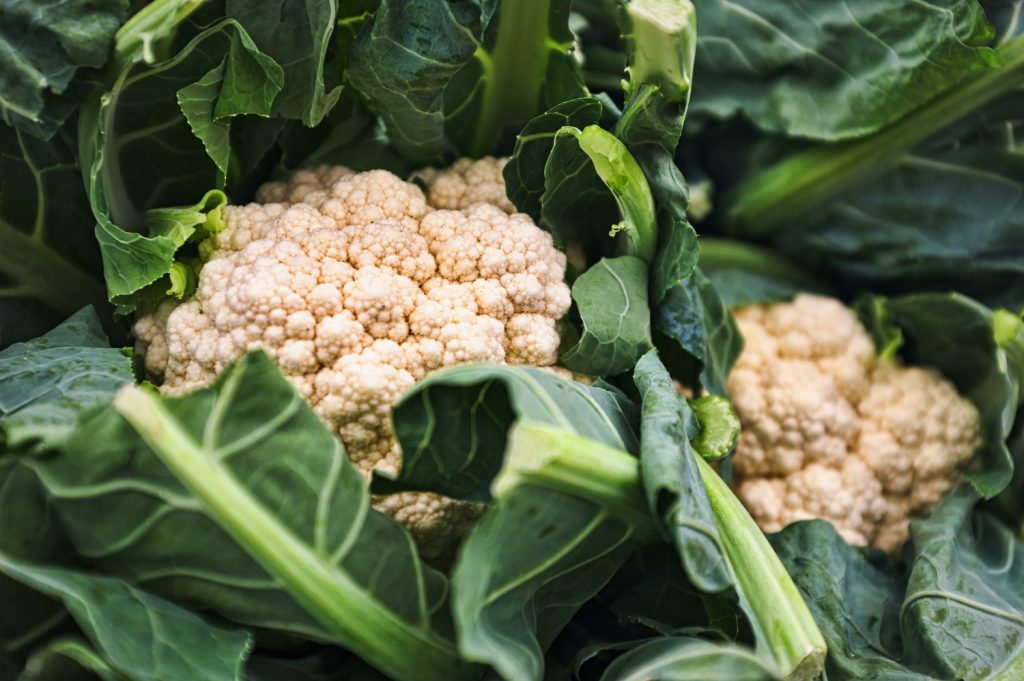
Stage 5: Head development
Because so many factors influence how quickly your plants make it through the cauliflower growing stages, it’s hard to say just when your crops will start producing heads. However, in general, cauliflowers begin developing heads 50 to 70 days after being transplanted into your garden.
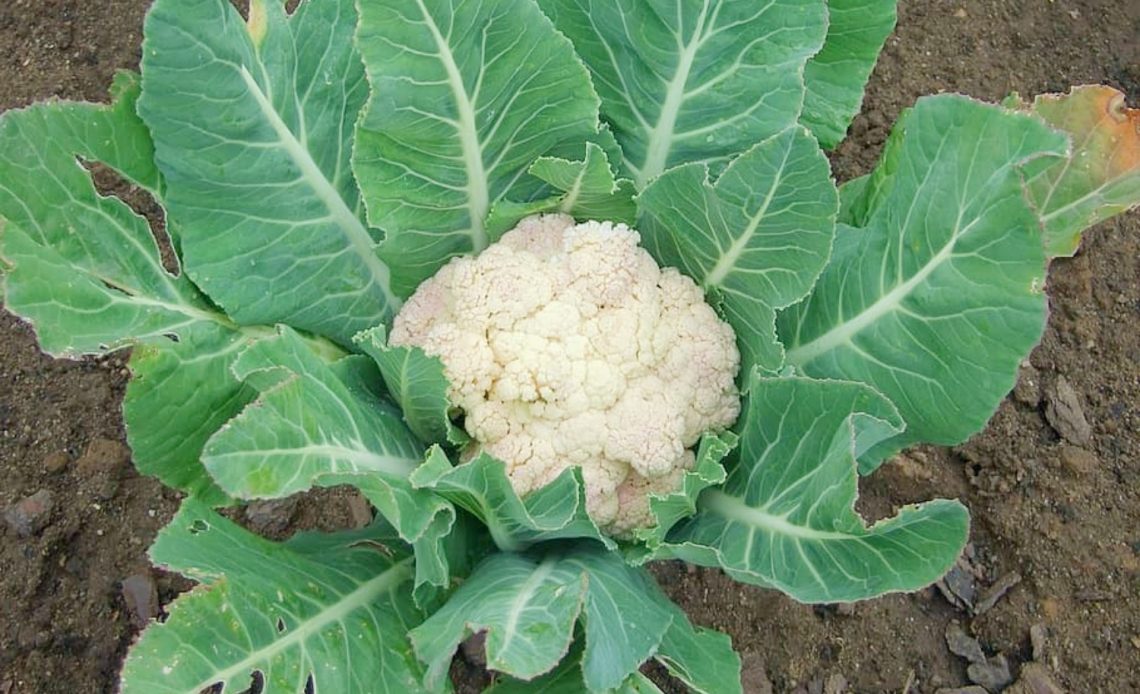
This cauliflower growing stage is unmistakable. The leaves will begin to part from the center of the plant, revealing a small white cauliflower head, which is also sometimes called a “curd”. Interestingly, the cauliflower head is a mass of underdeveloped flower buds that develop into a compact dome.
It’s important to protect the heads from direct sunlight during this cauliflower growing stage. Heat and light turn the tops of the heads yellow and brown. It can also give the discolored area a different texture and a more bitter taste than the rest of the cauliflower head. Use cheesecloth or a paper bag to protect the heads from sunlight.
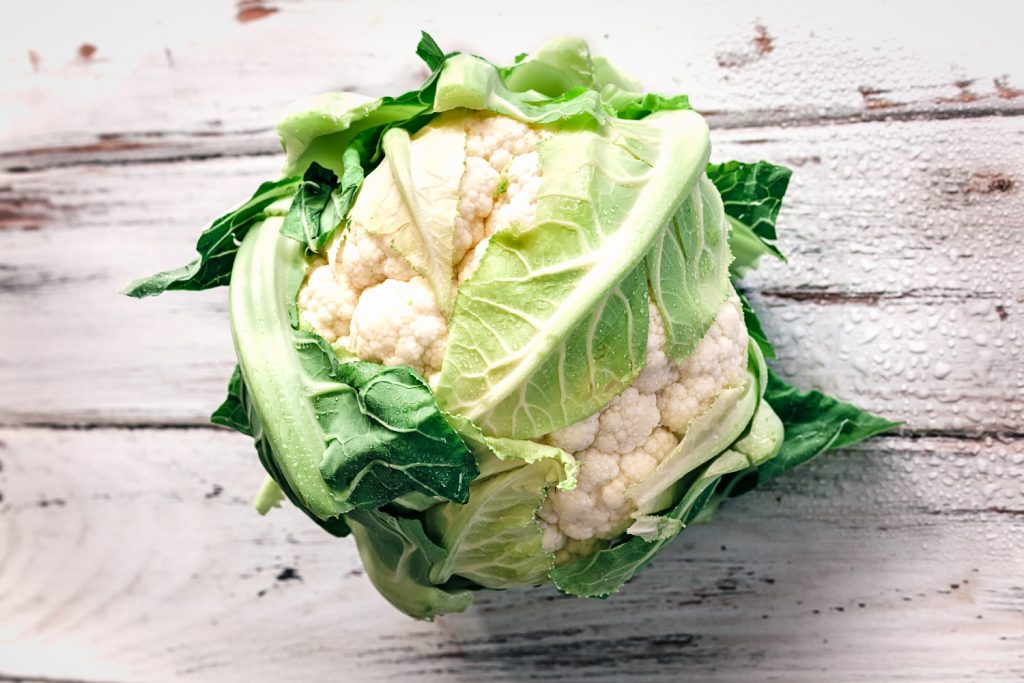
Stage 6: Harvest
During this cauliflower growing stage, the heads should be a creamy white color and have a firm texture with no spots or signs of wilting. Most cauliflower heads are ready to be harvested 55 to 100 days after planting. If you’re not sure your cauliflowers are ready to be picked, double-check your seed packet and your starting date to determine the correct time frame.
When your cauliflower heads are ready to be harvested, they should measure 6 to 8 inches in diameter. It’s important to harvest the cauliflower heads as soon as they’re ripe. Leaving them on the plant too long will give the heads a much tougher texture. They’ll also taste more bitter compared to smaller heads.
Use a sharp knife to cut the head away from the plant. Trim below the head, making sure to leave several inches of the stem behind. Remove any leaves from the cauliflower head and add them to your compost heap. Once your cauliflower heads have been harvested, you can cook them and eat them immediately. There is no need to cure them, as you would other vegetables, like pumpkins or onions.
Stage 7: Flower production
Cauliflower is traditionally grown as an annual. Starting new plants every year is the best way to ensure you get the tastiest crop possible. Even though your cauliflower plants will continue to grow after harvest, they won’t produce new heads. Leaving them in the ground has the potential to attract unwanted pests to your garden. So it’s best to uproot them, dispose of them, and begin preparing the beds for the next growing season.
However, if you were to avoid harvesting the head, and leave the plant to its own devices, then shortly after the head became overripe, the plant would begin flowering. Most cauliflowers never reach this growing stage, which is often referred to as “bolting”. But it’s an essential part of the plant’s reproductive cycle. At this point, cauliflowers produce clusters of yellow to white flowers from tall stalks.
Cauliflower blossoms are popular with pollinators, particularly butterflies and moths. Once the flowers have been pollinated, they will begin producing seeds, which you can collect to start a new crop. Spread the seeds out on a cookie sheet to dry for 2 to 3 weeks, then gather them into a paper bag and store them in a cool, dry place until you’re ready to start growing again.
What does cauliflower need to grow well?
Cauliflower may be slow to mature, but it isn’t particularly difficult to grow. That said, there are a few things that you’ll need to do to make sure the plants thrive. You can start by keeping the plants warm, but not too warm. Cauliflowers grow best when temperatures are between 70 and 80 degrees Fahrenheit. Any cooler or hotter than this and the plants will experience slow growth and develop stunted heads.
Even though cauliflower plants don’t like to get too hot, they need plenty of sunlight to grow well. If you live in a cool growing zone, be sure to situate the plants in a place where they can receive 6 or more hours of sunlight every day. For warmer growing zones, cauliflowers should be grown in bright indirect sunlight, or in a location where they can receive full morning sun, and be in the shade during the hottest parts of the day. Alternatively, you could try starting the plants a bit earlier in the season.
Cauliflowers are heavy feeders. So in addition to ample sunlight, you’ll need to make sure all of the plant’s nutritional needs are met. Amend your garden’s soil with compost before planting, and sprinkle bone meal and blood meal around the plants once or twice a season to nourish them. Regular watering will keep the soil cool and moist, but if your soil is too muddy, this can cause the cauliflowers to develop root rot. Use peat moss to make the soil more porous so it drains well.
Is cauliflower susceptible to pests?
A seasoned gardener will tell you that any vegetable can be susceptible to pests. But cauliflowers are more prone than most. As members of the Brassica family, cauliflower plants commonly fall prey to cabbage worms, cutworms, flea beetles, and aphids. You’ll need to keep a careful eye on your crops as they make their way through the cauliflower growing stages and nip any insect infestations in the bud the moment you spot them.
If you notice the edges of your cauliflower’s leaves have been chewed, and you’re seeing yellowing foliage and holes in the leaves, then mix up a homemade insecticide and spray the plants down ASAP. Insecticides with neem oil are particularly effective. For severe infestations, you can sprinkle diatomaceous earth on the plants, instead. Be vigilant in applying insecticide to keep the pest population down.
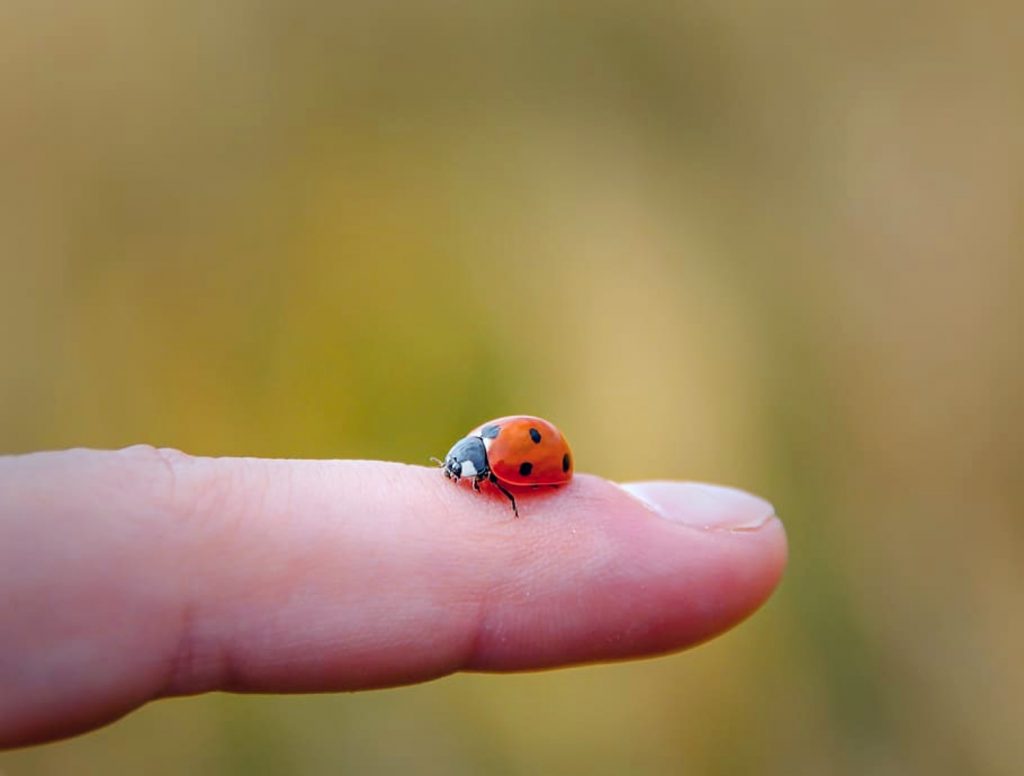
Growing your cauliflowers near the correct companion plants can further prevent insect infestations. Companions like garlic, onions, thyme, and mint produce strong-smelling foliage that naturally keeps insects at bay. Releasing predatory insects like ladybugs and lacewings can help as well.
Tips for growing the best cauliflower possible
Cauliflowers aren’t as easy to grow as other garden favorites, like tomatoes, cucumbers, and squash. And there are no special tricks for growing cauliflower heads more quickly. But by meeting the plant’s most basic needs and providing them with routine care, you’ll be doing all you can to ensure you grow the best cauliflower heads possible.