We’re here to help! Wild Yards is a completely free website that is 100% dedicated to helping you create a wildlife-friendly, sustainable yard. Read more
WildYards is reader-supported. When you buy a product through a link on our site, we may earn a comission. Every product is independently selected by our (obsessive) editors and our reviews are unbiased and objective. Read more about our mission or our privacy policy.
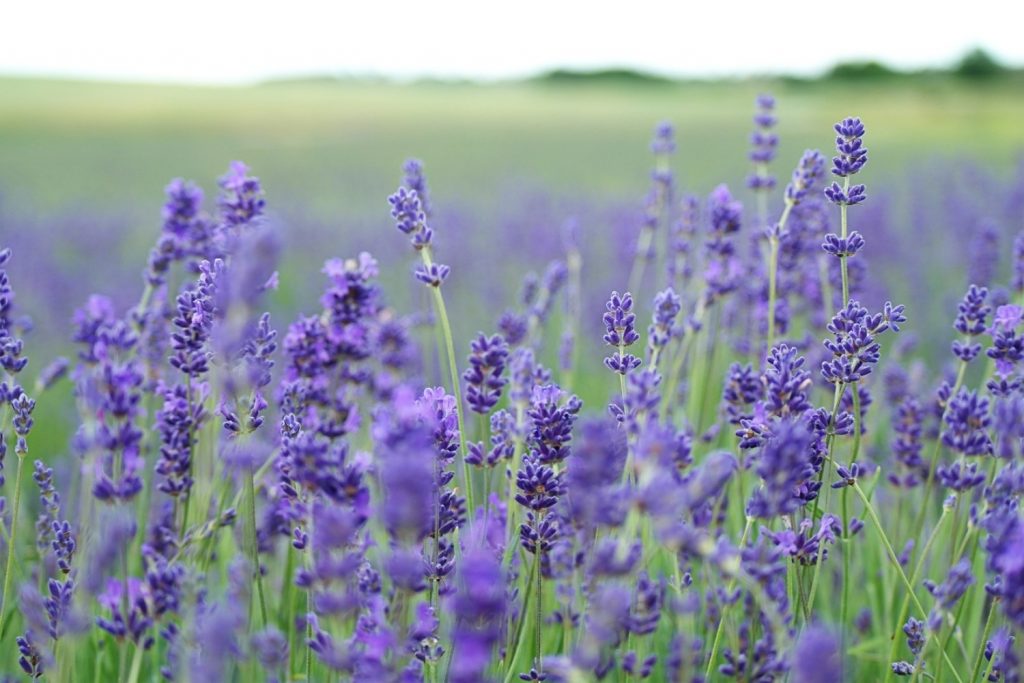
If you want to add a touch of class to your landscape, you can’t go wrong with lavender. Native to the Mediterranean region, lavender is a shrub that favors dry conditions, growing especially well in warm climates and sandy soils. Its gorgeous purple flowers are rich in nectar, making it an excellent addition to pollinator gardens, and its aromatic foliage is perfect for use in homemade essential oils. The only real downside to lavender is that it can be somewhat slow growing. But by understanding the lavender growth stages, you can give your lavender everything it needs to grow as quickly, and as healthily, as possible.
Lavender is usually started from seed, but it can also be propagated from cuttings. Young plants grow at a rate of around ¼ to ½ inch a month, growing much more quickly in warm weather than in cold. Lavender is a perennial that matures in 2 to 3 years, at which point it begins producing flowers.
Stage 1: Starting seeds and cuttings
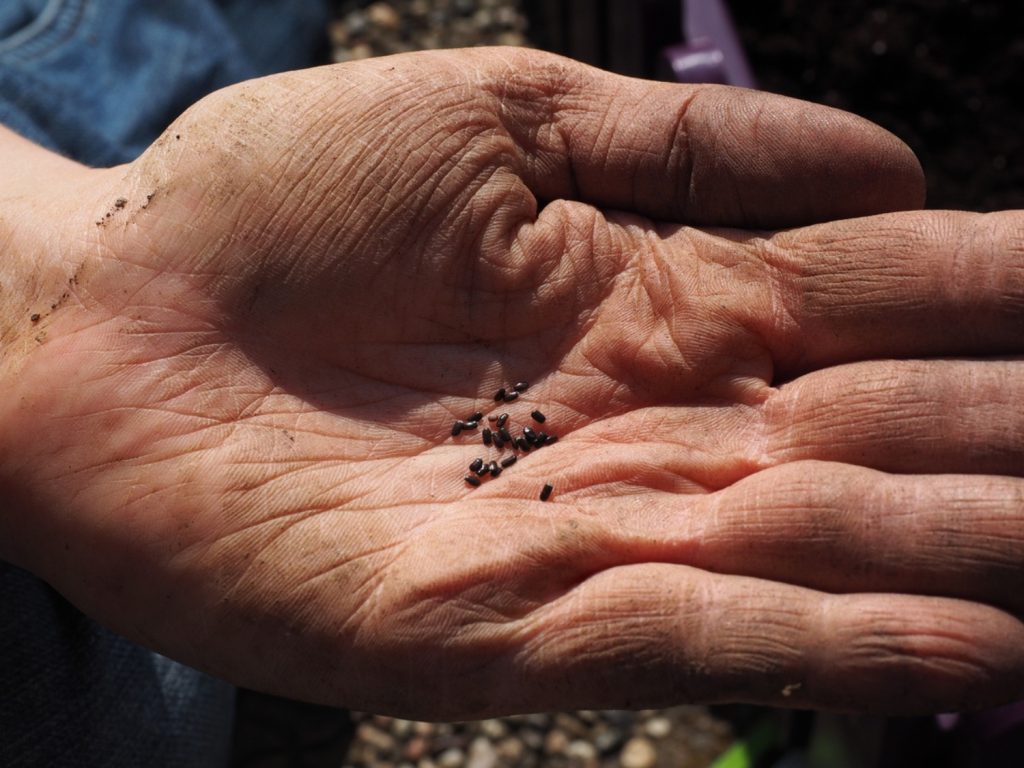
The humble lavender seed, which is dark brown to black in color and similar in size and shape to a flaxseed, marks the start of the lavender growth stages. Like asparagus, starting lavender from seeds can be a challenge. Many gardeners prefer to start their lavender from cuttings, which take root much more easily.
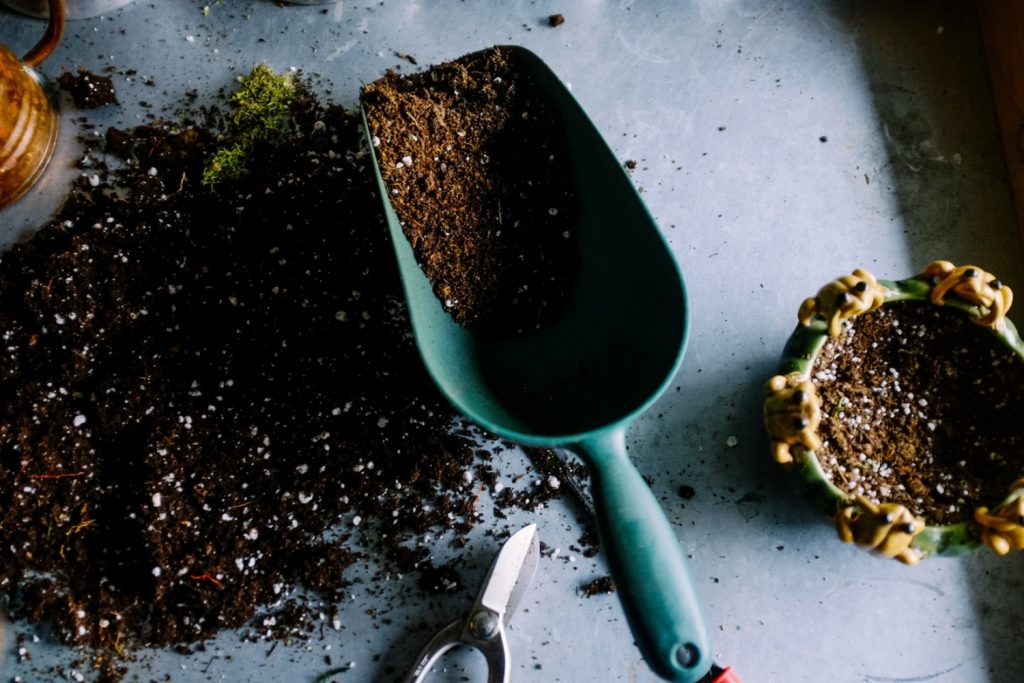
To start lavender from seeds, fill peat seed pots with sand-rich potting soil, or use a potting soil specifically designed for lavender. You can add a small handful of compost, too, to help the seeds get started. Sow the seeds at a depth of ¼ inch, and sow 2 to 4 seeds per pot and tamp around them gently to help keep them in place. Set the seeds in a warm, sunny location, and keep the soil moist. It can take lavender seeds anywhere from 14 days to several months to germinate, so be patient!
To start lavender from cuttings, cut a 4 to 6-inch stem just below a leaf node. Choose tender green new growth for your cutting, as woody growth doesn’t root easily. Remove the lowermost leaves and dip the cut end in rooting hormone. Next, simply plant the cutting in a small pot filled with lavender potting soil, and set the plant in a warm, bright place. Keep the soil moist to the touch. Use a plastic bag to cover the pot and the base of the plant to lock in hydration. This will help the cutting take root more quickly.
Stage 2: Sprouting leaves
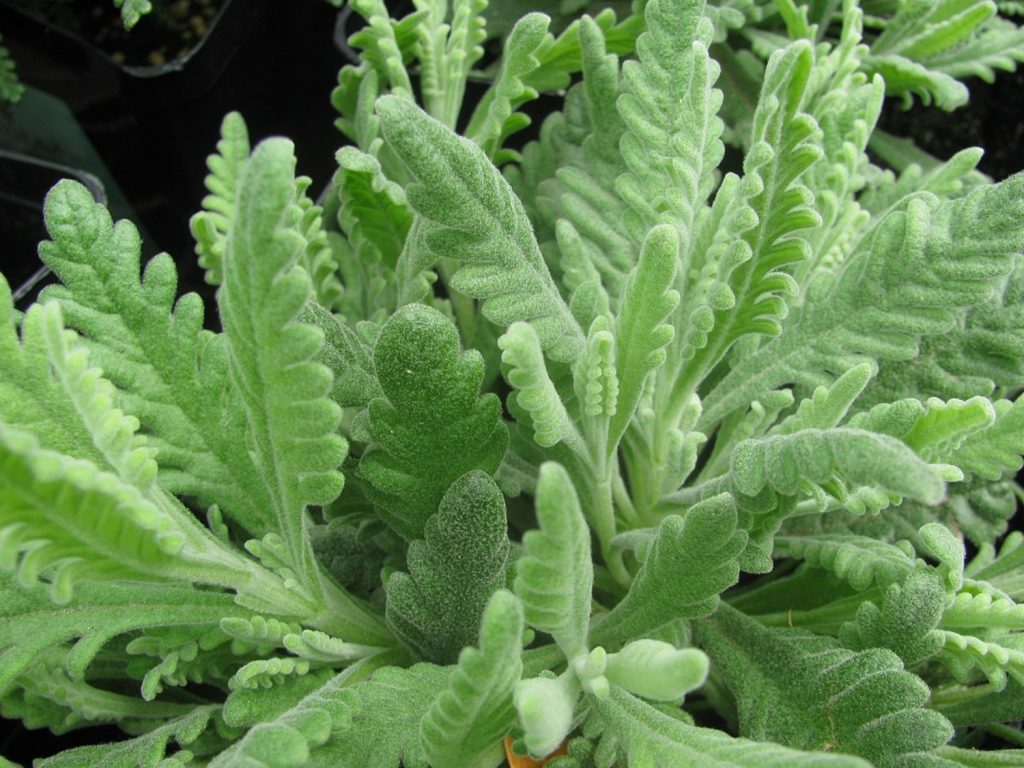
Starting seeds and cuttings is perhaps the slowest lavender growth stage. But once the plants come up and cuttings finally take root, lavender’s growth rate speeds up a bit. When your lavender seeds first sprout, they’ll be sporting a pair of seed leaves. These tiny lance-shaped leaves help the plant use sunlight to make energy and allow the plant to transition from juvenile to adult.
In the following weeks, your lavender seedlings will develop true leaves, which take the shape of the plant’s adult leaves. What your lavender’s adult leaves will look like depends on their variety. Once your lavender seedlings have 3 to 4 sets of true leaves, they’re ready to be moved to your garden, or to a bigger pot.
If you started your lavender from cuttings, then the plants will already be equipped with a few adult leaves. So how can you tell when they’re ready to be moved to their permanent home? Watch for signs of new growth. Once your lavender cuttings have produced a few sets of new leaves, that indicates the cuttings have taken root, and are strong enough to be transplanted.
Stage 3: Getting established
Your lavender seedlings and cuttings can’t be expected to stay in their starting pots forever. Once the plants are showing signs of growth, it’s time to give them more room. Choose a sunny spot in your garden to transplant the seedlings. Dig a hole larger than you think it needs to be to help loosen things up for the plant’s delicate roots and be sure to amend the soil with plenty of sand to improve drainage.
Handle the seedlings gently during the transplanting process to avoid stressing the plant. Backfill around the plants tamping as you go to remove air pockets. Once the plants are settled, water them well, and keep the soil moist to the touch for the first 2 to 3 weeks to help them take root.
Alternatively, you can transplant your young lavender into a bigger pot. Lavender is easy to keep in containers. Just be sure to use lavender potting soil, and drill holes in the bottom of the pot to allow excess water to escape quickly. Be sure to set your potted lavender in a warm, sunny location, and keep the soil moist until you see a few new leaves emerging.
Giving your young lavender plants more room will result in a slight surge in development during this lavender growth stage. Although lavender has very low nutrient requirements, adding a handful of compost into the potting mix during transplanting can support faster growth, too.
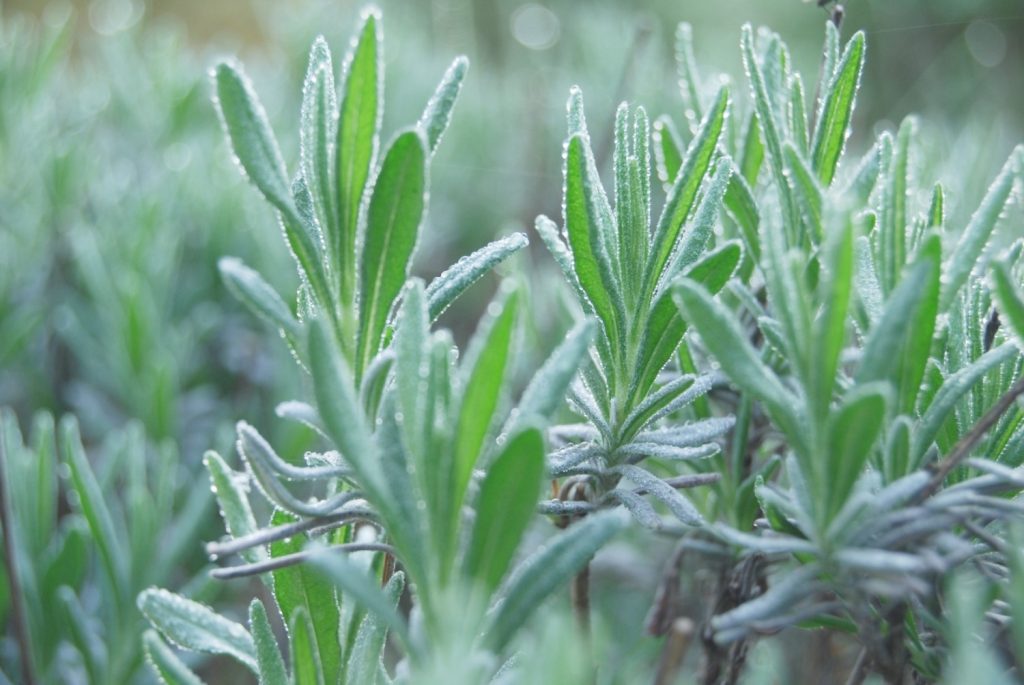
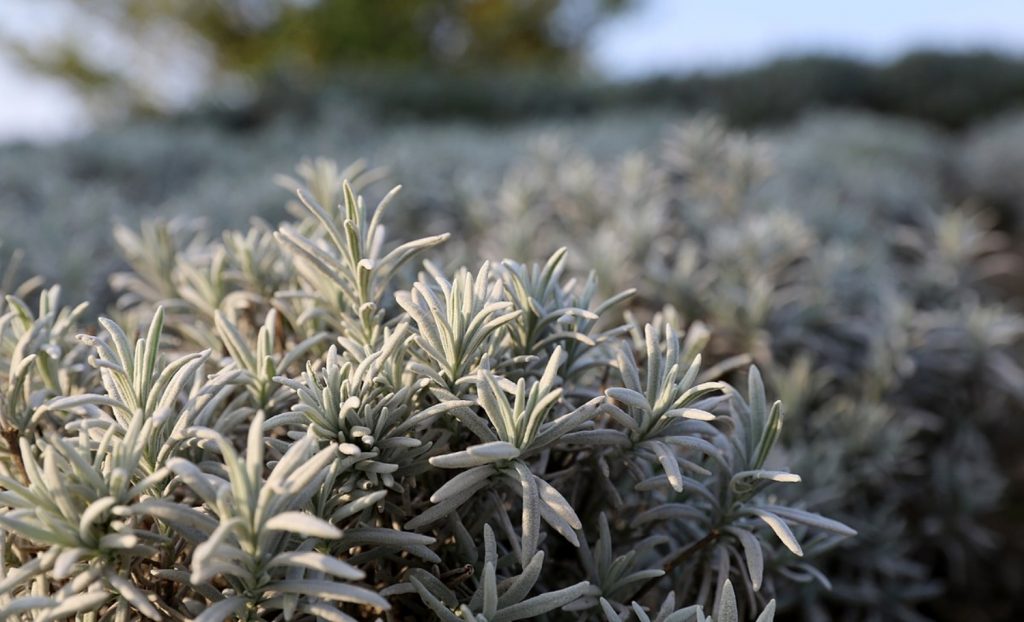
Stage 4: Developing foliage
Now that your young lavender plants have more space, they can begin developing foliage. During this lavender growth stage, plants focus all of their energy on producing more leaves, so they can photosynthesize more efficiently, so they can produce more leaves, and continue the cycle.
Lavender is a slow to moderate-growing perennial. So your lavender plants won’t achieve their maximum size during their first year. It takes 2 to 3 years on average for young plants to mature and take shape.
It can be tempting to prune your plants during this lavender growth stage but don’t. Pruning lavender while it’s actively growing can stunt growth. While it’s safe to remove a leaf here and there to give the lavender a more manicured appearance, and while you should always remove dead or dying leaves, avoid going crazy with the clippers. You won’t be doing your lavender any favors.
For best results, allow plants 1 to 2 years old to grow wild, and start pruning plants around the 3-year mark. Prune plants aggressively in early spring before new growth emerges, and avoid pruning in winter or excessively hot weather, which can stress the plants.
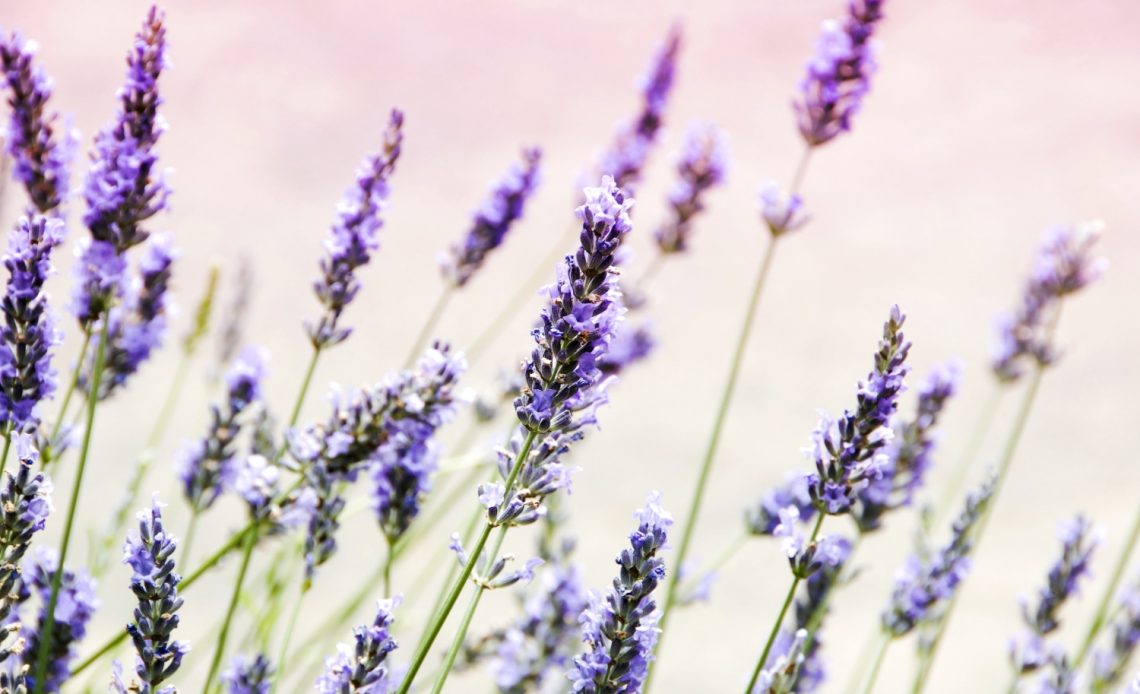
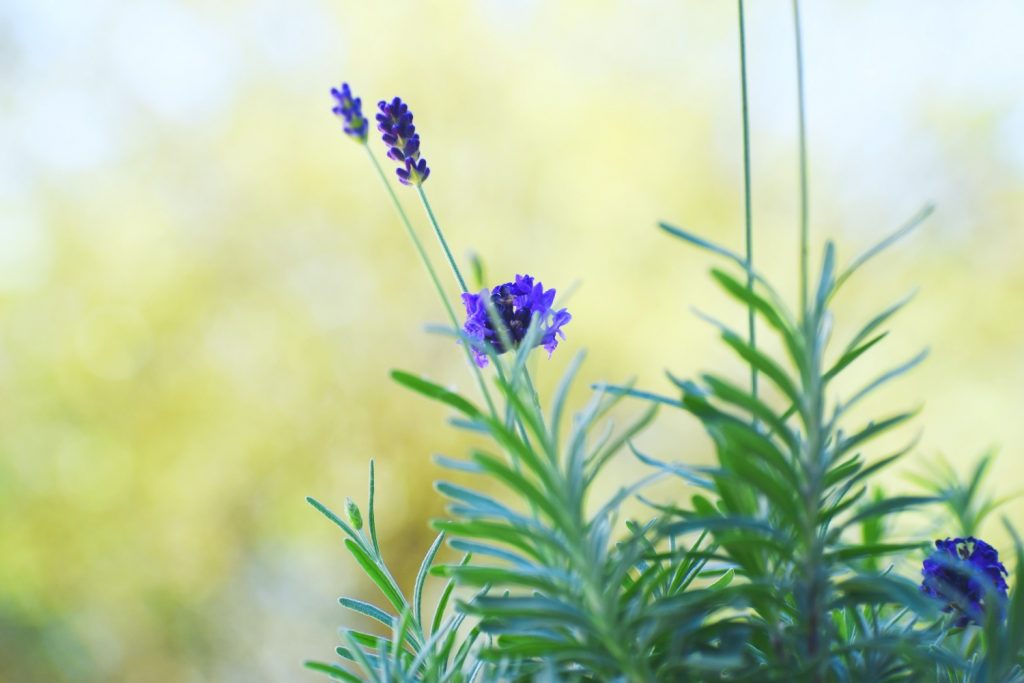
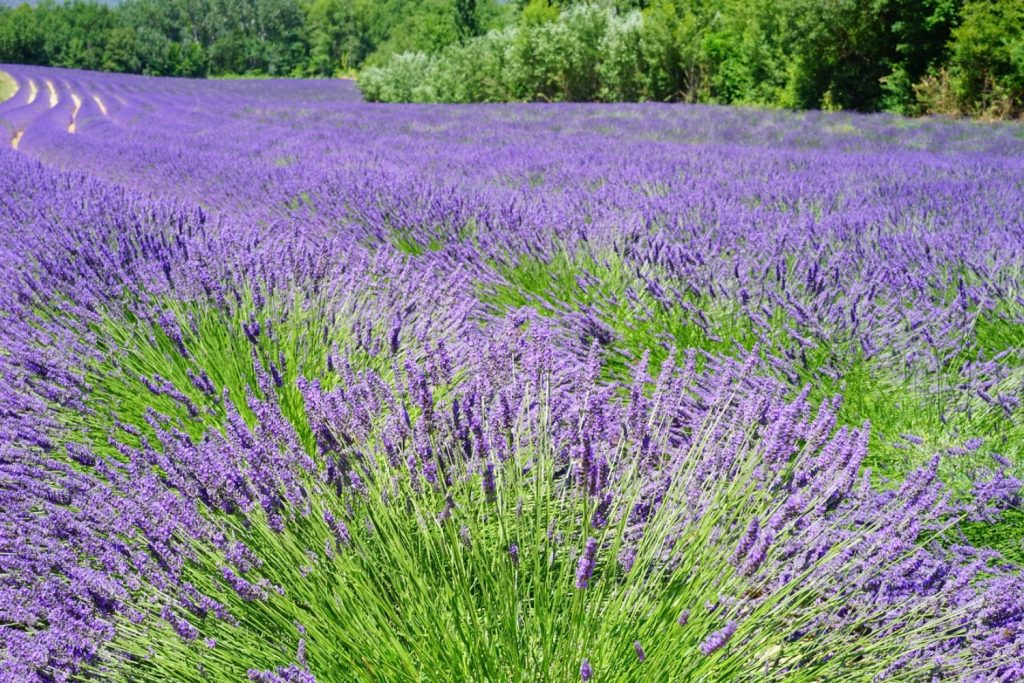
Stage 5: Flowering
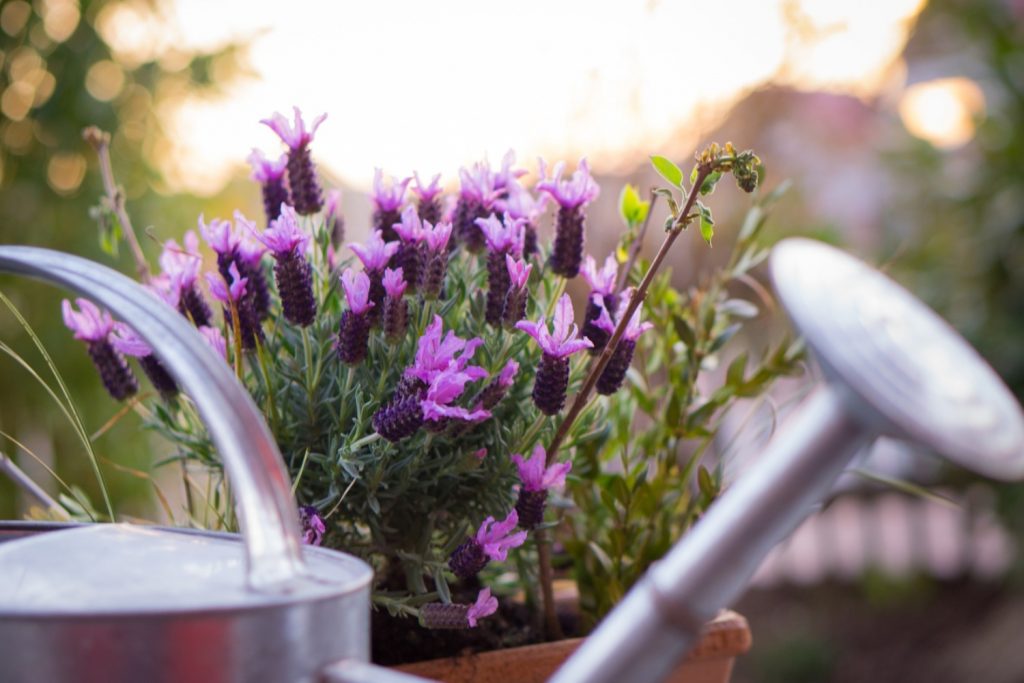
At 2 to 3 years, your lavender plants should be established enough to begin flowering. Blooming periods vary depending on variety, but most lavenders flower from early to mid-summer. Flowers range in color from white to pink to purple, and can sometimes almost appear blue. The flowers are incredibly popular with bees, butterflies, and hummingbirds.
It’s worth noting that some plants can take 4 to 5 years before flowering. Plants bloom much faster in warmer climates than in cool ones. If your lavender is flowering, that’s a sure sign that it’s healthy and that you’re caring for it properly. Lavender plants cross-pollinate, so if you want your lavender to self-seed and propagate on its own, you’ll need to keep several plants in close proximity.
Once your lavender starts flowering, the majority of the plant’s energy will be devoted to those flowers. Producing nectar, pollen, and, eventually, seeds takes a lot out of a plant. So when this lavender growth stage begins, you’ll notice foliage production slowing down significantly. This is a normal part of the process and nothing to be concerned about.
Stage 6: Going dormant
Once the flowering period wraps up, your plants will reach the final lavender growth stage of the season, which is preparing to go dormant. At this point, growth is at a standstill. The plant focuses on maintaining necessary foliage and shedding a few extra leaves to conserve energy during the winter months.
Lavender is evergreen in warm climates. And although it is tolerant of cooler conditions, extreme and/or regular freezes can kill lavender back to the roots, causing it to go completely dormant over the winter. Be sure to spread a layer of hay or mulch around your lavender’s roots to help keep them warm during the cold months. Avoid watering the plants during this time so they don’t develop root rot.
If your lavender is growing in pots, then simply move them indoors. Keep your lavender on top of a refrigerator or freezer, or set it on a sunny windowsill where it can stay warm. Lavender is easy to overwinter indoors, just be sure to water your lavender every 2 to 3 weeks during this time to keep it healthy.
Are there different types of lavender?
Not all lavenders are created equal. While there are dozens of varieties of lavender out there, they all fall into one of three categories.
- English lavender (Lavandula angustifolia). The most cold-tolerant lavender, English lavender, is hardy from zones 5 through 8 and has narrow leaves with a gray tint. English lavender grows 1 to 2 inches per year on average, reaching 1 to 3 feet fall and wide at maturity. Plants produce spikes of blue-purple flowers from spring to summer.
- French lavender (Lavandula dentata). Suitable for zones 8 through 11, French lavender is a heat-tolerant variety with attractive toothed, gray-green foliage. Plants produce violet to pink flowers with distinctive “butterfly”-like bracts from spring to summer. French lavender grows much more quickly than English varieties and reaches 2 to 3 feet tall when full-grown.
- Spanish lavender (Lavandula stoechas). Extremely heat tolerant, Spanish lavender has narrow leaves and produces purple, pink, and white flowers. Blooms are easy to distinguish from other varieties, as they are topped with “rabbit ear” bracts. Spanish lavender’s growth rate is comparable to French lavender, with plants reaching 3 to 4 feet tall and wide at maturity. This type of lavender is hardy from zones 8 through 11.
If you want your lavender to grow quickly, be sure to choose the right variety for your growing zone. While lavender generally grows best in warm climates, certain varieties are more suitable to extreme heat than others. French and Spanish varieties are ideal for hot regions that regularly have temperatures ranging from the 80s to the 100s. But English lavender is more appropriate for cooler growing zones and can continue growing in temperatures down in the 40s.
How can you encourage your lavender to grow faster?
Choosing the right variety for your zone is key to growing lavender fast, whether you want to grow a lavender hedge or a fancy lavender tree. But there are a few other things you can do to encourage your plants to make their way through the lavender growth stages more quickly.
Meet your lavender’s light requirements
Lavender grows best in full sun, and the cooler the climate, the more sun your lavender will need. To encourage your lavender to grow as fast as possible, make sure the plants receive at least 6 hours of direct sunlight every day. This will encourage rapid development during the early lavender growth stages, and help the plants stay warm during their winter dormancy.
Although lavender needs lots of sunlight, if you’re growing lavender in a warmer climate, then your plants might appreciate some dappled afternoon shade. If the temperatures in your ecoregion regularly reach the upper 90s, be sure to plant your lavender in a spot where it will be out of the harsh afternoon sun. Also, consider keeping your lavender in pots, so it’s easy to move them in and out of the shade as needed.
Amend your native soil appropriately
How much sunlight your lavender needs depends on how hot your growing zone gets. But your lavender will always need sandy, well-draining soil, regardless of temperature. Take a closer look at your native soil. If it is loamy and full of organic materials, or if it’s especially clay-rich and prone to compaction, use sand, gravel, and/or perlite to help loosen things up.
Unlike lavender’s lookalikes, including salvia and Russian sage, lavender is particularly susceptible to root rot. If your lavender’s soil stays soggy for too long, the roots may become infected. Once lavender develops root rot, it can be incredibly difficult to get rid of. And, to make matters worse, the pathogen that causes root rot in lavender, Phytophthora nicotianae, can survive in the soil for years. So even if you replace the old plants, new plants can still fall prey to this disease.
Ensuring your lavender has good drainage so that its soil dries out in between waterings will allow your plants to grow as quickly as possible. If you find that you’re having the opposite problem, use compost or manure to amend the soil and improve moisture retention.
Check the pH
Lavender grows best in soil with a pH range of 6.5 to 7.5, so it is tolerant of soil that is slightly acidic and slightly alkaline. Use at-home soil pH test strips to determine where your soil falls within the pH scale. If you find that your soil is too acidic for your lavender’s liking, use aged manure to raise the pH to a more appropriate level. And if the soil is too alkaline, amend it with peat moss or lime to neutralize it and make it more hospitable.
Prune your lavender at the right time
If you want your lavender to grow as quickly as possible, don’t forget to prune it. Younger plants only require light pruning in early spring to shape them up a bit. But older plants benefit tremendously from regular pruning, as it encourages foliage production, and improves air circulation at the base of the plant to prevent diseases.
Use sharp scissors or garden shears to prune your lavender in early spring, before new growth emerges. For best results, prune your lavender on a cool morning to prevent stressing the plant. Trim away broken, misshapen branches, as well as any stems that are obviously dead. Use this opportunity to shape the plant to promote dense, shrubby growth.
Your lavender will also benefit from regular deadheading. Remove dying flowers by trimming them to just above the leaves. This helps the plant conserve energy to produce new flowers, prolonging the blooming period. But, if you want your lavender to self-propagate, you should avoid removing the dead flower heads and allow the seeds to disperse on their own (more on this in a bit).
Water the plants sparingly
For rapid development during the lavender growth stages, be sure to water the plants sparingly. Remember, lavender is prone to root rot, so don’t overwater them. A good rule of thumb is to water your lavender plants once every two weeks, but depending on how much rainfall your region has received, you may need to water them even less frequently. Always test the soil before watering by feeling an inch below the surface. If the soil still feels damp at the 2-week mark, allow it to dry out more before watering again.
Young lavender plants, lavender cuttings that are still taking root, and newly transplanted lavender plants will require more water than healthy, established plants. If your lavender’s leaves are turning yellow or brown or if the plant is drooping, this could be a sign that they’re getting dehydrated. Check the soil, water them if needed, and give them some time to recover.
Re-pot your lavender when necessary
As your plant makes its way through the lavender growth stages, you’ll need to move it to a bigger pot periodically to ensure it has enough room. Like hydrangeas, lavender is well-suited to growing in containers. But you’ll need to keep an eye on it as it matures and re-pot it as necessary.
When re-potting your lavender, choose a pot that is at least twice as large as the plant’s current container. Drill holes in the bottom of the pot, and line it with large rocks or gravel to improve drainage. Signs that your lavender needs to be repotted include stunted growth, yellowing foliage, leaf die-back, and poor flower production.
How long does lavender live?
Lavender is a fairly long-lived herbaceous perennial, which makes it a popular choice for landscaping. Of course, how long your lavender lives depends on how well its basic needs are met, as well as its variety
English lavender tends to live the longest. Plants usually live between 15 and 20 years. Spanish and French varieties have shorter lifespans. Both of these lavenders usually only live for 3 to 5 years, although they have been known to live much longer.
Allowing your lavender to self-seed won’t prolong the life of the plant. But it will enable the plants to come back on their own year after year, which makes your job as a gardener much easier. If you want your lavender to self-propagate, avoid harvesting its flowers, at least for the first few years, and allow the seeds to disperse naturally.
It’s easier for lavender plants to self-seed in cooler climates, since seeds have a higher germination rate after they’ve been exposed to cold temperatures. If you live in a hot growing zone, you may find you have more success when starting the seeds yourself.
How can you save lavender seeds to regrow yourself?
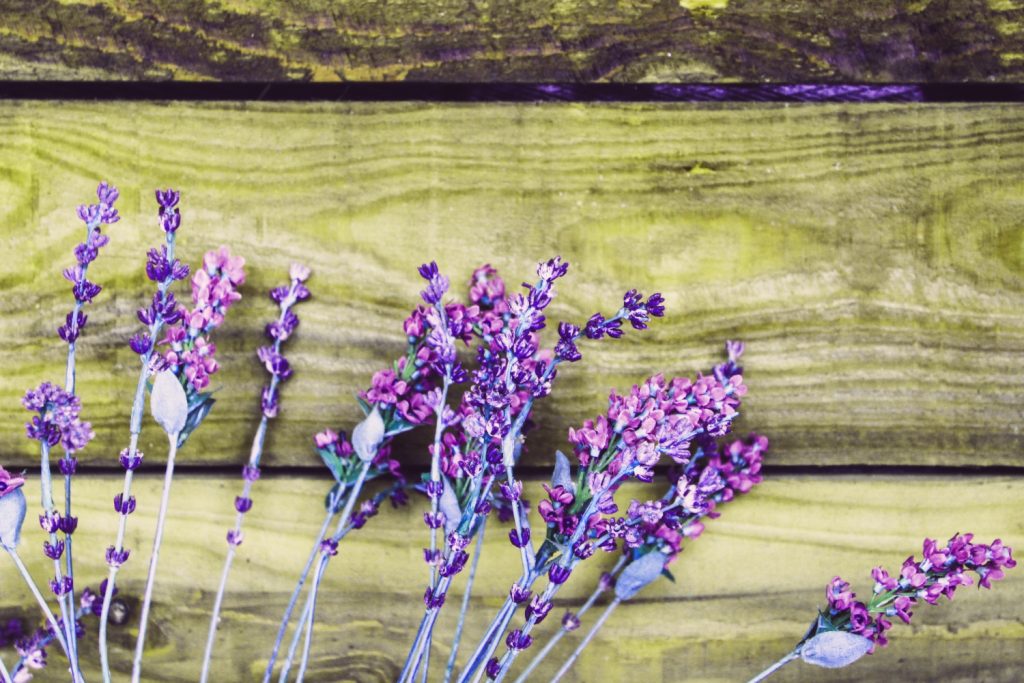
If you would rather start new lavender plants yourself, you’ll need to harvest a few of the plant’s seeds. Simply wait until the end of the blooming period in late summer or fall, when the flowers have dried and become brittle. Trim the dead flower heads away from the plant, and place them in a plastic bag. Seal the bag, then gently shake it to remove the seeds.
Once harvested, spread the lavender seeds out on a cookie sheet to dry for 7 to 10 days. Turn the seeds every other day to prevent them from sticking to the tray. Store your lavender seeds in a paper bag or envelope and keep them in a cool, dry, dark place until you’re ready to start more lavender seedlings next growing season.
Watching the lavender growth stages firsthand is a treat, for new gardeners and seasoned pros alike. By meeting all of the plant’s growing requirements, and pruning it regularly, you can grow lavender faster and enjoy its aromatic foliage and flowers for years to come.